What is Azure User Defined Routing
Azure User Defined Routing
What is User Defined Routing:
It allows you to create network routes so that your Azure Virtual Appliances can handle the traffic both between your subnets and to the Internet. For the network interfaces to be allowed to receive and forward traffic, IP forwarding must be enabled. When different route types are present in a UDR route table, user-defined routes are preferred over the default system routes. When multiple routes match the destination, the more specific route is used.

Requirements to create User-defined routing
- 1 Virtual Network with 3 subnets
- 3 Azure Virtual Machines
- 1 Route table
- 1 Route
- First, we are going to create vnet with the Main address space and 3 subnets as below.
Vnet Address: 10.0.0.0/16
Subnet 1 (Public) : 10.0.0.0/24
Subnet 2 (Private): 10.0.1.0/24
Subnet3 (Firewall): 10.0.2.0/24

2. Next, we are going to create the Azure Route tables service.
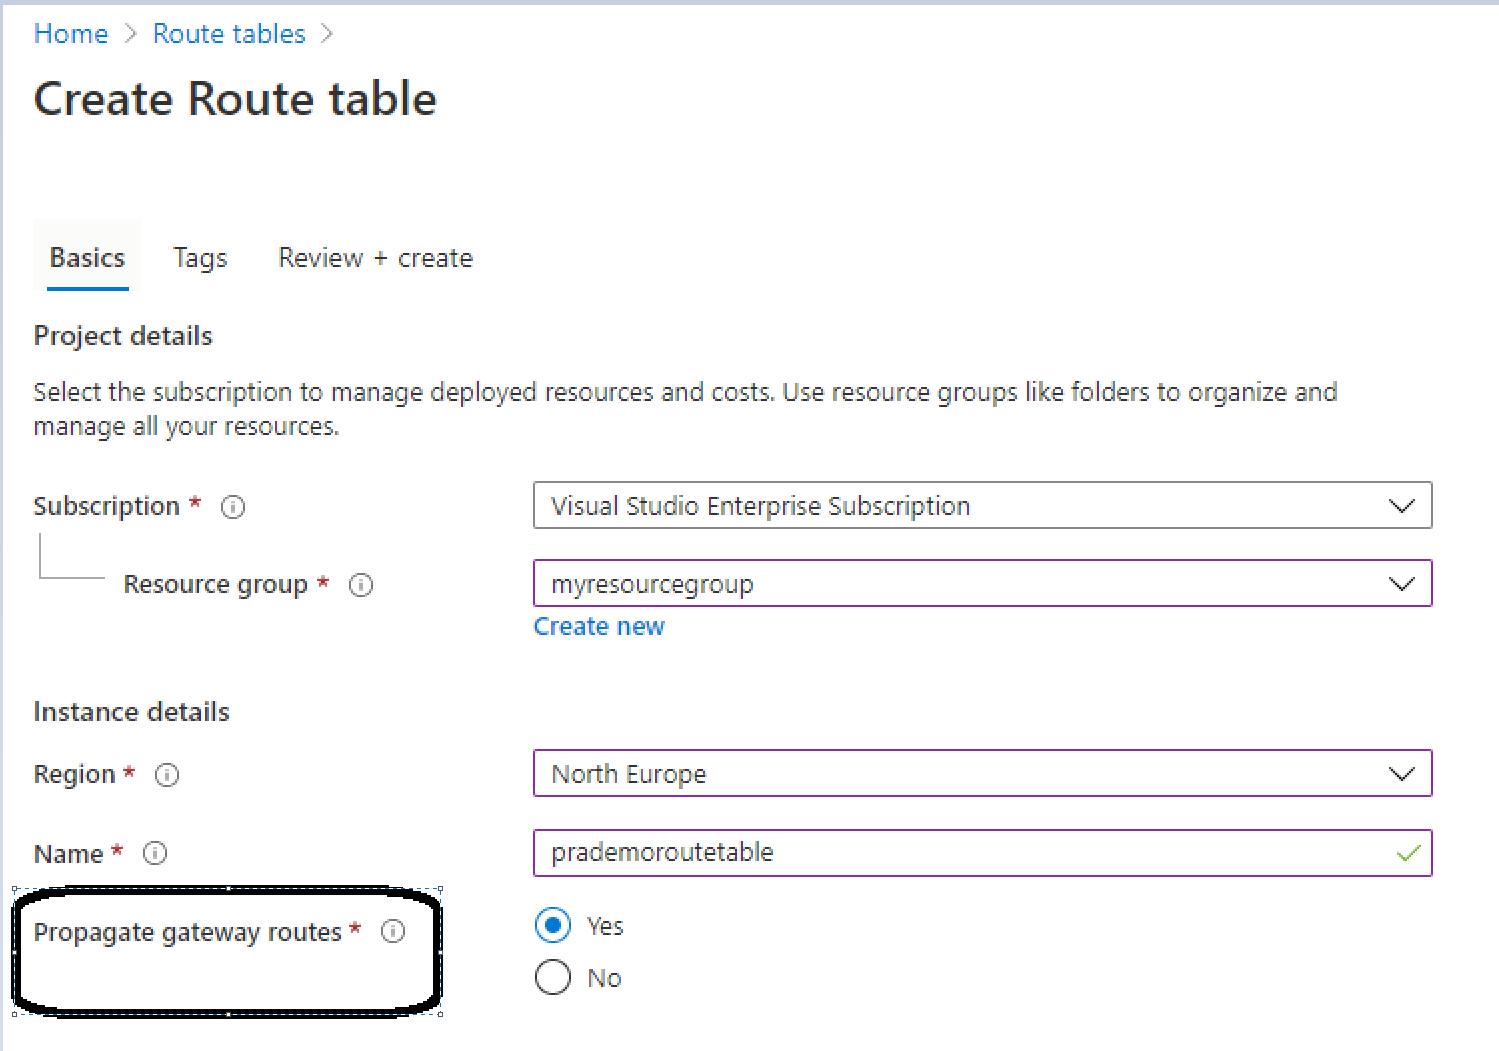
Propagate Gateway routes option is used when you have to Move On-premises routes to the network interfaces in associated subnets to Azure.
Once the Route table service is ready → click on Routes
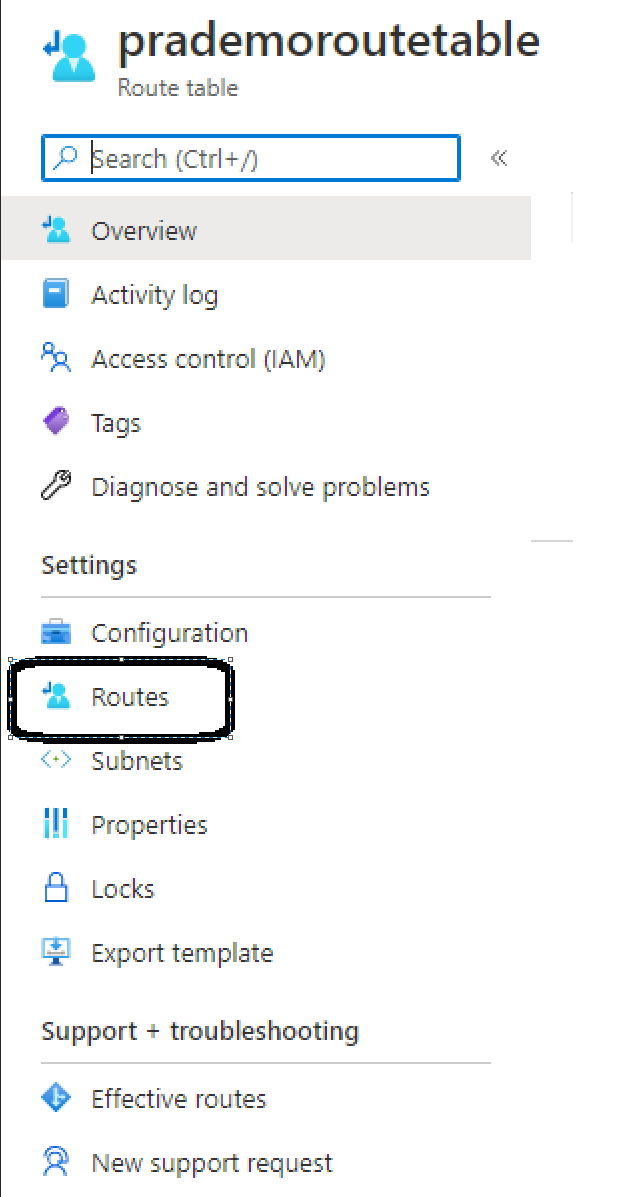
Click on Routes → Add
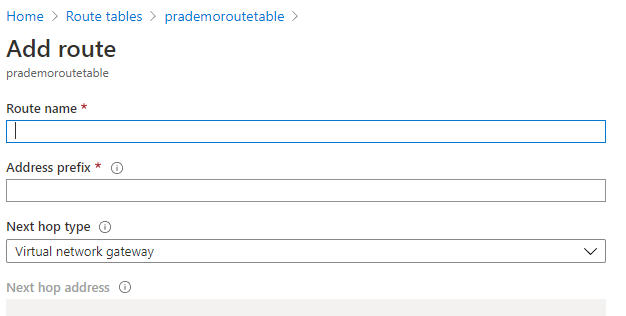
Route Name: Give some generic name
Address prefix: this is the address range of the Private Subnet which we added earlier to our Vnet (10.0.1.0/24)
Under Next Hop Type: you have 4 options
- Virtual network gateway: used to send encrypted traffic between an Azure virtual network and an on-premises location over the public Internet.
- Virtual Network: It is used for Azure Internal communication
- Internet: Any traffic coming from the outside world back to the Azure platform.
- Virtual Appliance: virtual appliance (NVA) is a virtual appliance primarily focused on network functions virtualization
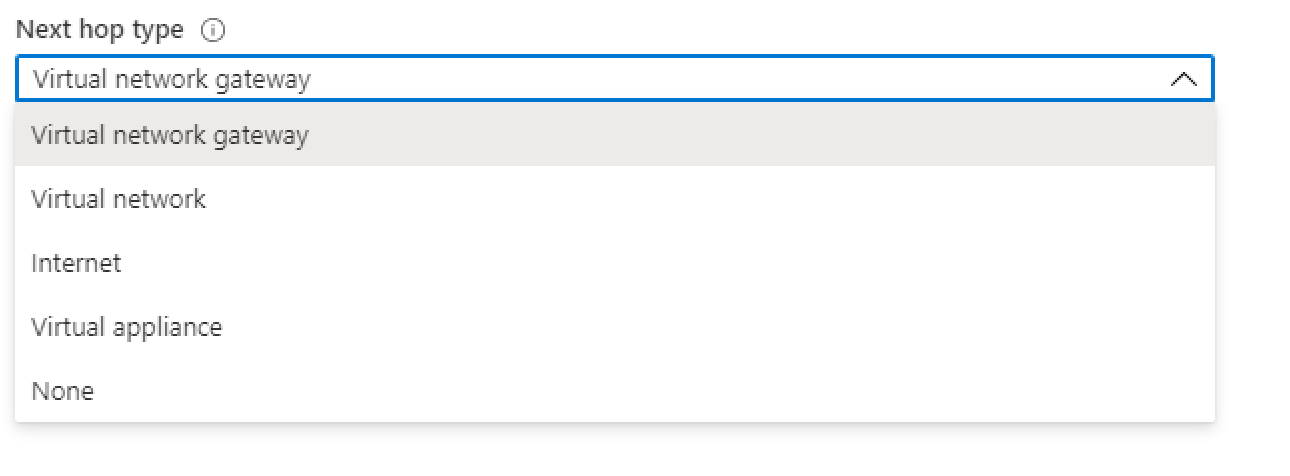
in our case as we want 1 of the virtual machine to act as a Virtual appliance to route the traffic between Public to Private VM. → it is going to ask for the Next Hop address:

3. Next, we need to associate the Route table subnet with the subnet which is going to be the main entry point to Azure. → So I will be selecting our available Vnet and attach Public Subnet to this route table. → Click on Associate

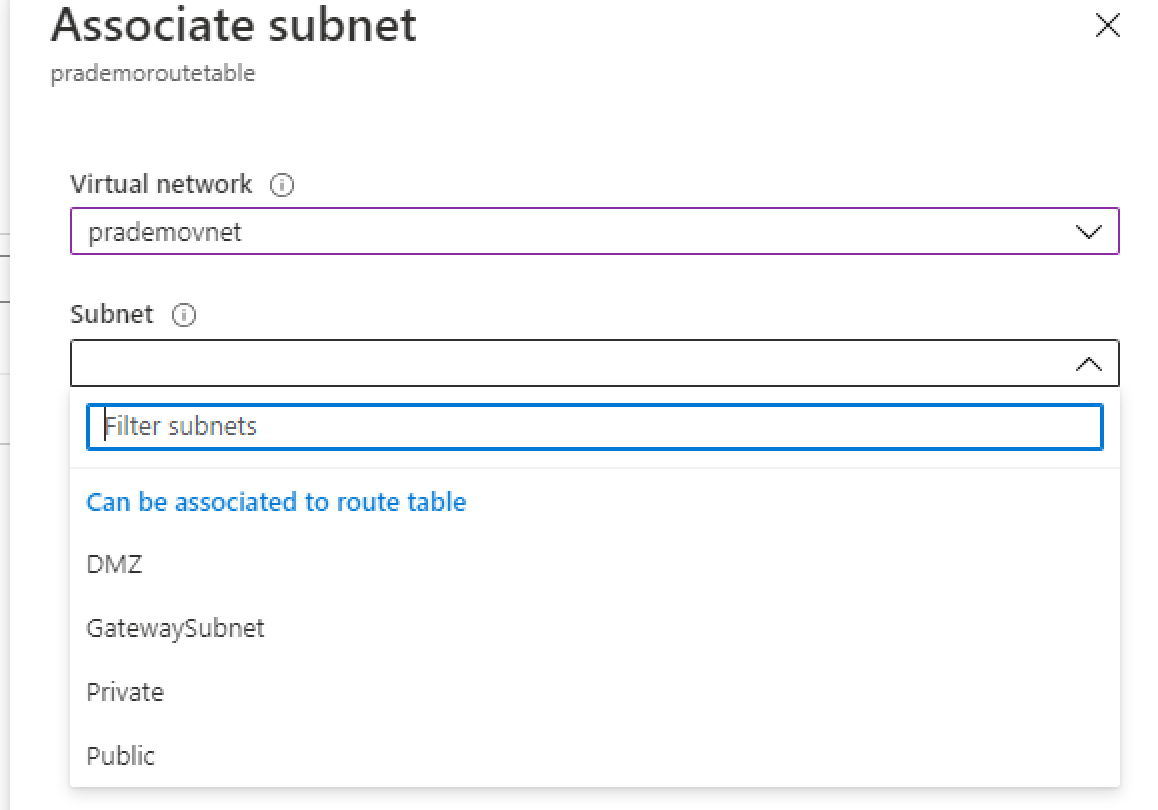

4. Next, we need to create 3 VM’s
- Public VM
- Private VM
- Firewall VM
While creating these VM’s make sure to select respective Subnet
Public VM → Public Subnet
Private VM → Private Subnet
Firewall VM → firewall Subnet
5. Once the virtual machines are ready now we need to enable IP forwarding on Firewall VM → so click on Firewall VM → go to Networking → click on Associated Network Interface → It will open up a new window

then Under settings → click on “IP Configurations” → select Enable option → Save it.
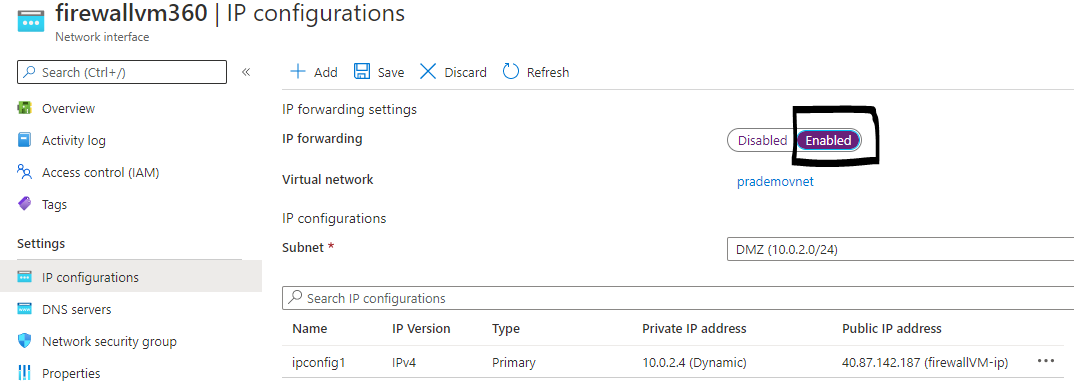
6. Now lets login to Private VM as thats our last VM which is going to accept all our requests, in order to do so we need to enable the ICMP rule.
Open Powershell → run below command
New-NetFirewallRule –DisplayName “Allow ICMPv4-In” –Protocol ICMPv4
Enable the same ICMP rule on public VM as well, as it has to send messages to Private VM.
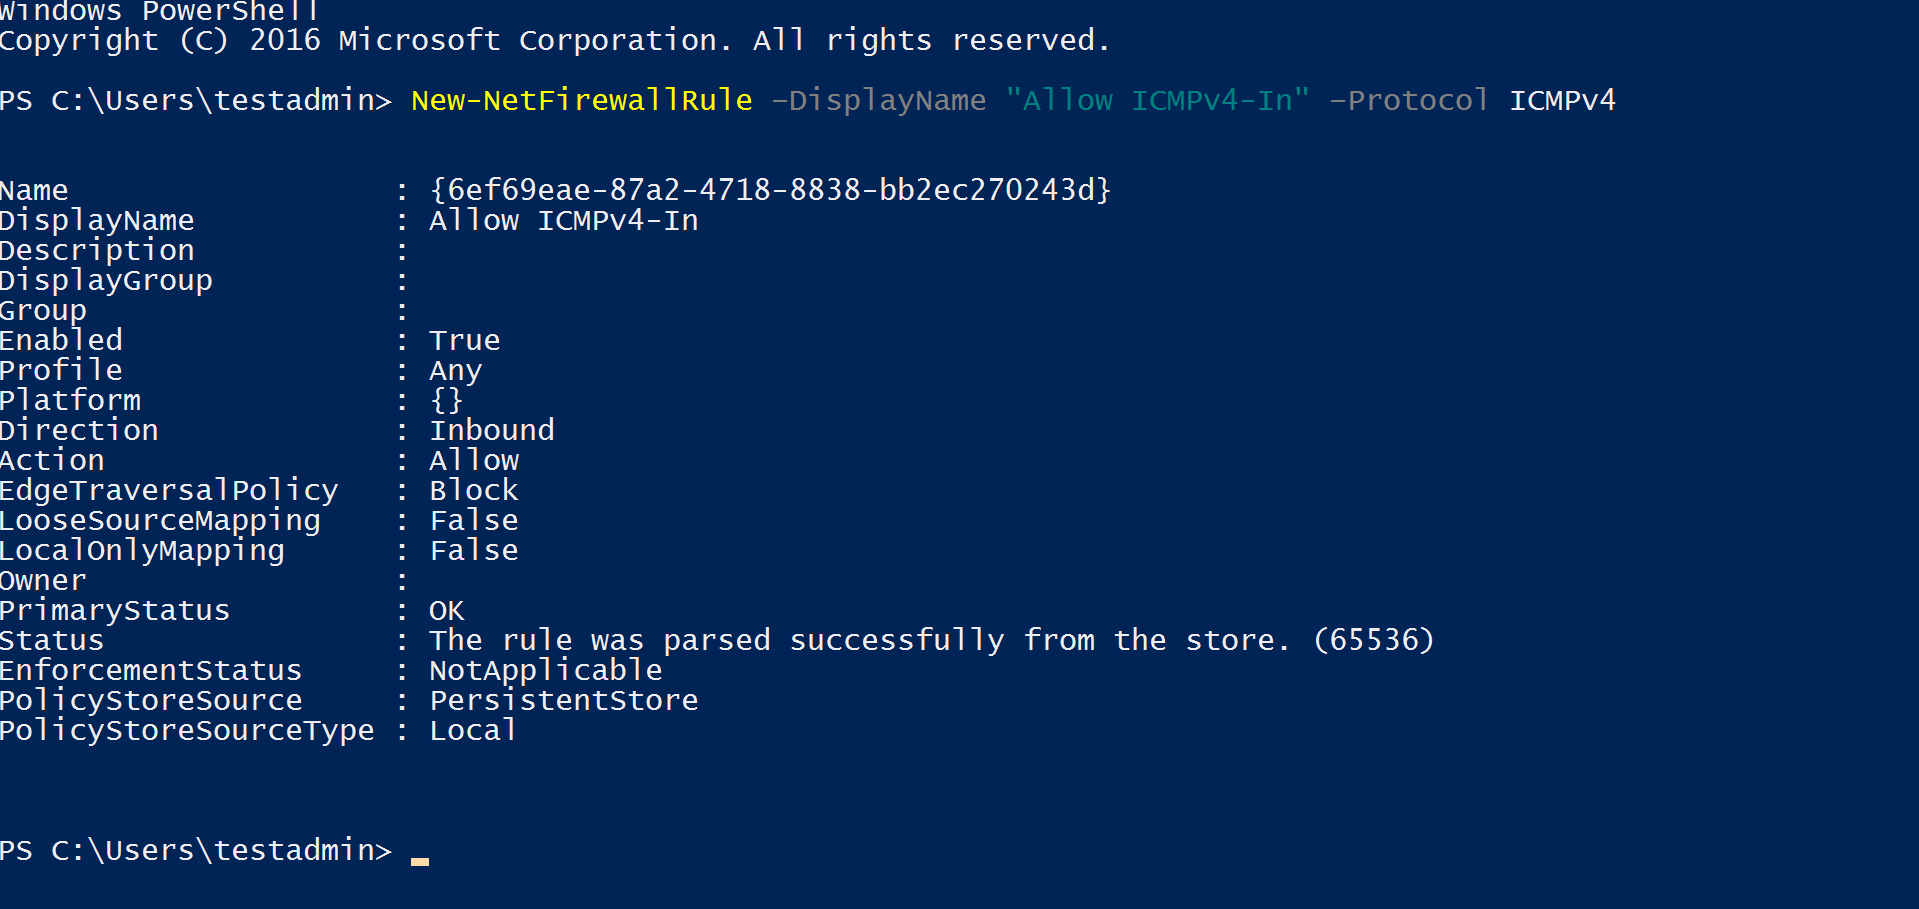
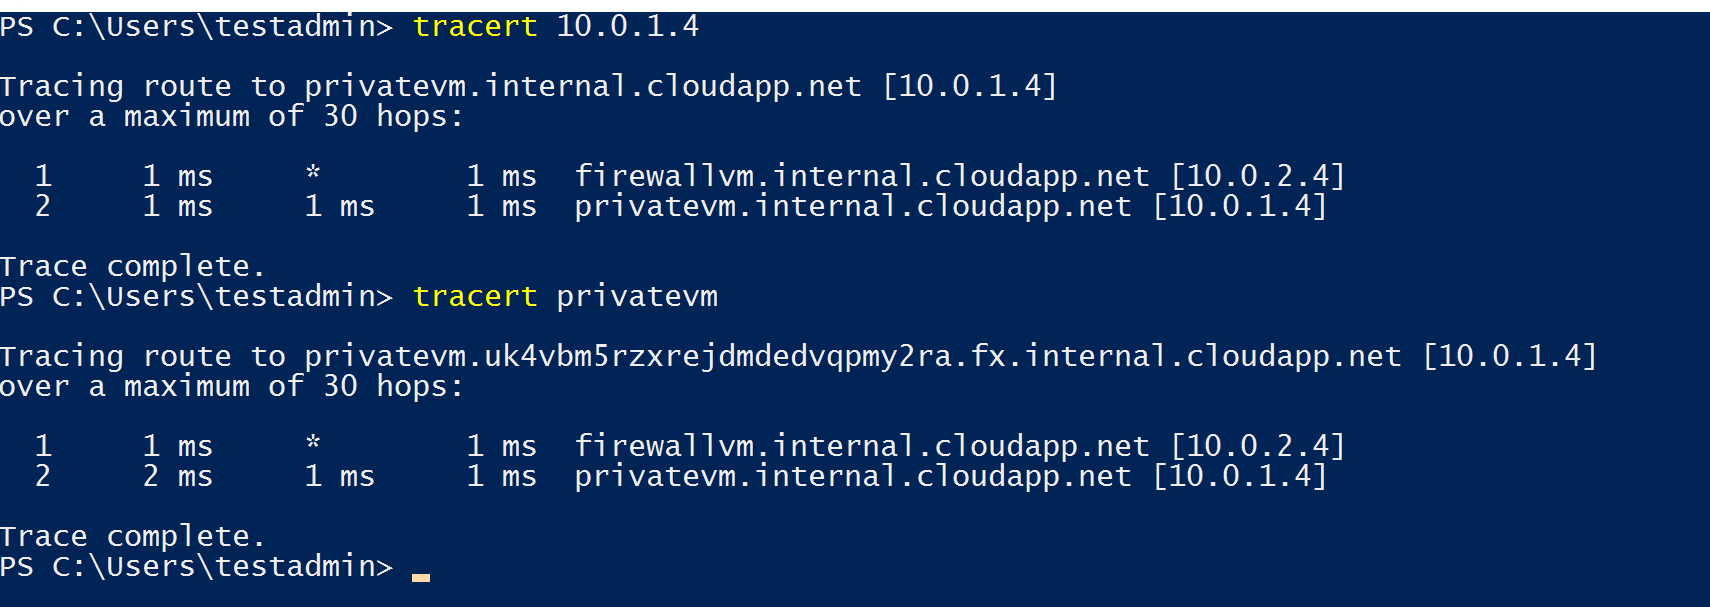
7. Now, let's test the routing traffic rule from Public VM to Private VM, in order to do so. Login to Public VM → Open Powershell → Type “tracert <Private IP of Private VM>

Now you can see the traceroute request fails when we try to communicate with Private VM, How do I fix it?
As we are using Firewall VM to route traffic to destination Private VM, now login to Firewall VM →open registry editor (regedit) → go to the path
HKLM:\SYSTEM\CurrentControlSet\Services\Tcpip\Parameters
Click on IpEnableRouter and set the value from 0 to 1
this can also be achieved by running the command on Powershell.
Set-ItemProperty -Path HKLM:\SYSTEM\CurrentControlSet\Services\Tcpip\Parameters -Name IpEnableRouter -Value 1

after making changes in the registry → restart Azure VM.
Now let's try again to traceroute from Public VM to Private VM.
