New changes in Azure Kubernetes Services
New changes in Azure Kubernetes Services
Azure Kubernetes Service (AKS) makes it simple to deploy a managed Kubernetes cluster in Azure. AKS reduces the complexity and operational overhead of managing Kubernetes by offloading much of that responsibility to Azure. As a hosted Kubernetes service, Azure handles critical tasks like health monitoring and maintenance for you. The Kubernetes masters are managed by Azure. You only manage and maintain the agent nodes. As a managed Kubernetes service, AKS is free — you only pay for the agent nodes within your clusters, not for the masters.
Here in this article, I am going to talk about Azure Kubernetes Services' creation via the Azure portal and through Azure CLI. Also, there were few new changes that were being introduced in Azure Kubernetes services creation as well as there are new features that were being introduced by Microsoft.
Azure Kubernetes Services Creation using GUI
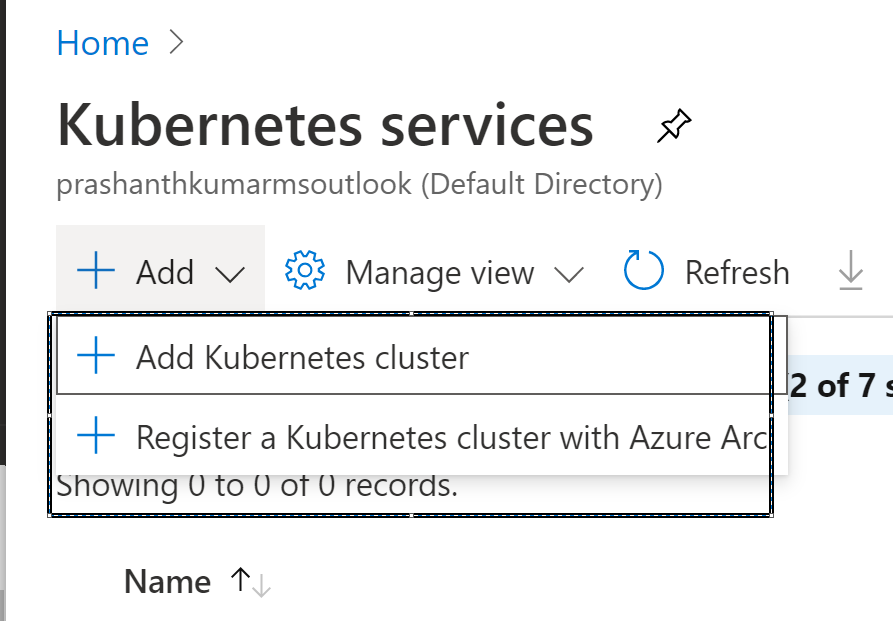
- Login to Azure Portal → Search for Kubernetes → click on Add Kubernetes Cluster
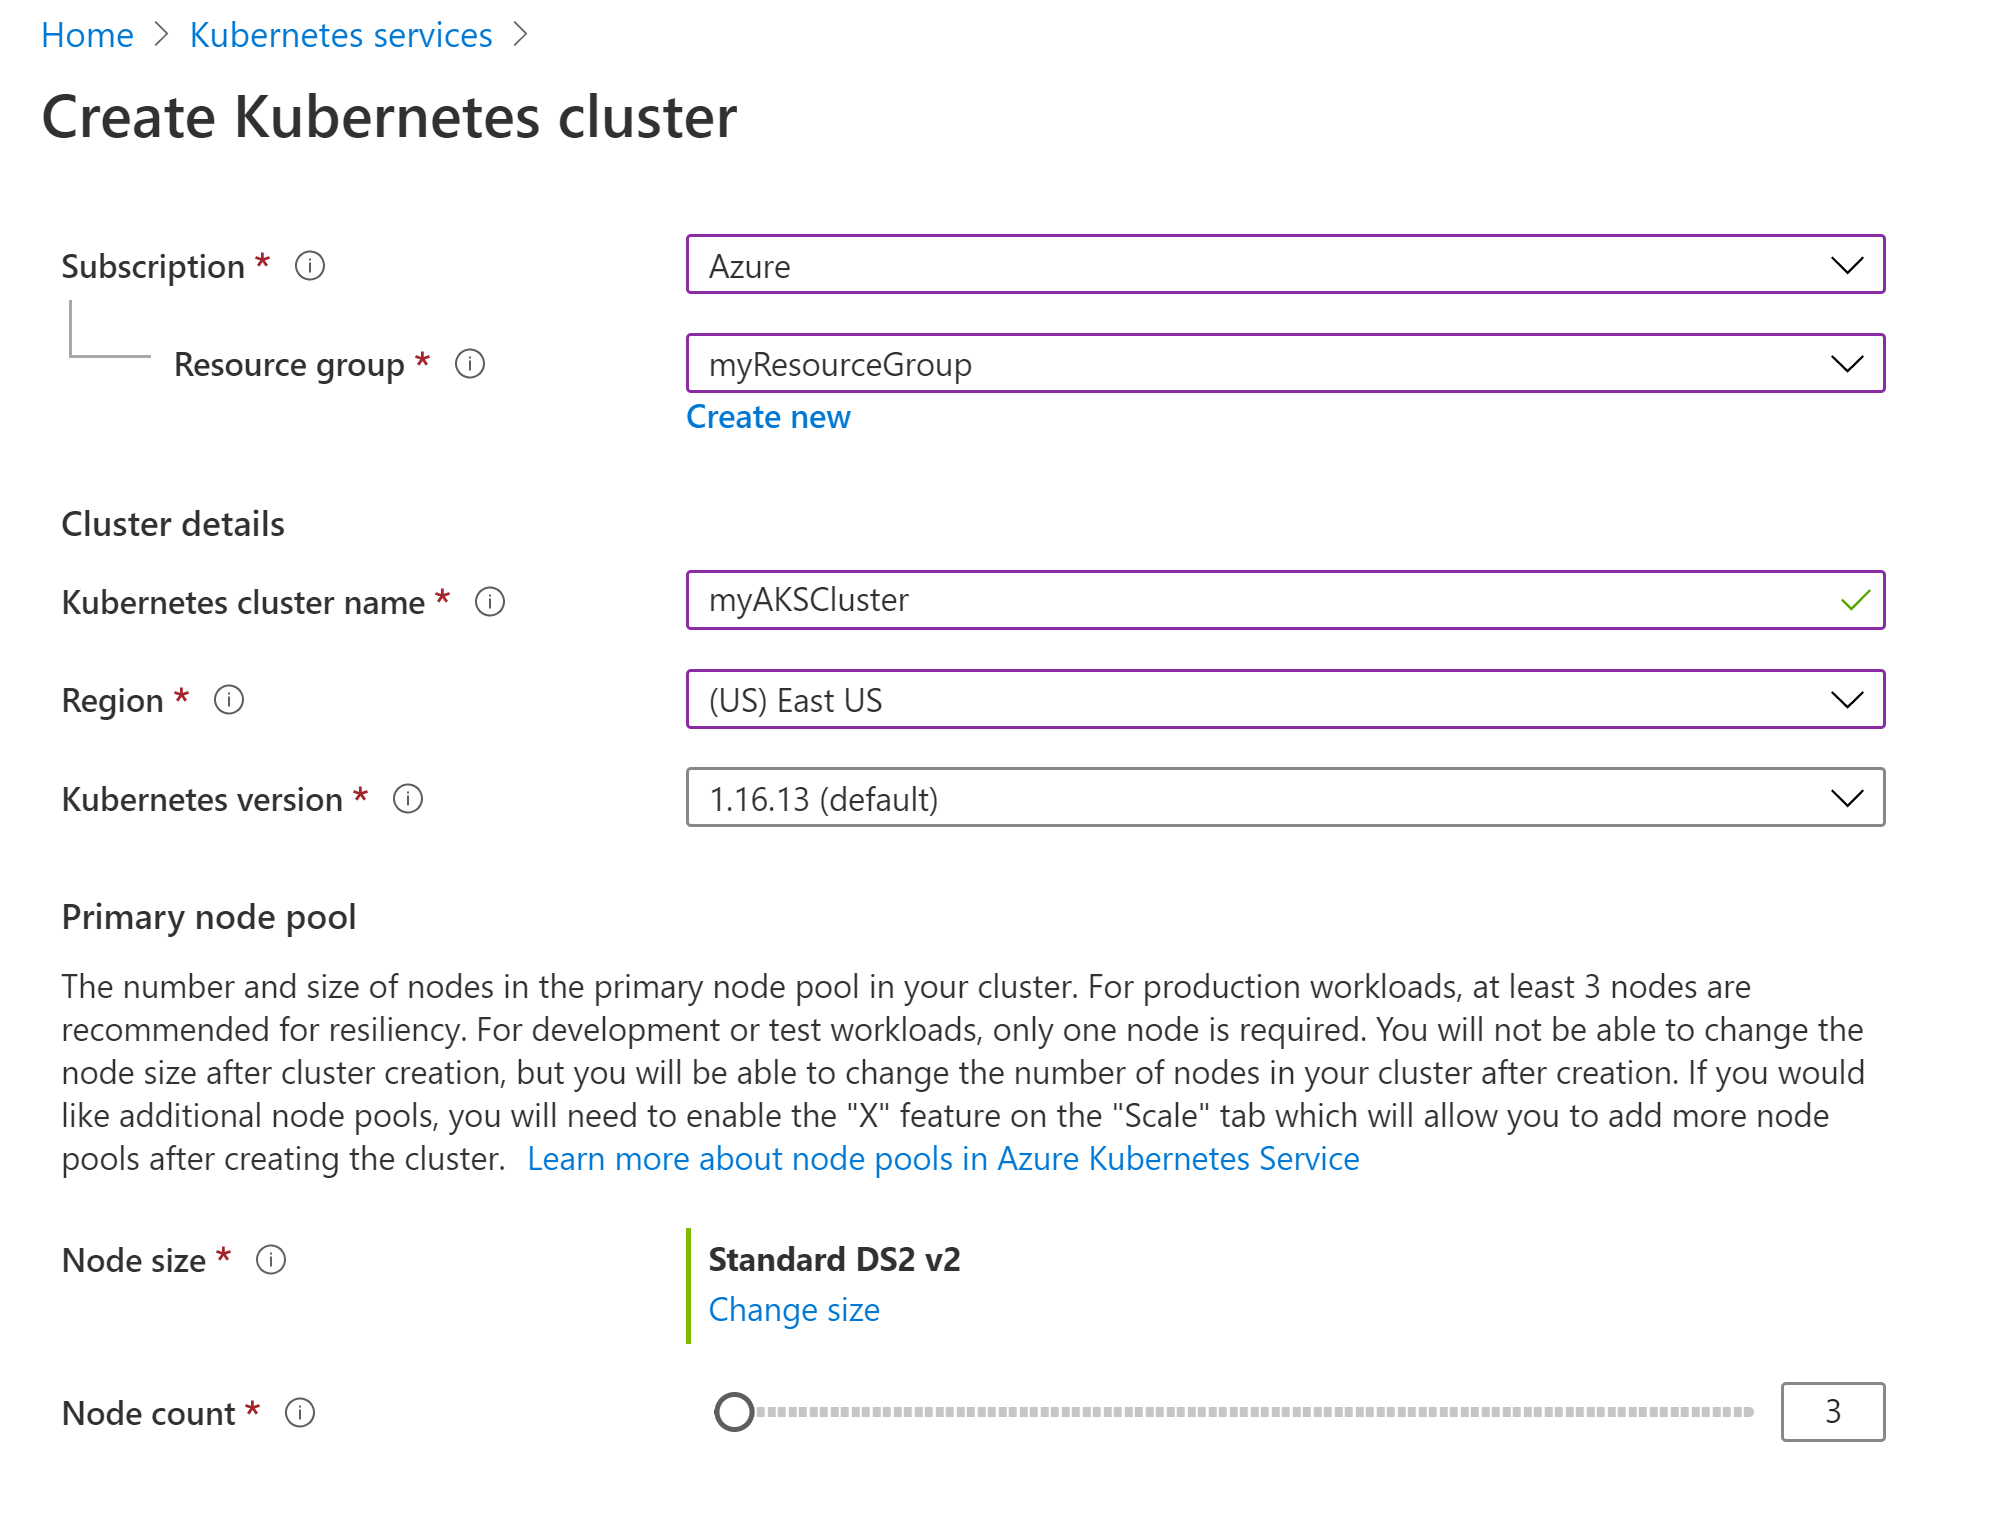
2. Select Subscription & Resource group, along with region and version.
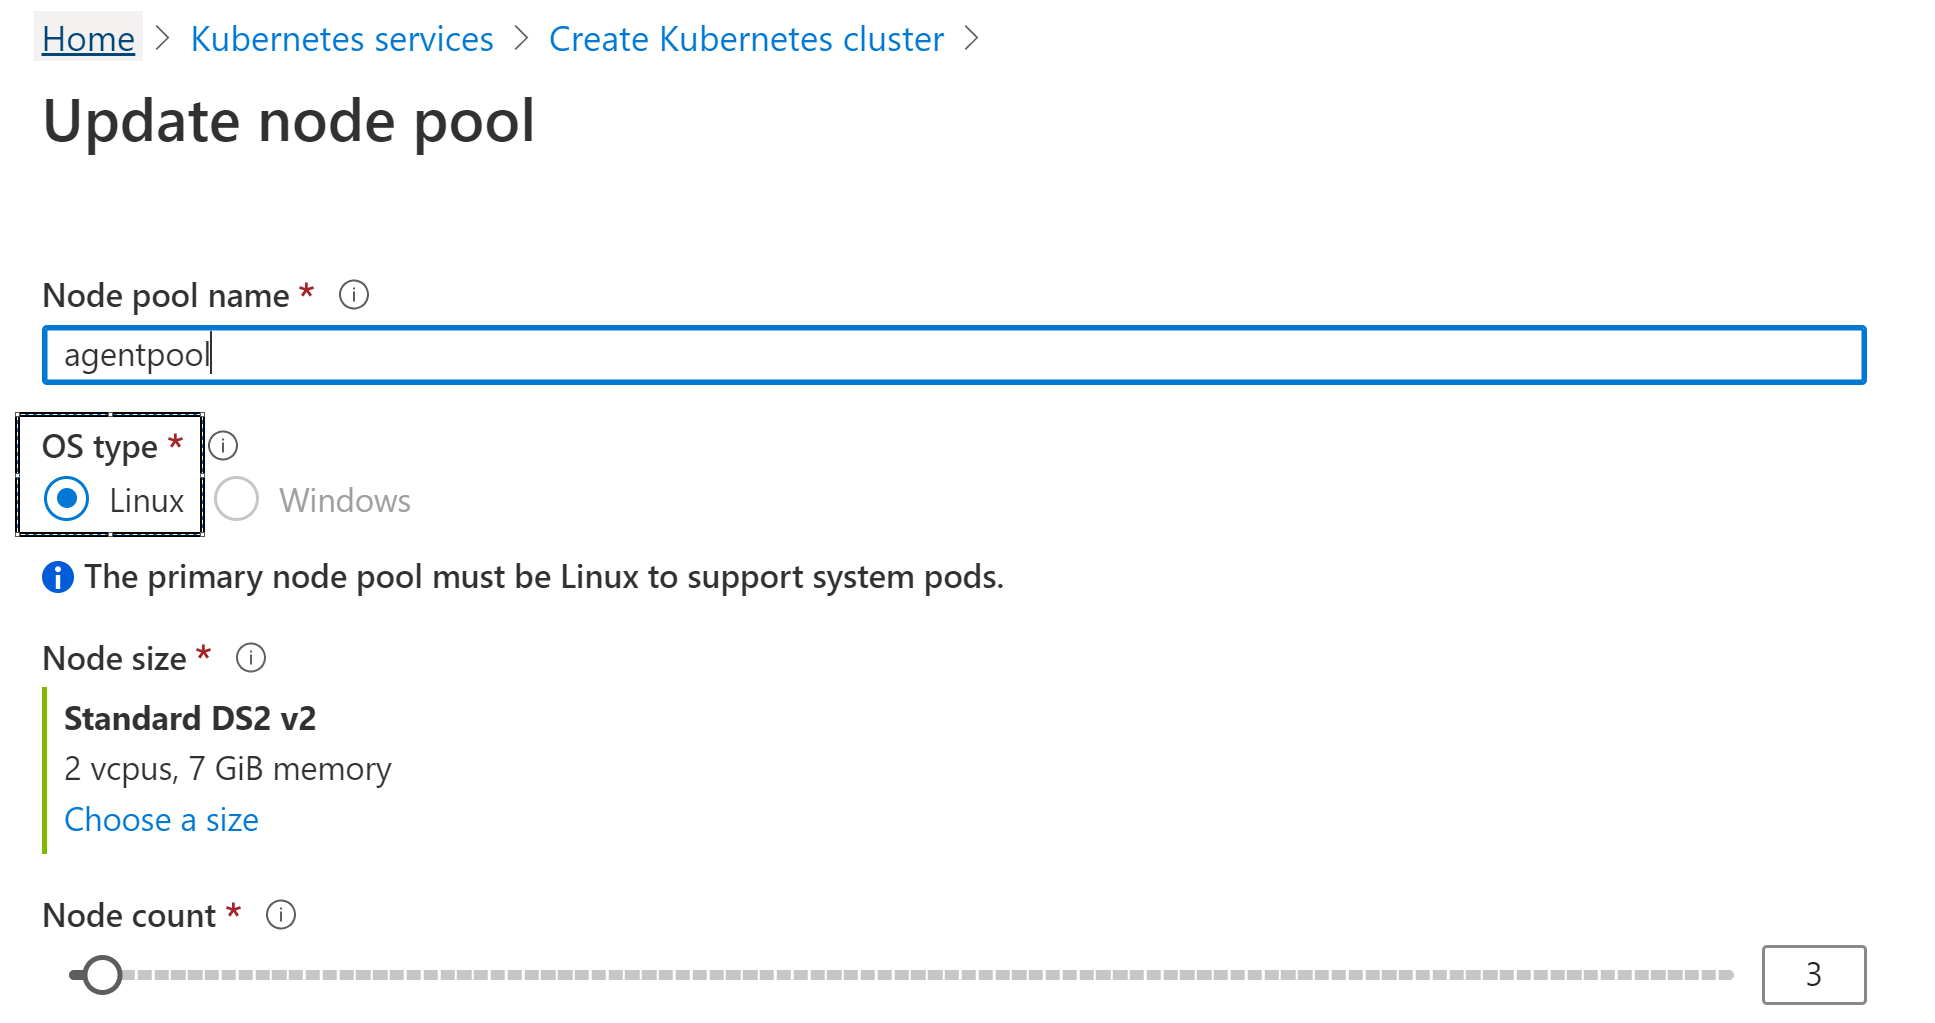
3. Select Node pools ( New addition)
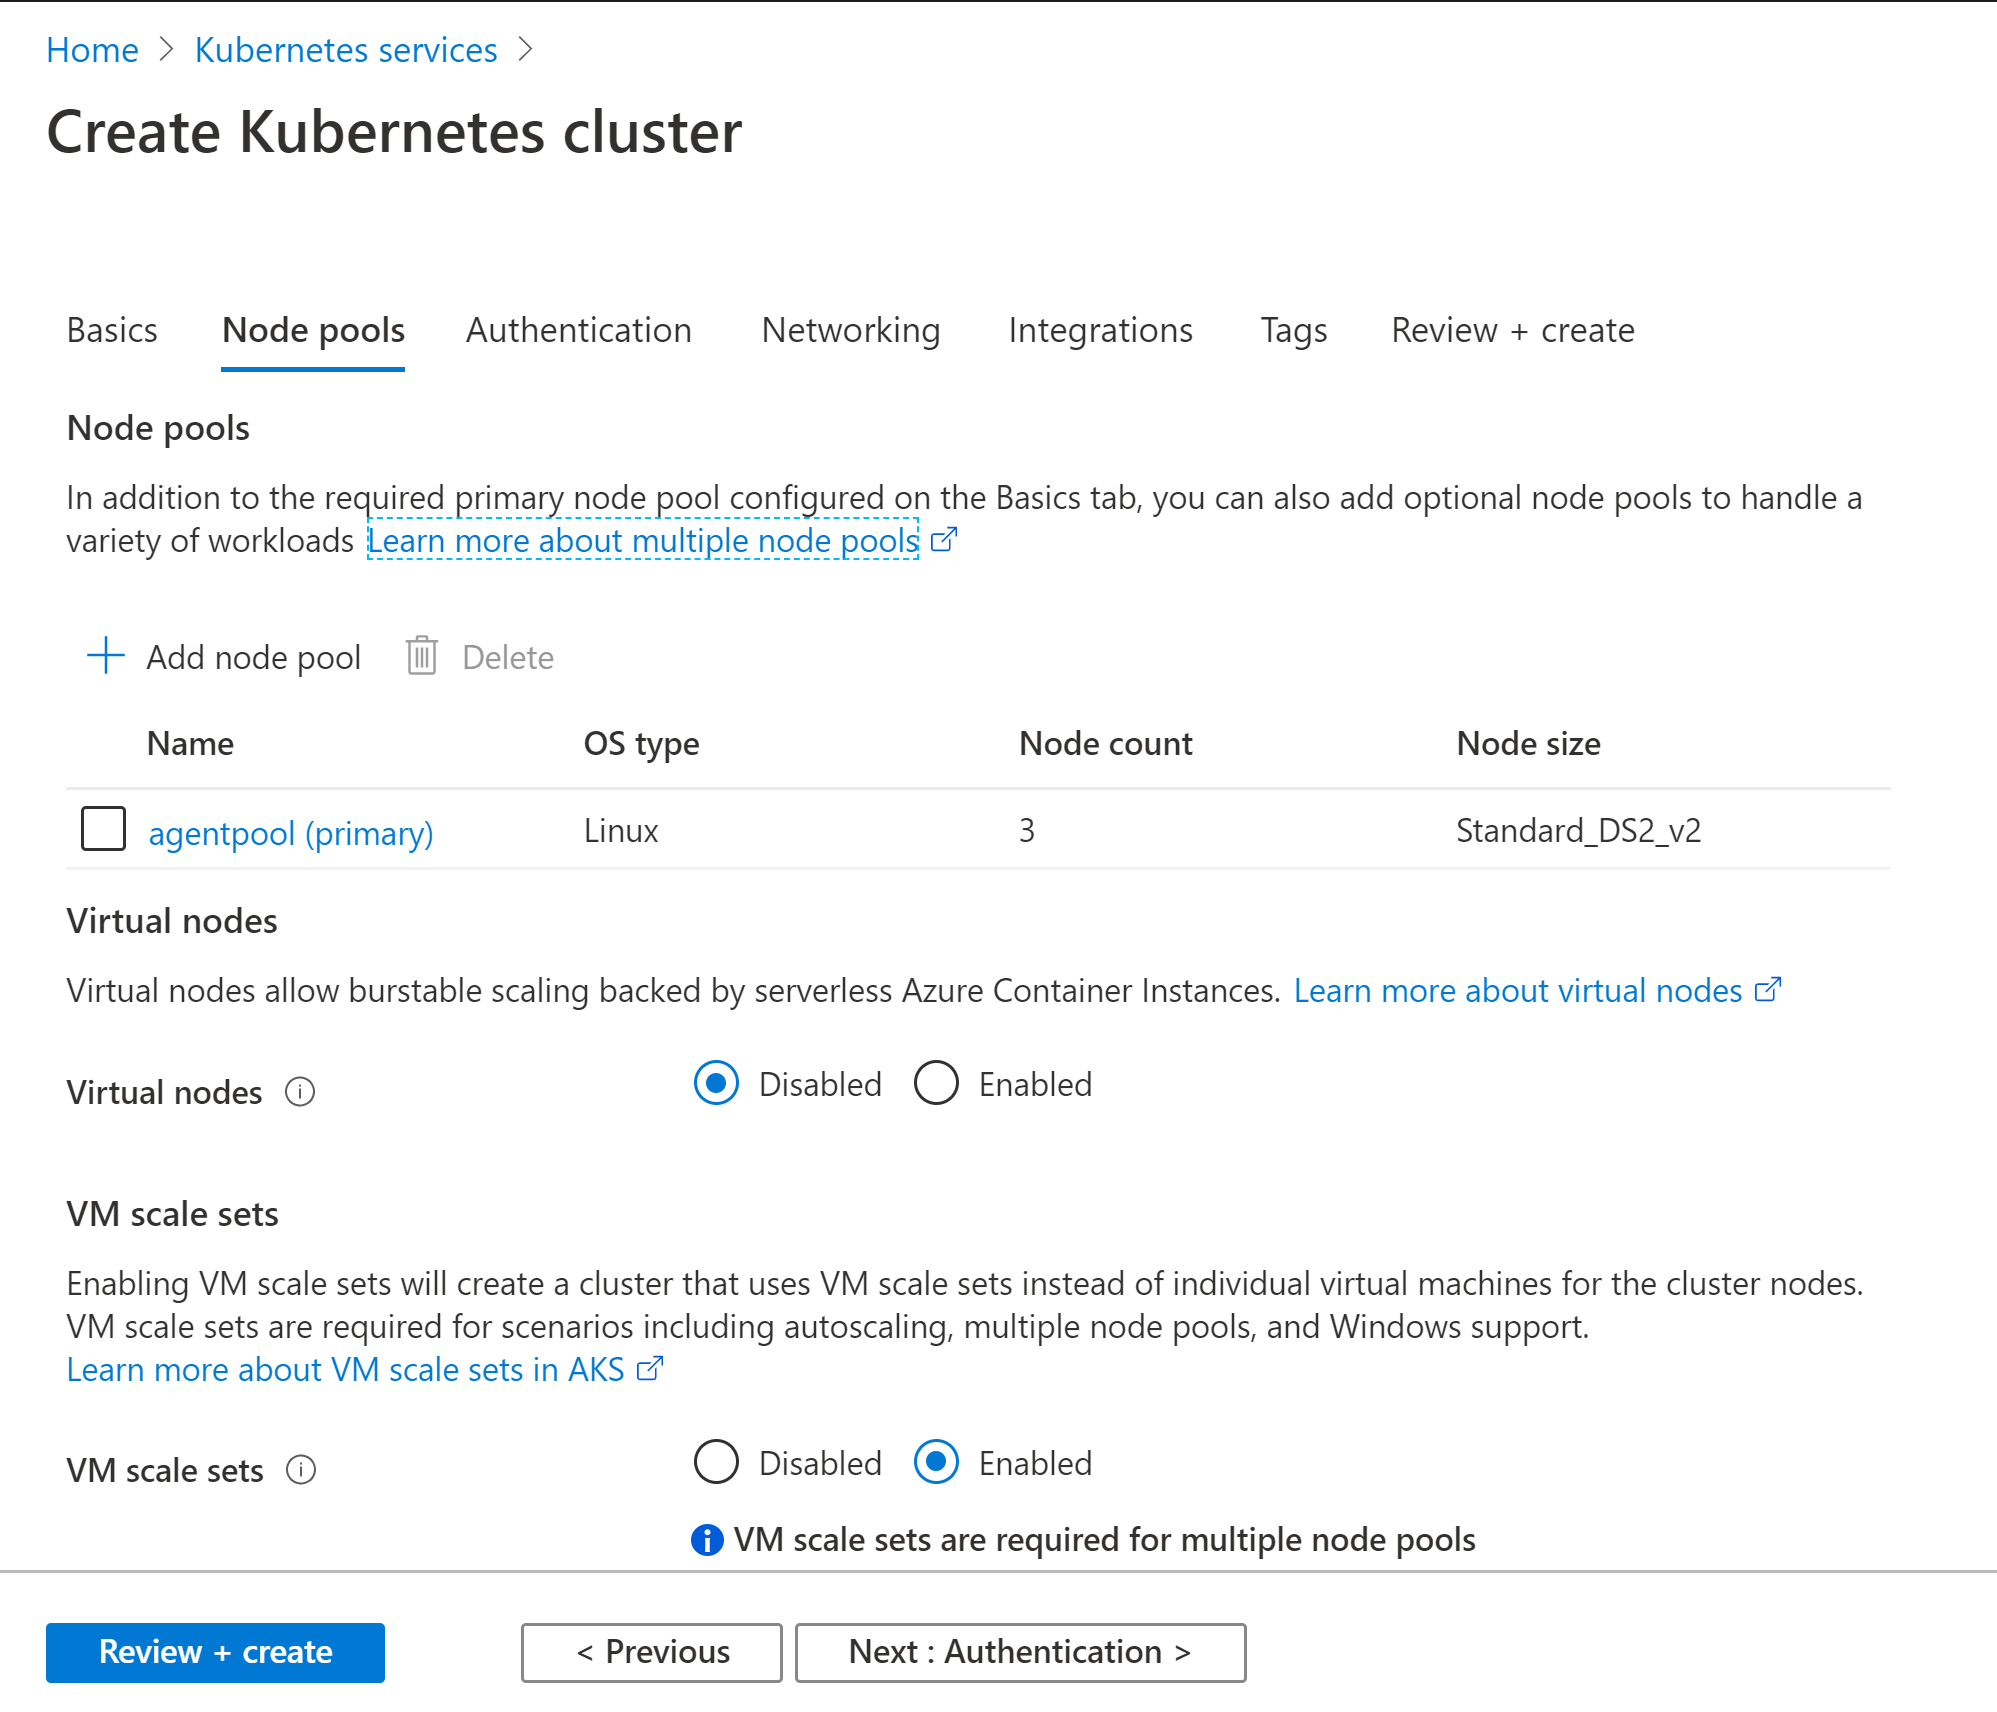
If you want to add Additional node pools please click on + sign, by default Linux OS is assigned to Primary Agent pool and you cant able to make any changes.
Virtual nodes: Enabling virtual nodes allows you to deploy or burst out containers to nodes backed by serverless Azure Container Instances. This can provide fast burst scaling options beyond your defined cluster size.
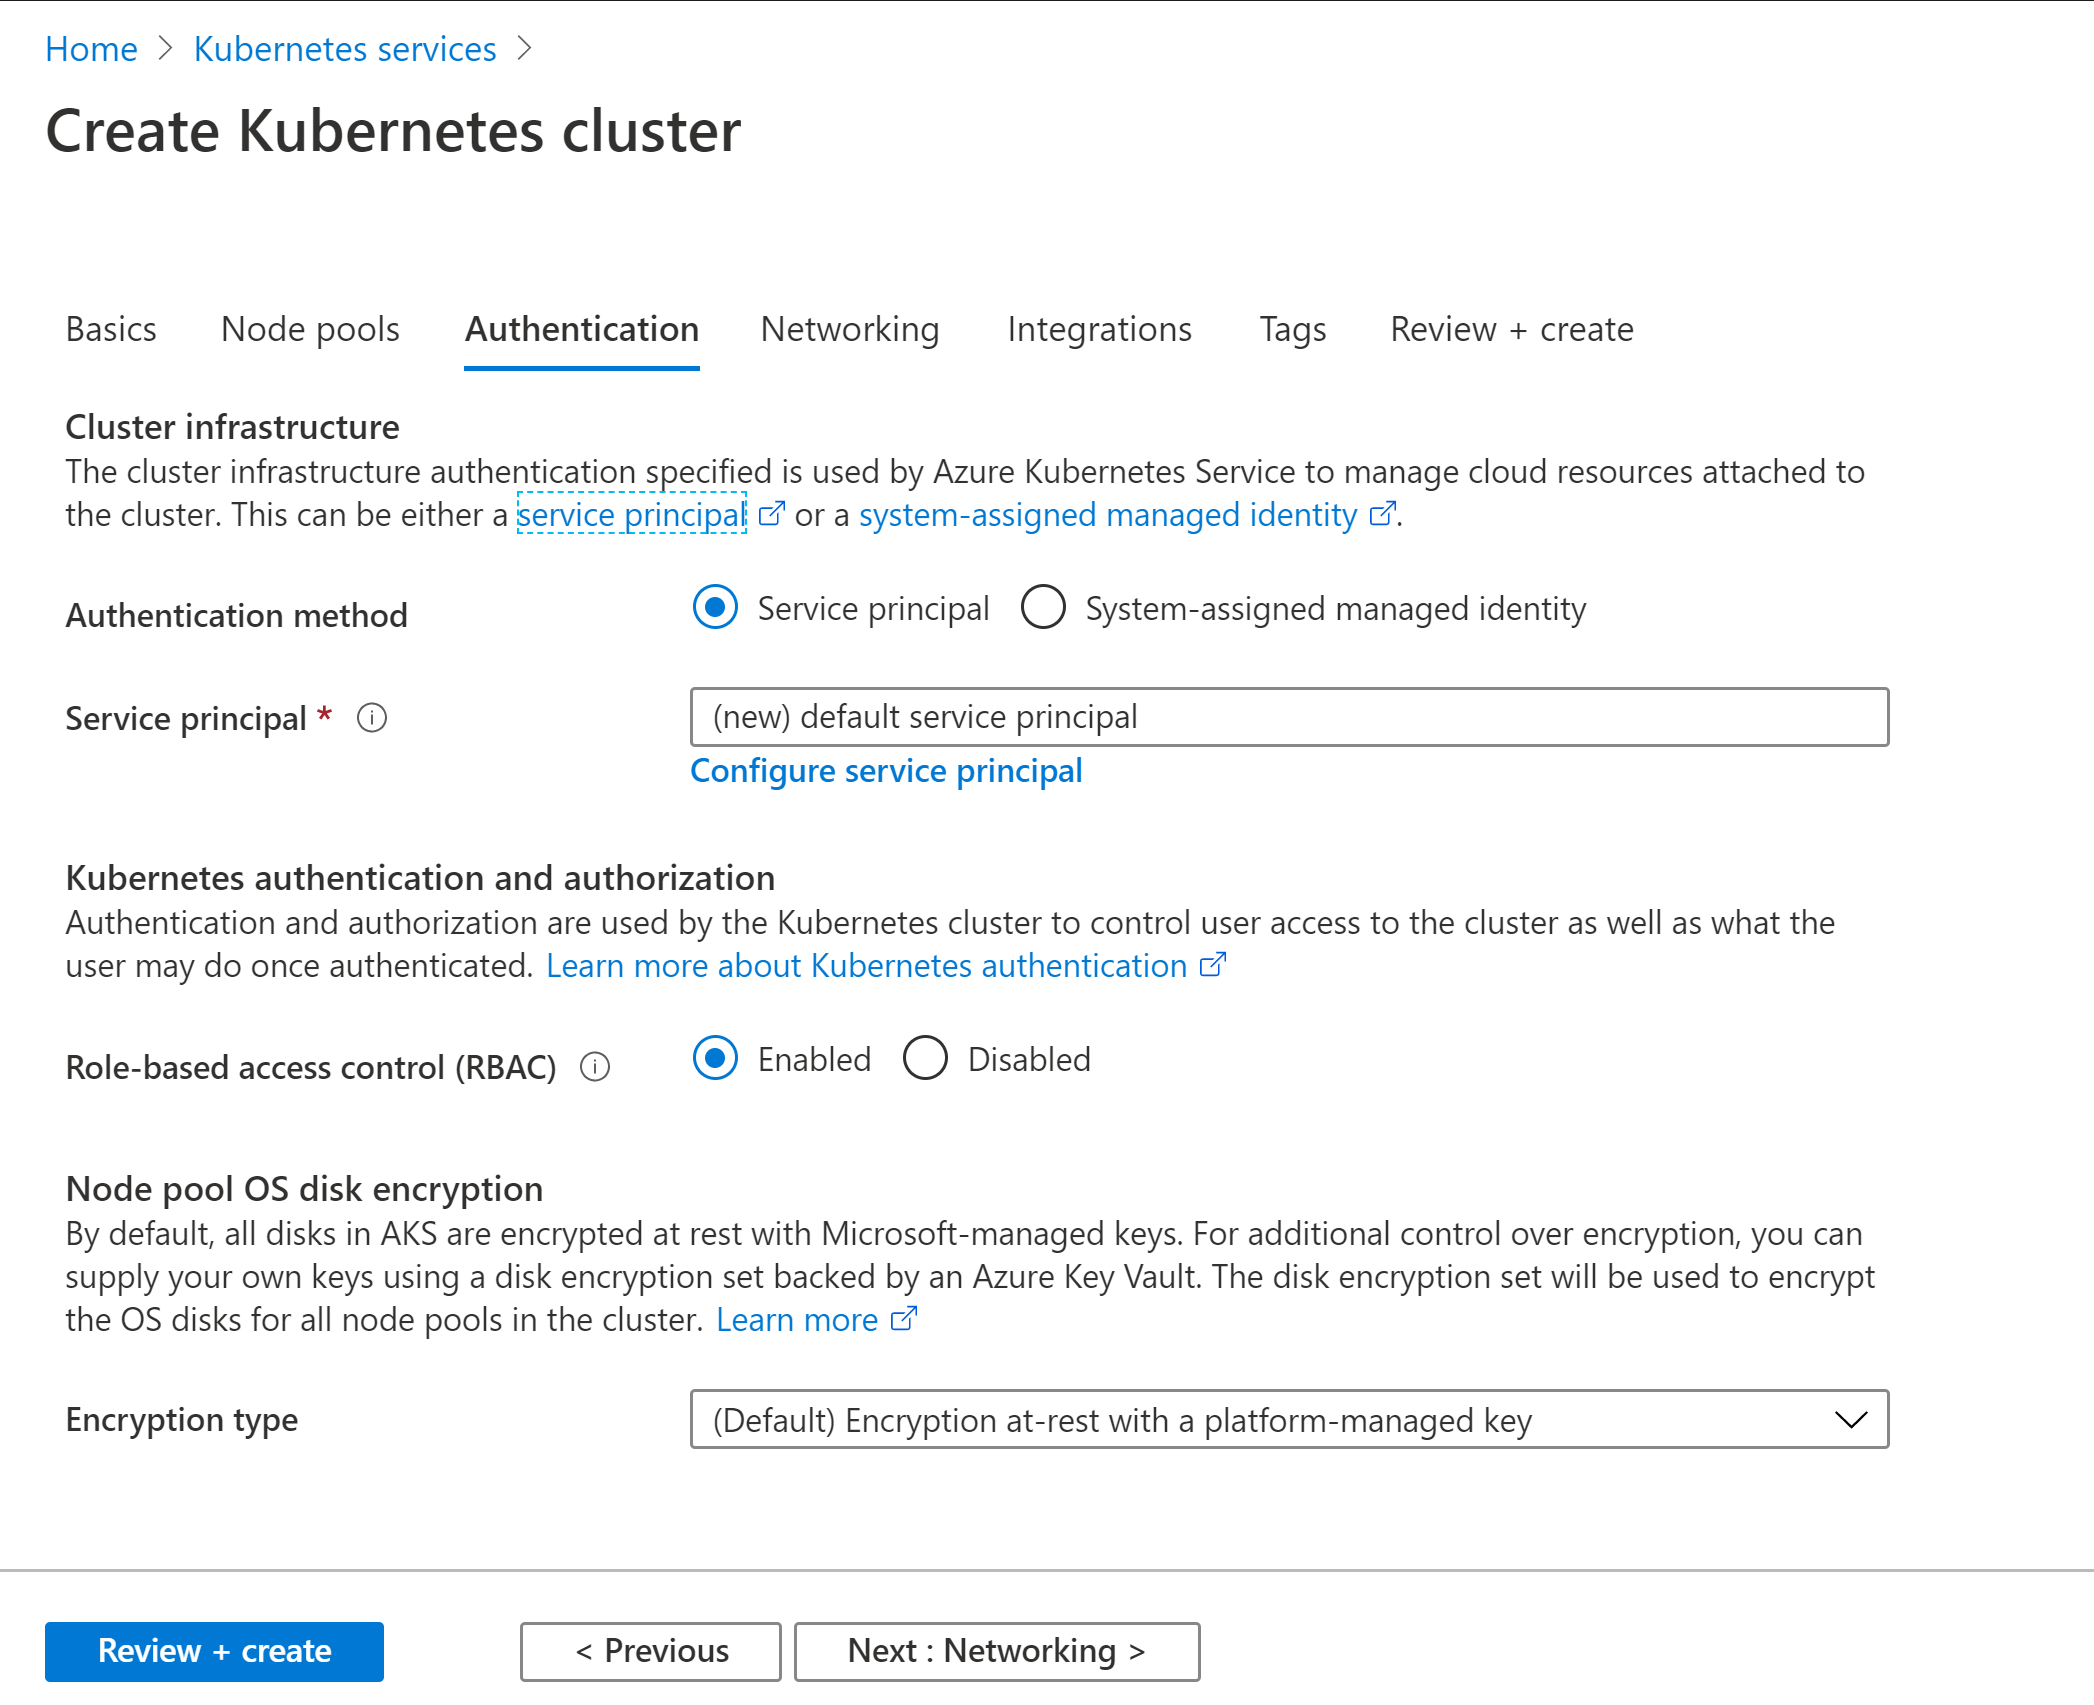
4. Authentication (New Addition)
This is the place where you need to select the Authentication method either as Service Principal or System-assigned managed identity.
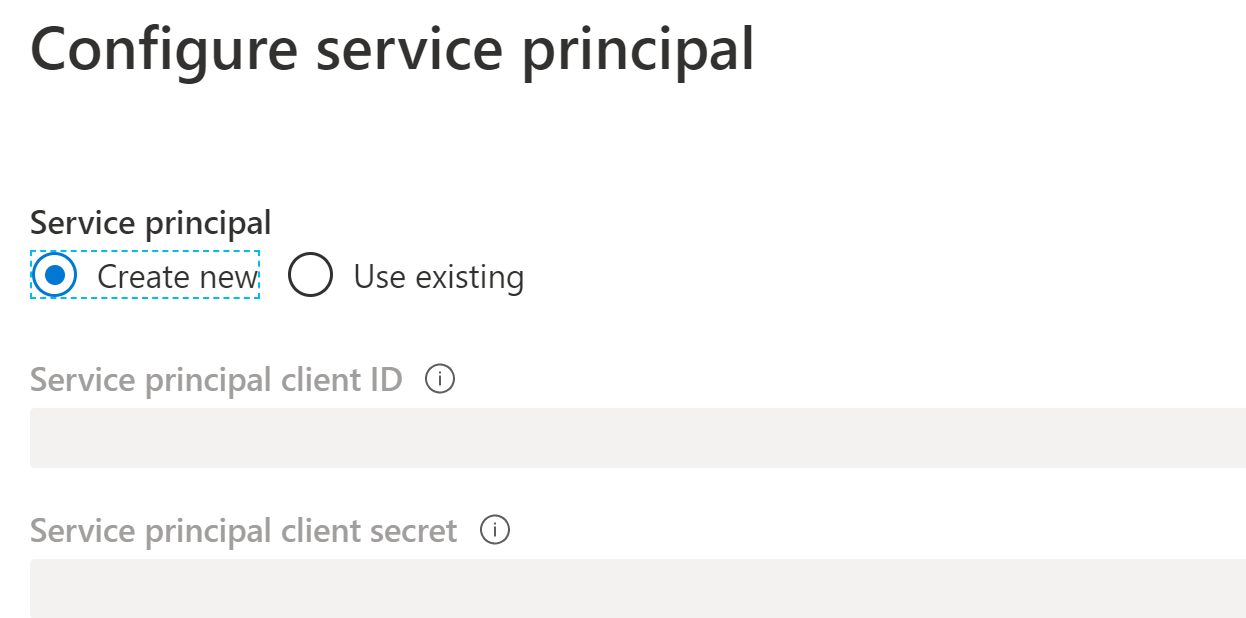
Either you can create a new Service Principal or you can use an existing one.
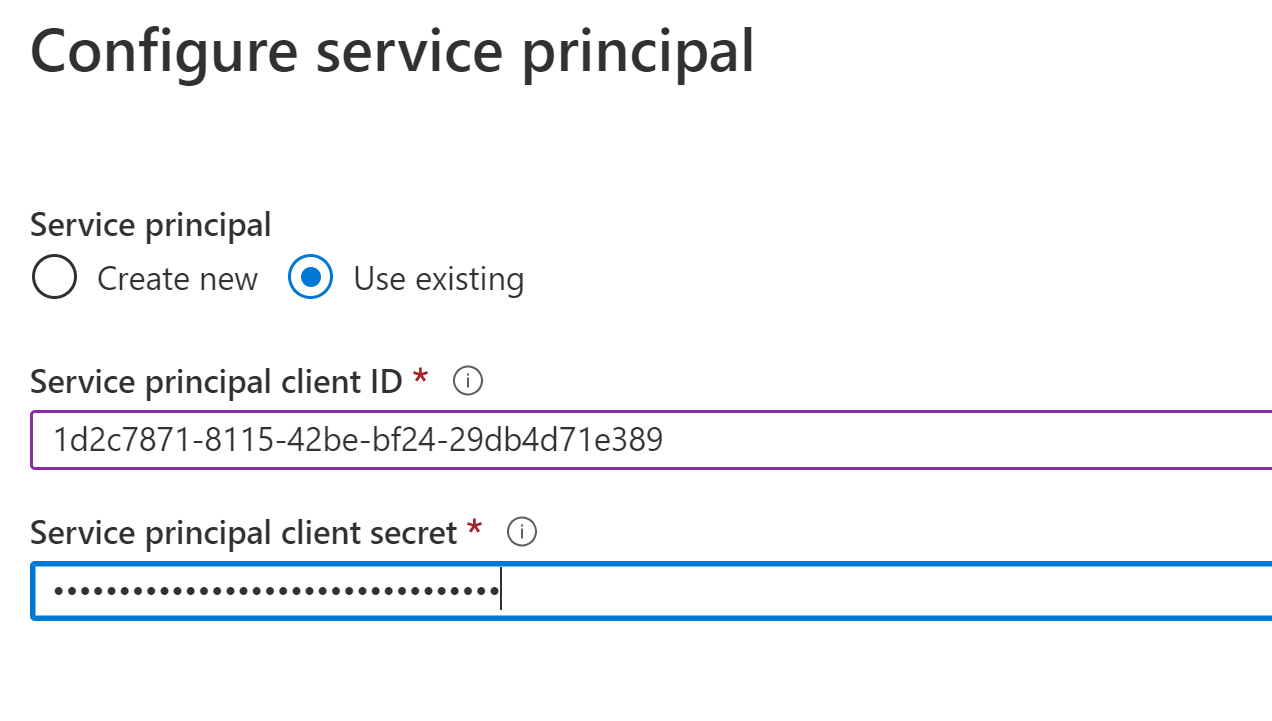
In our case, I will be using Service principal which I have created during Azure CLI
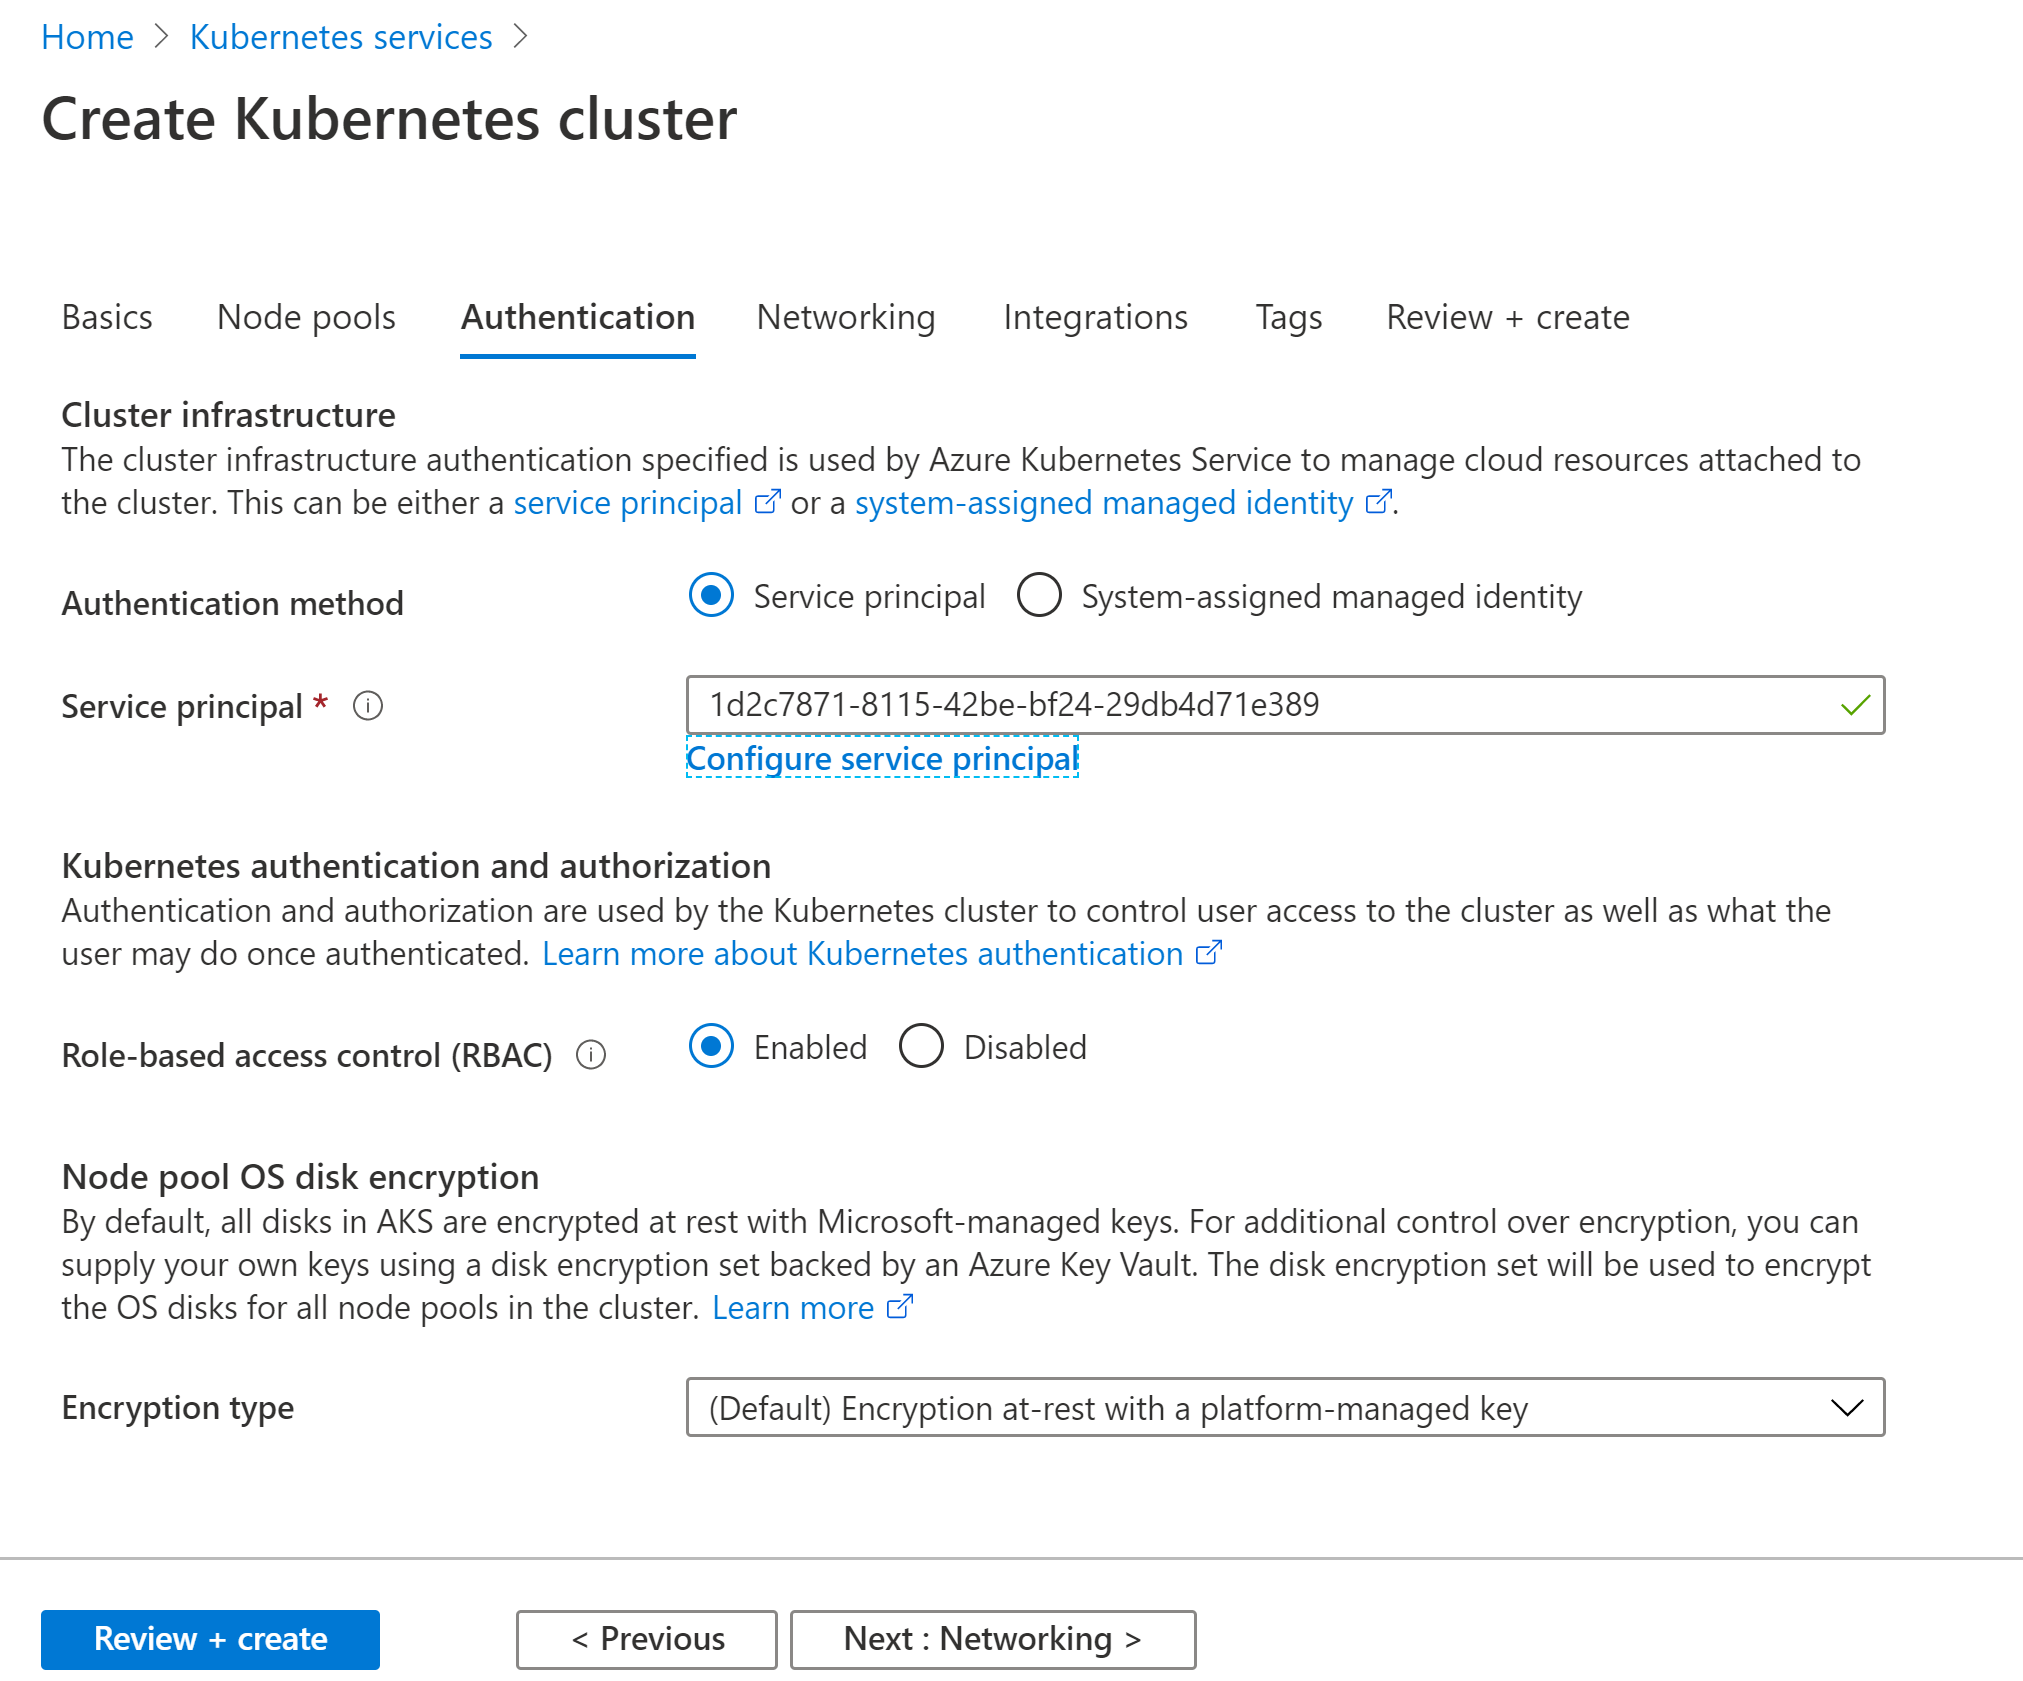
Set Role-based access control (RBAC): Enabled.
5. Networking
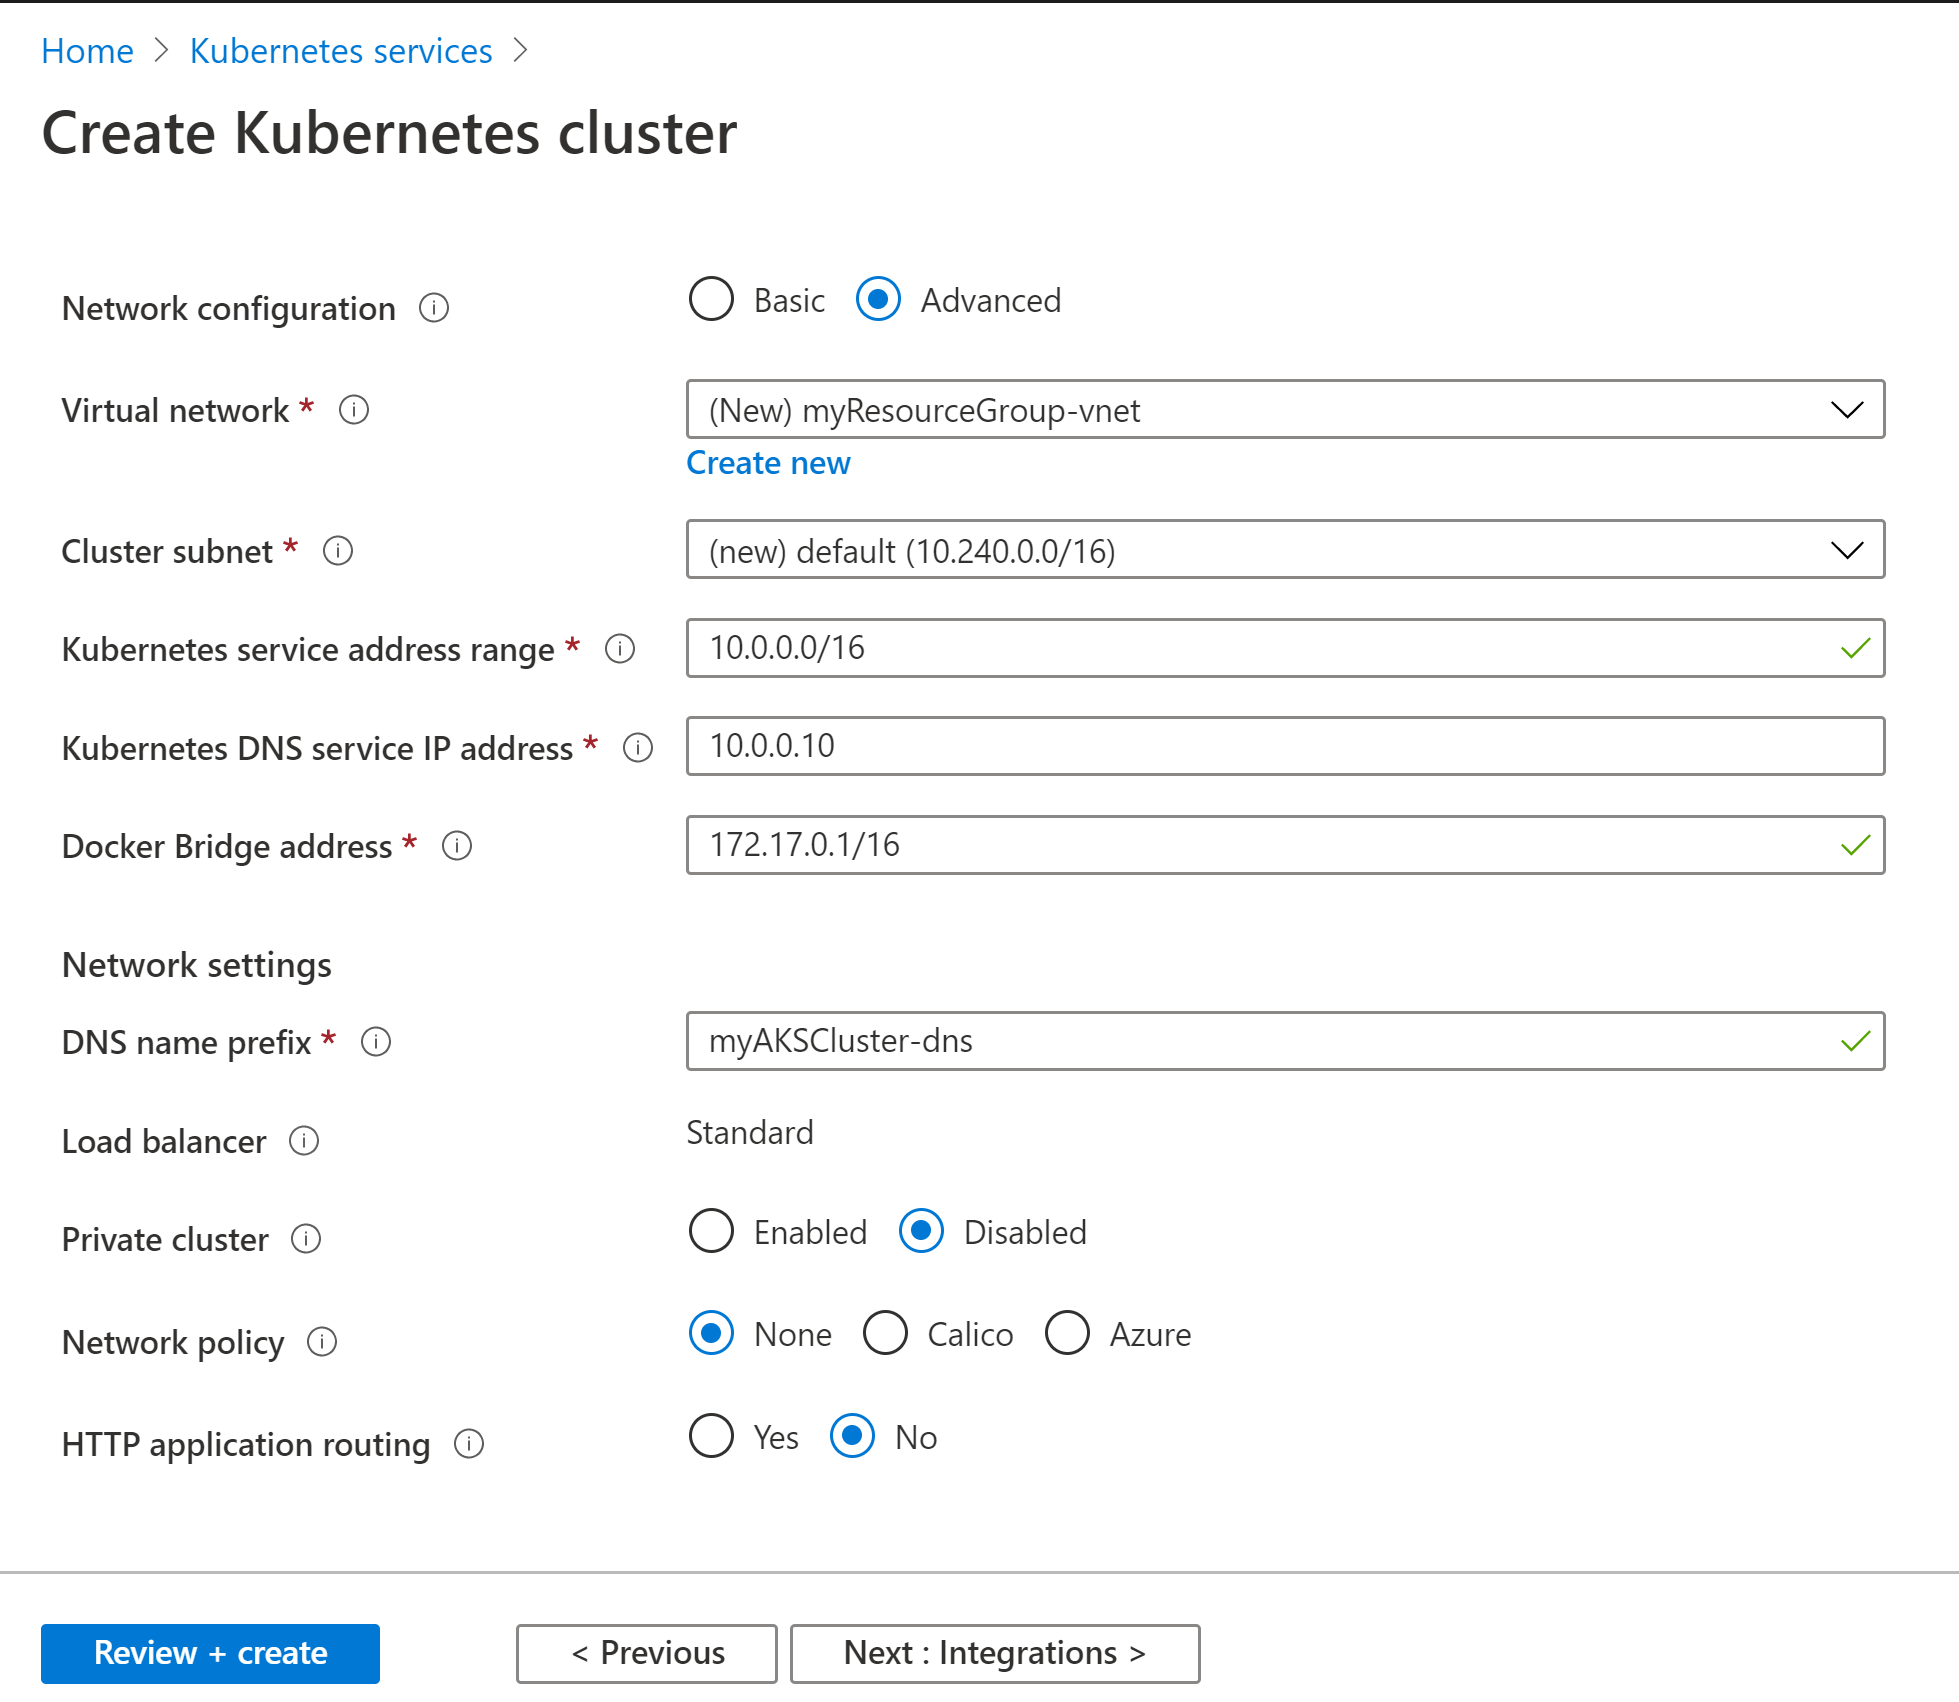
Under Network policy: Calico is the latest addition (https://www.tigera.io/blog/kubernetes-networking-with-calico/#:~:text=Calico%20is%20a%20container%20networking,provide%20network%20policy%20for%20Kubernetes.)
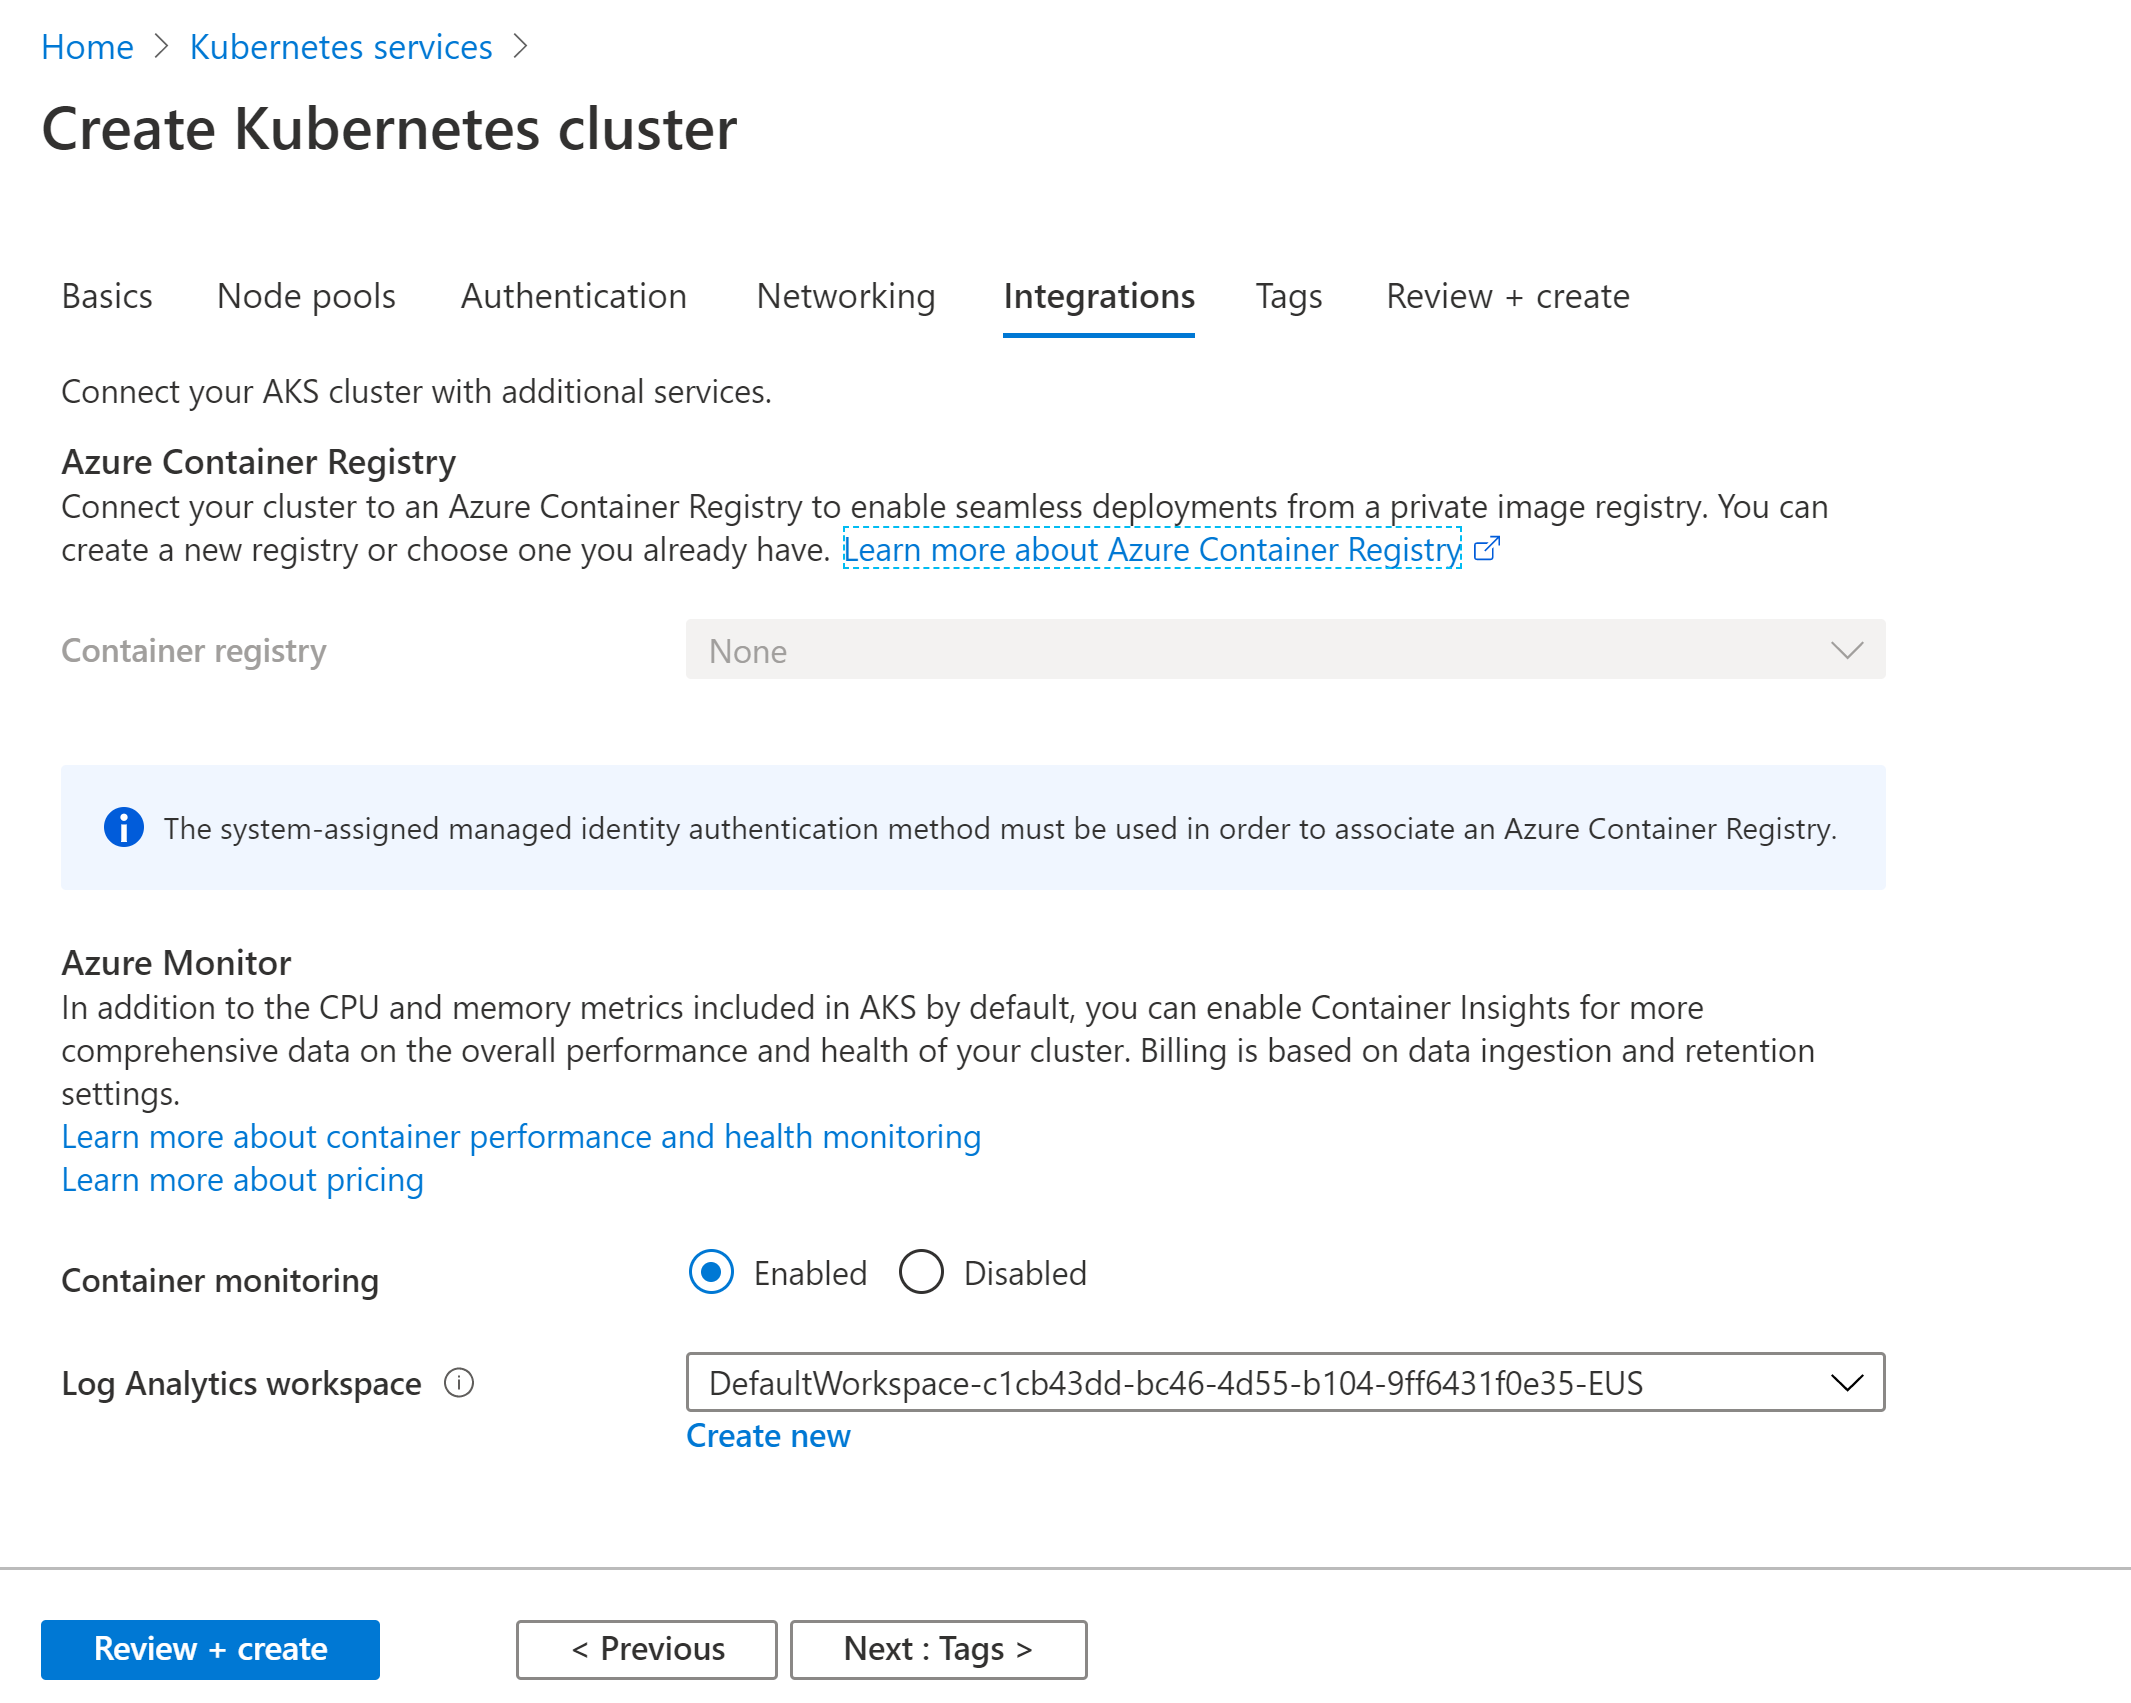
6. Integrations (Earlier this was referred as Monitoring)
7. Finally Once the service is ready, there are few new options are available for us.
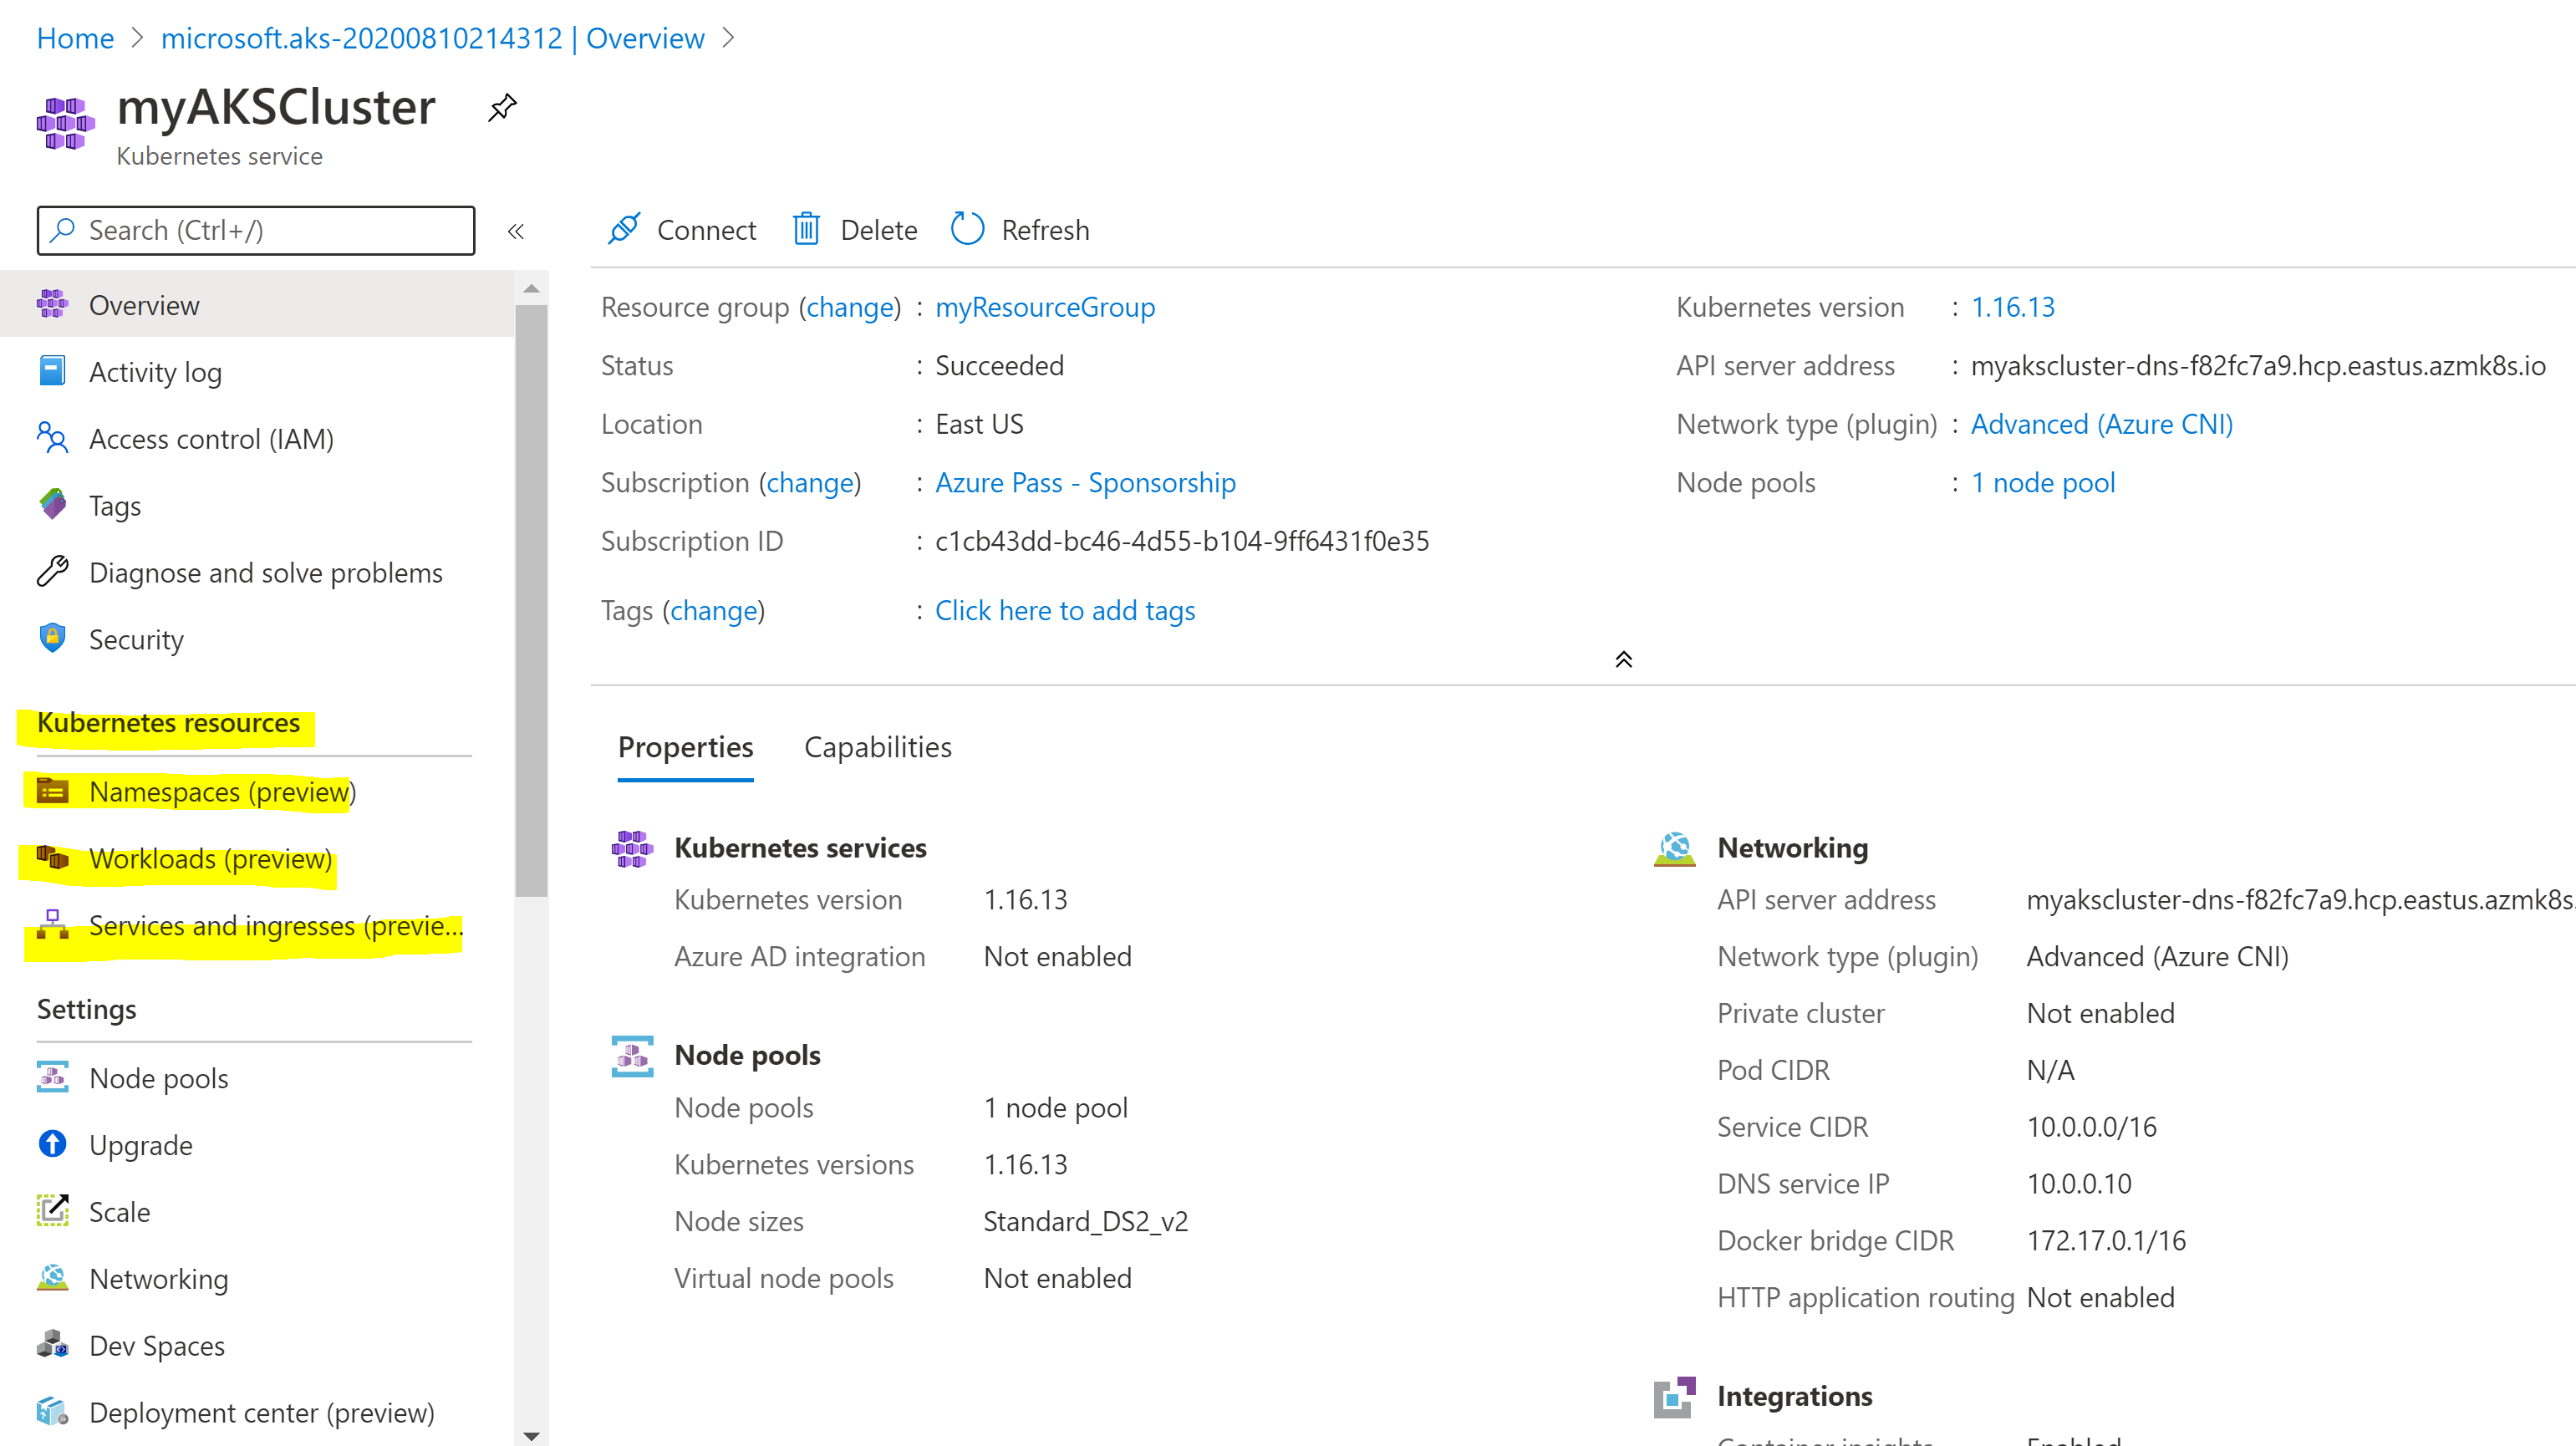
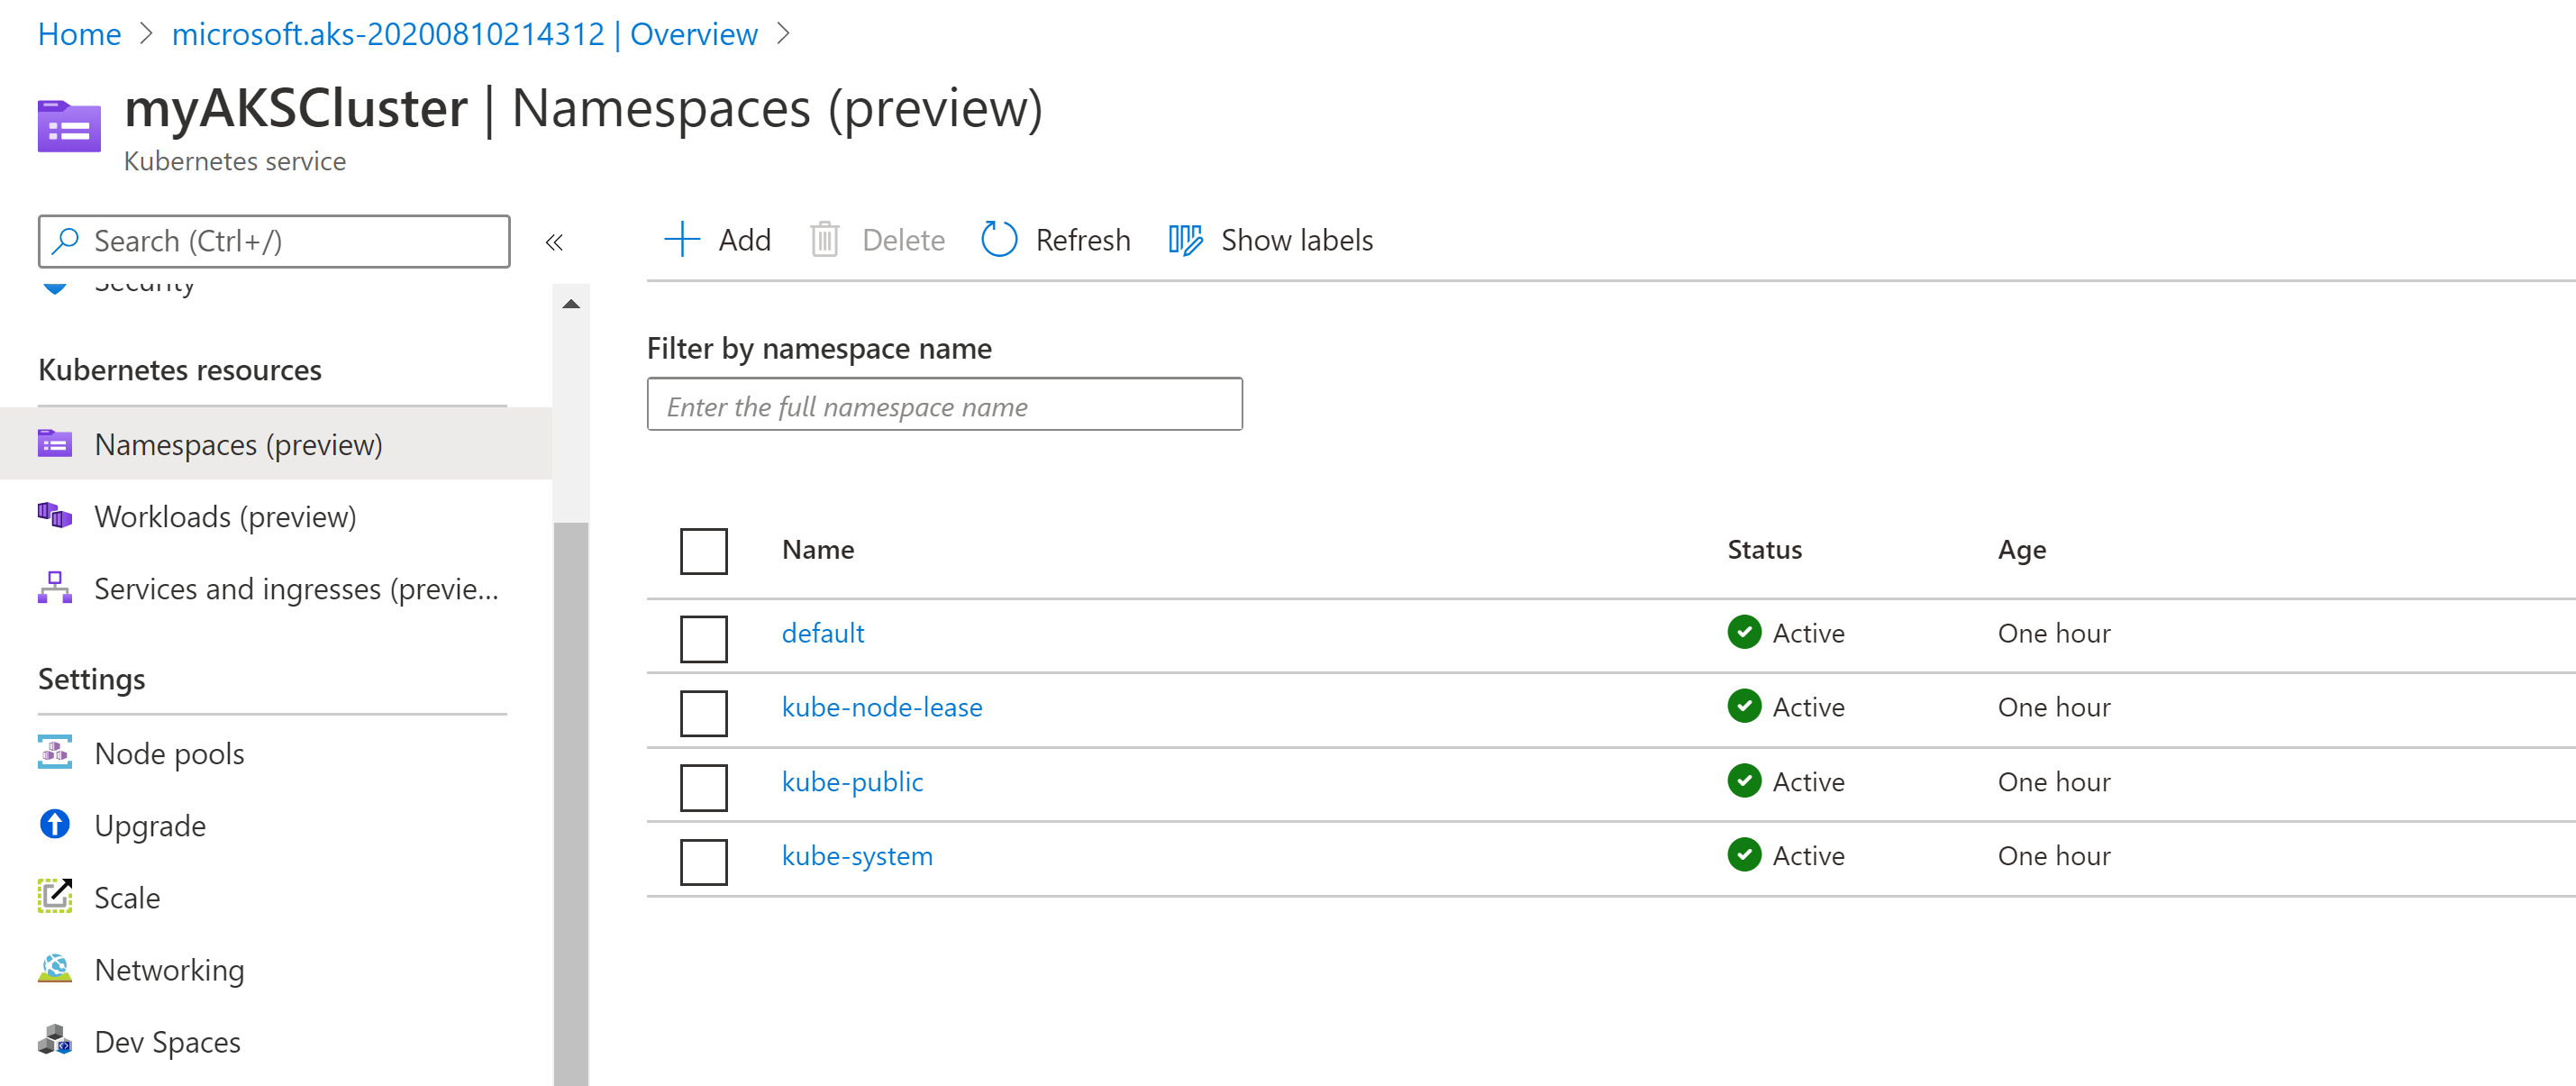
* Namespaces : Kubernetes resources, such as pods and Deployments, are logically grouped into a namespace. These groupings provide a way to logically divide an AKS cluster and restrict access to create, view, or manage resources. You can create namespaces to separate business groups, for example. Users can only interact with resources within their assigned namespaces.
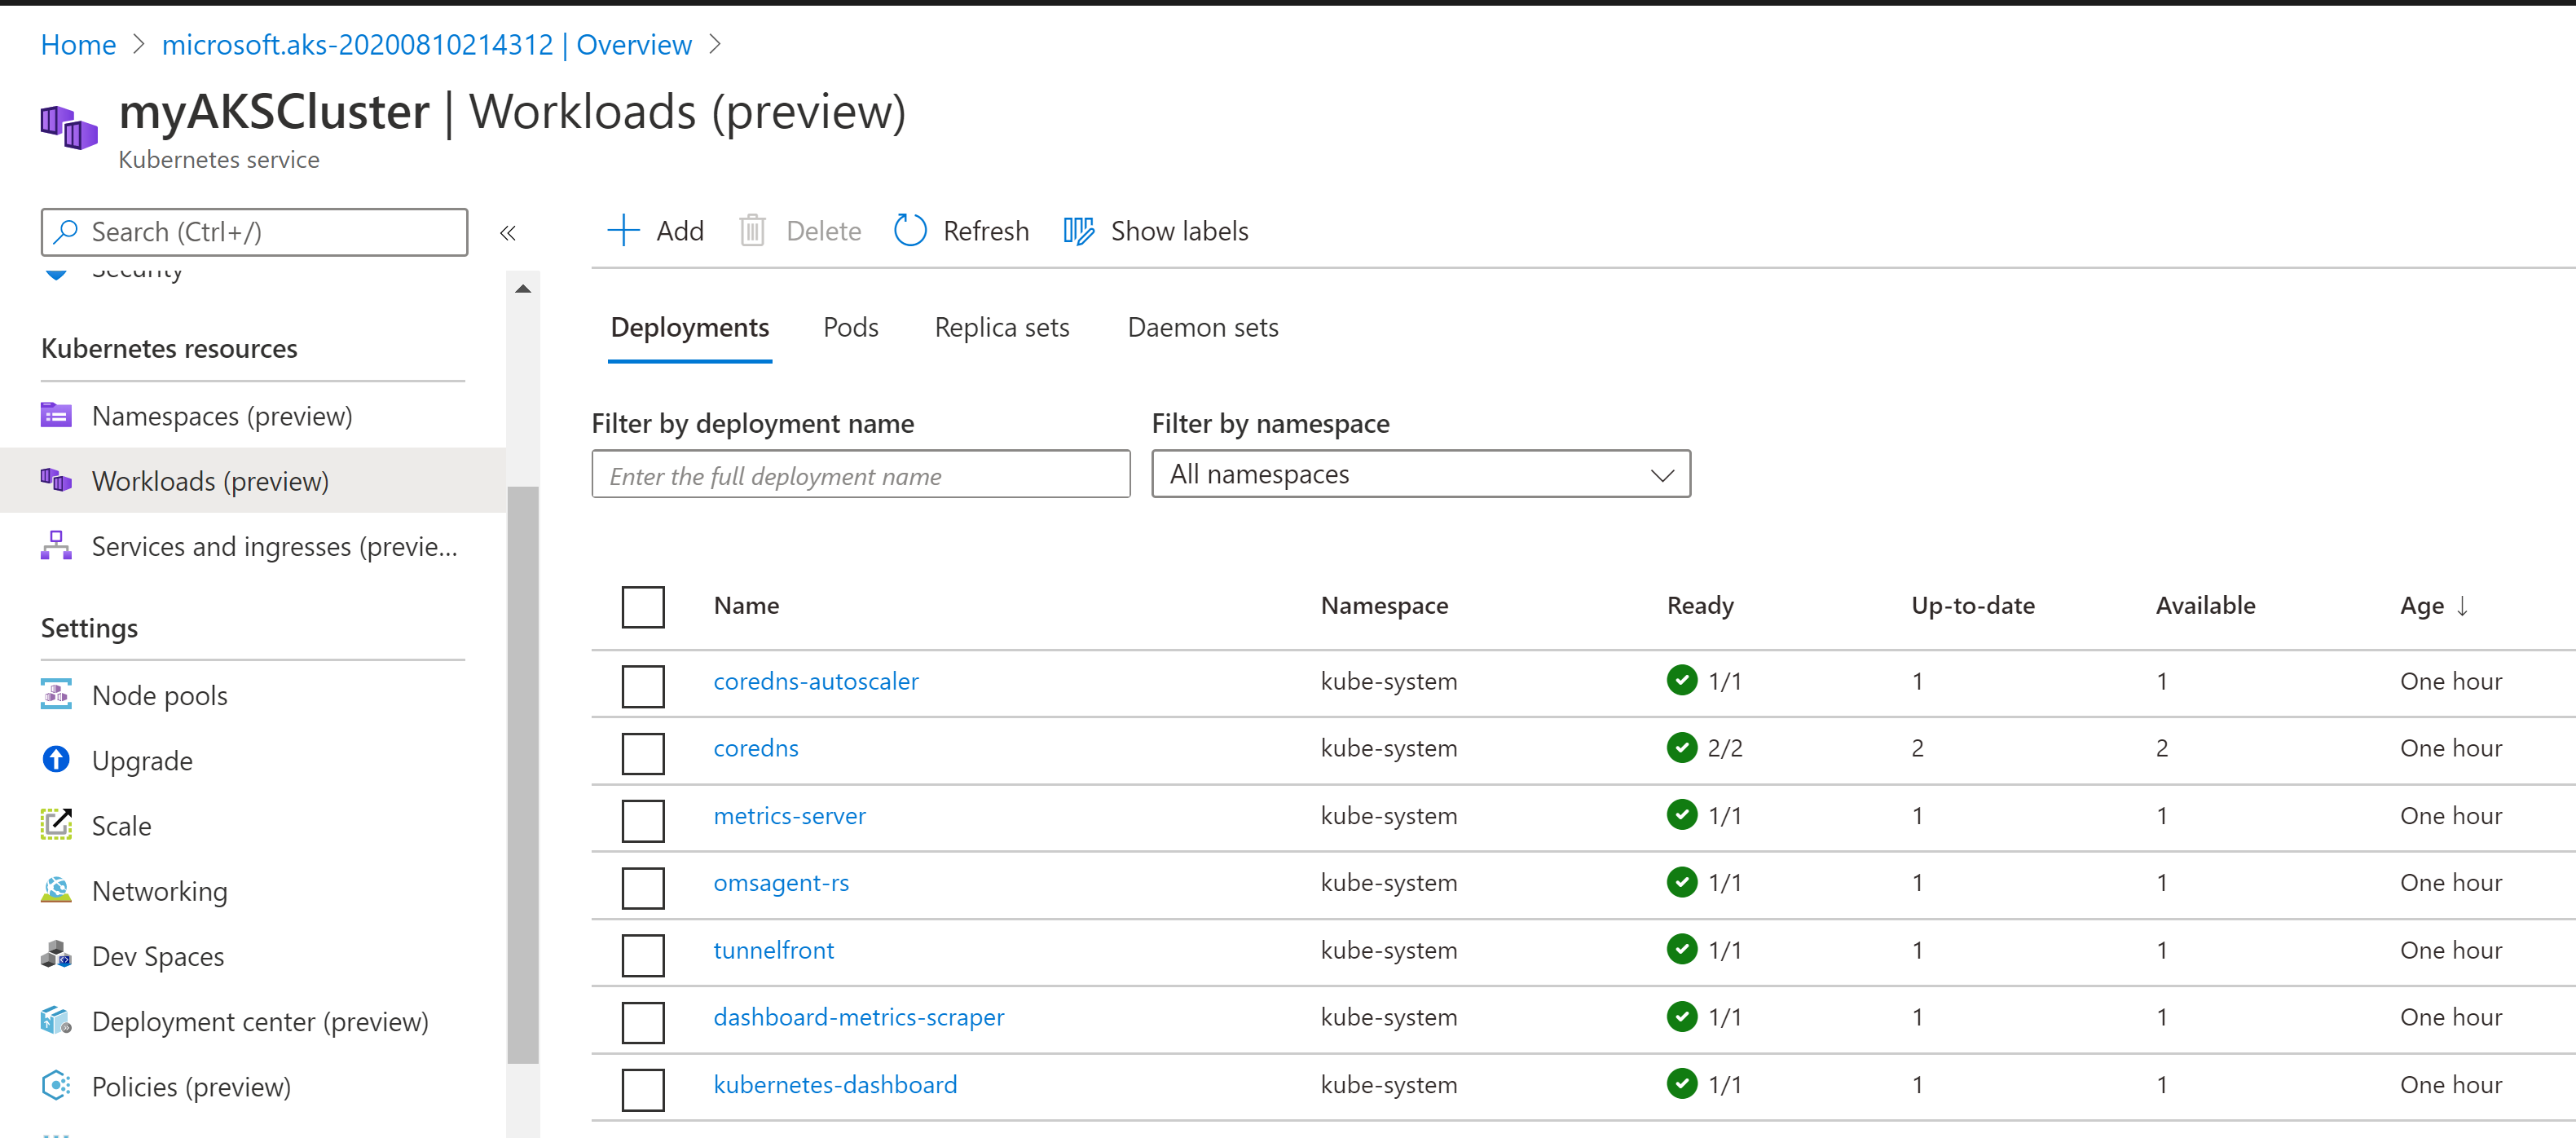
* workloads : AKS provides some unique features around scaling that could make it an attractive solution for dynamic workloads
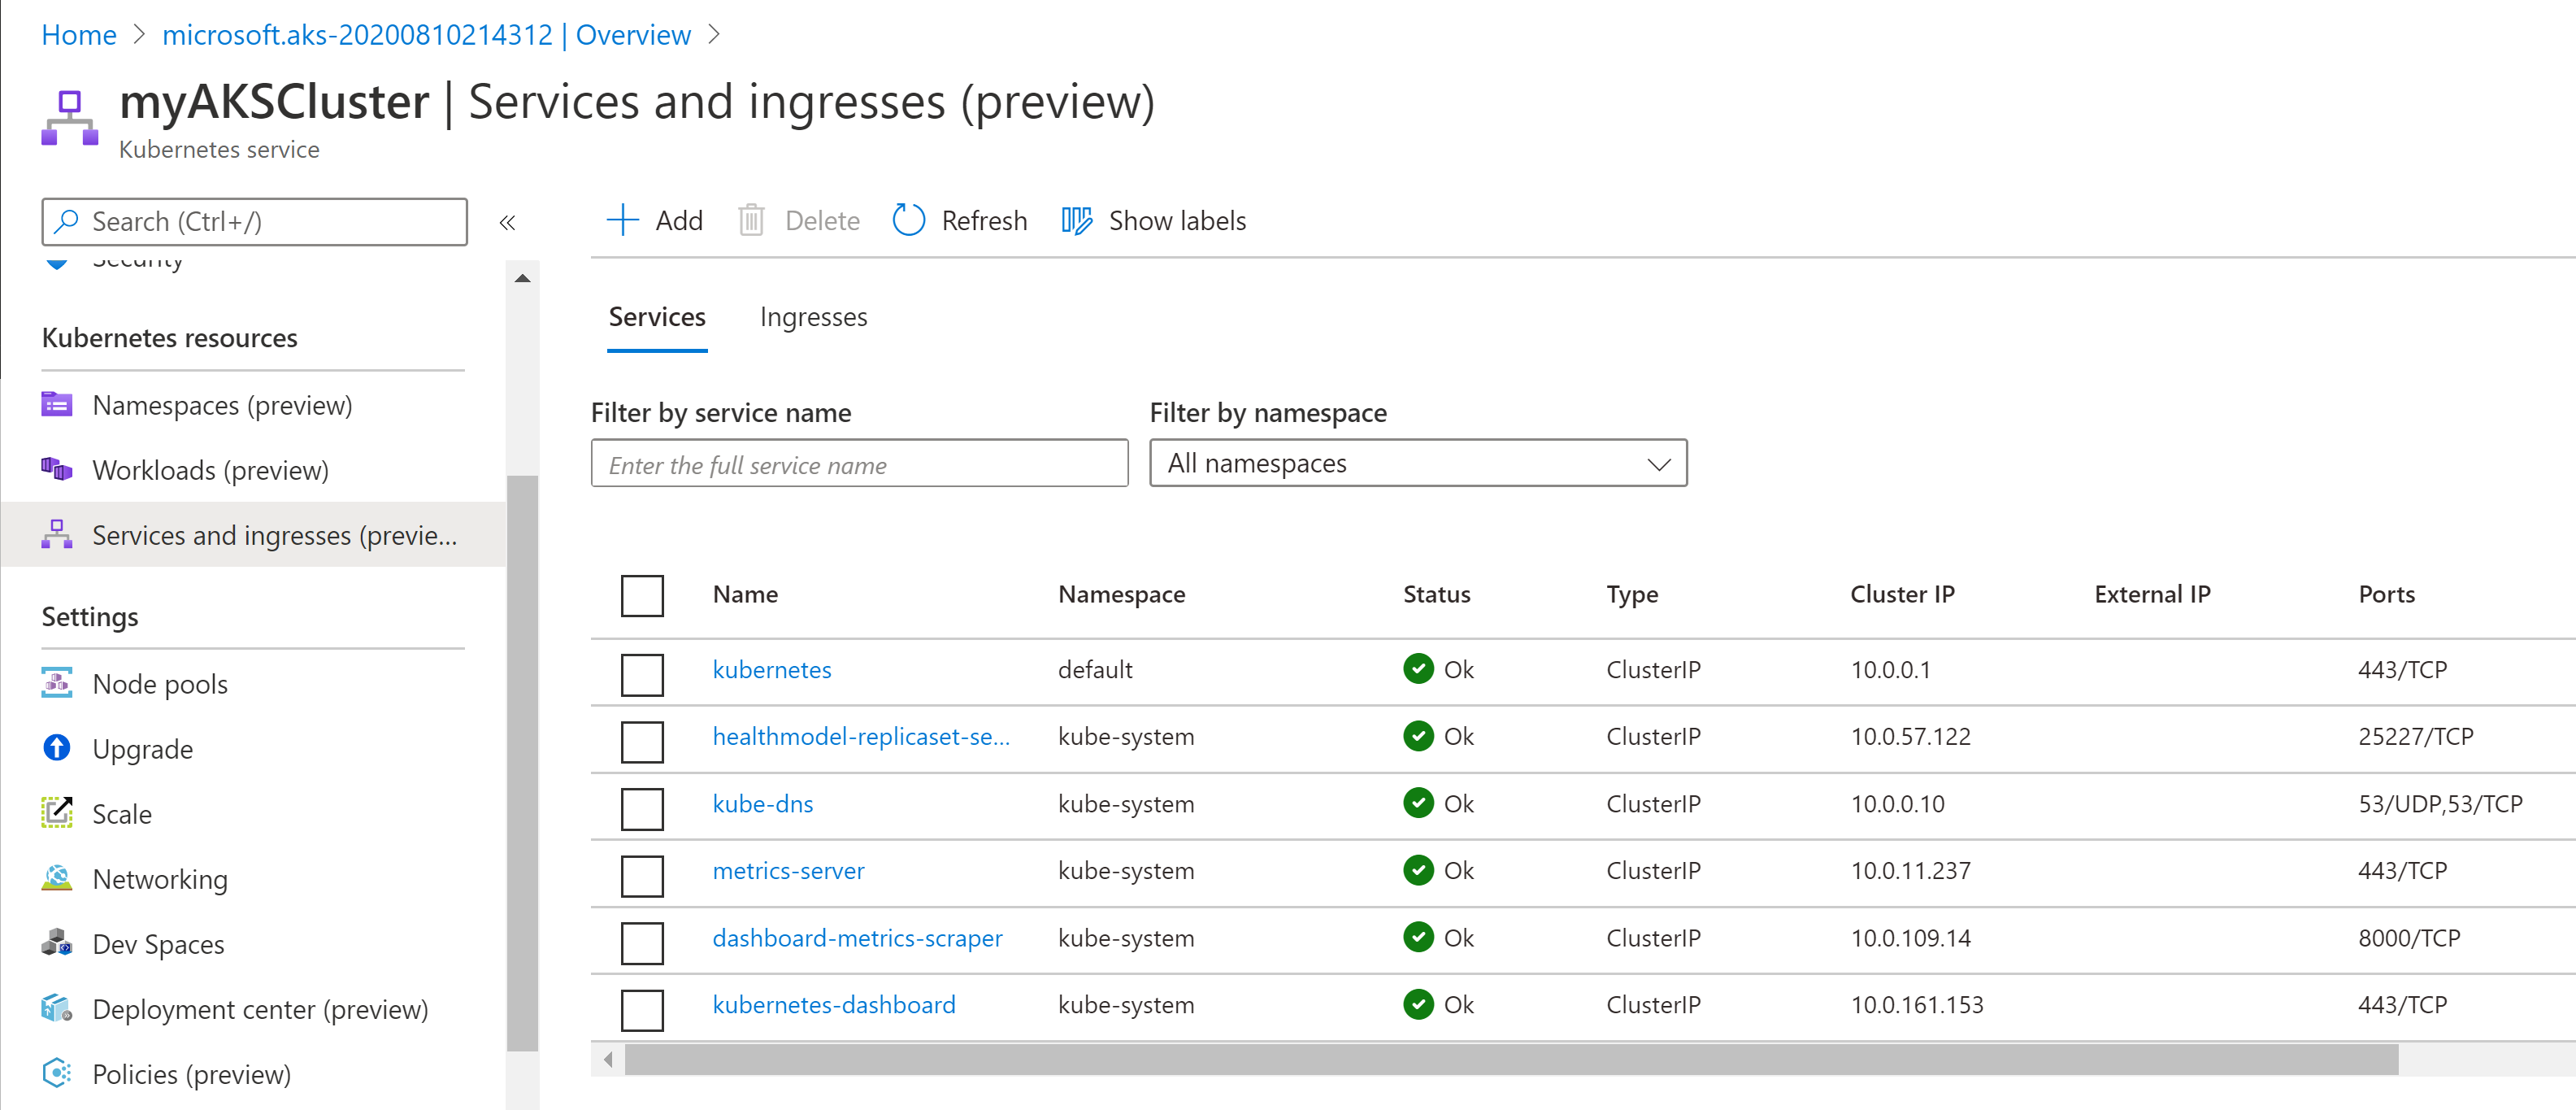
* Services and Ingresses : An ingress controller is a piece of software that provides reverse proxy, configurable traffic routing, and TLS termination for Kubernetes services
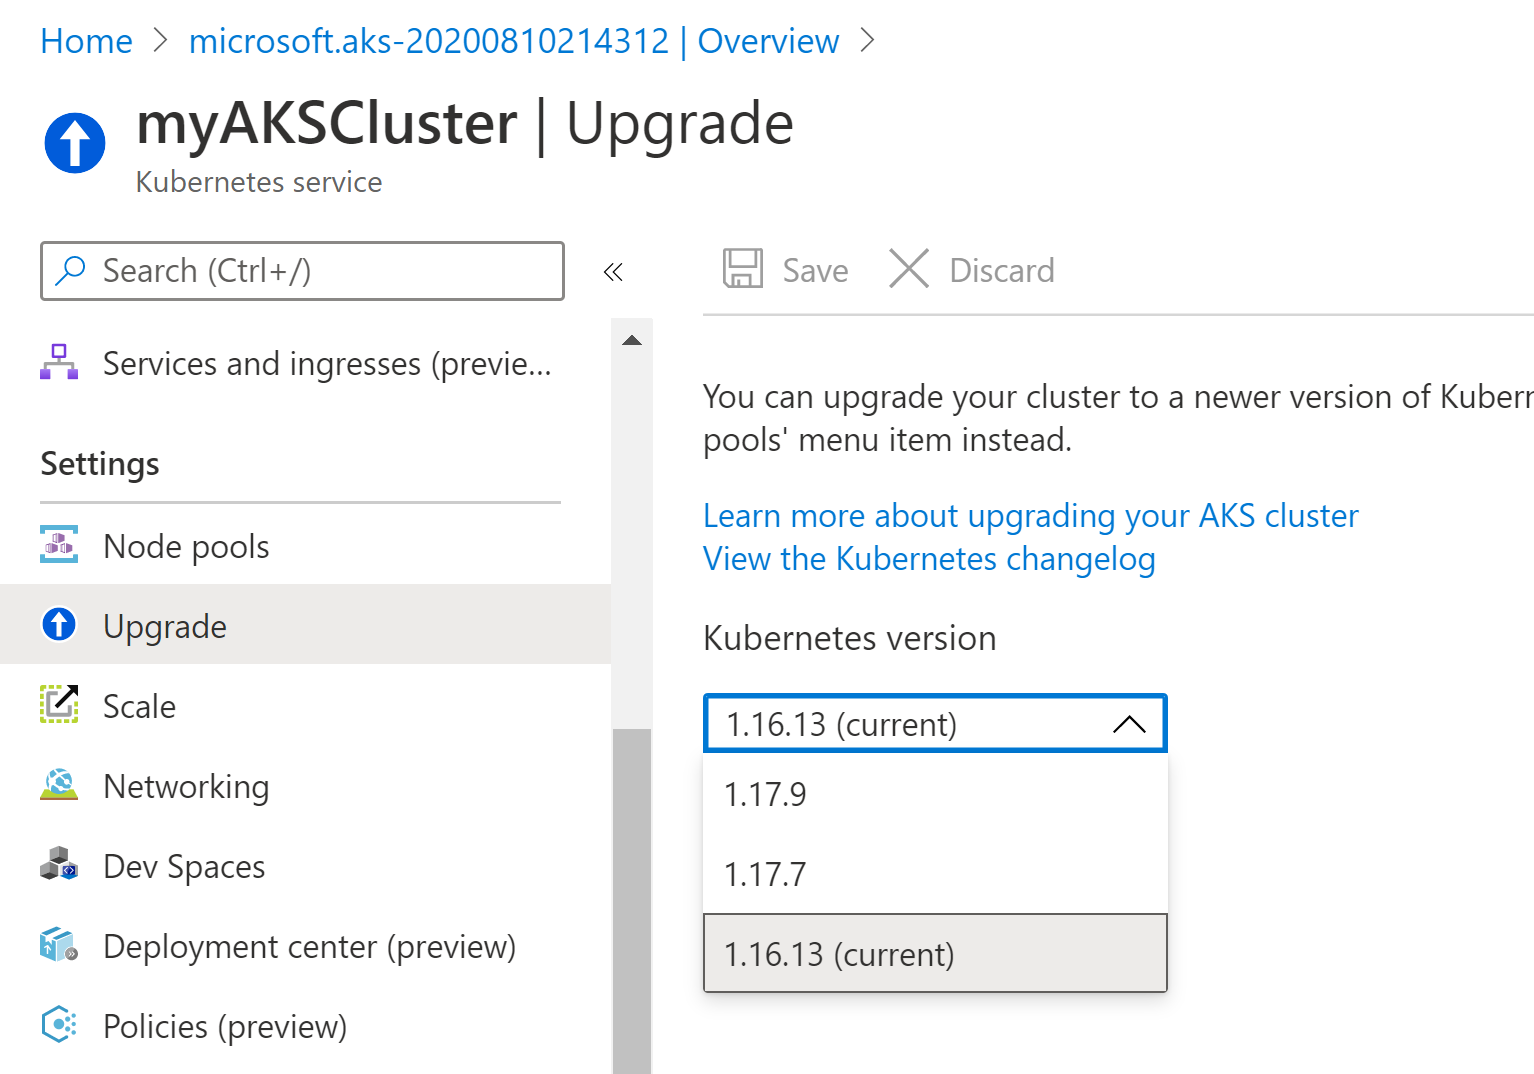
* Upgrade: Also with respect to upgrade kubernetes has made some changes and unlike the entire list of available upgrade versions it just shows only the upper versions not the backward compatible one’s.
Azure Kubernetes Services Creation using Azure CLI
- Create our first resource group which will be hosting all Kubernetes components.
- az group create — name myResourceGroup — location eastus
2. Create new Service Principal (it’s a new introduction)
- az ad sp create-for-rbac — name myAKSClusterServicePrincipal

3. Now we need to assign roles to this new SPN

4. Creating a new AKS cluster
- az aks create — resource-group myResourceGroup — name myAKSCluster — node-count 2 — enable-addons monitoring — service-principal “1XXXX1–XXXX–XXXX-XXXX–XXXXXXXXXXXX” — client-secret “XXXXXXXXXXXXXXXXXXXXXXXXXXXX” — generate-ssh-keys

Simultaneously we can see a new cluster is getting ready in Azure Portal.

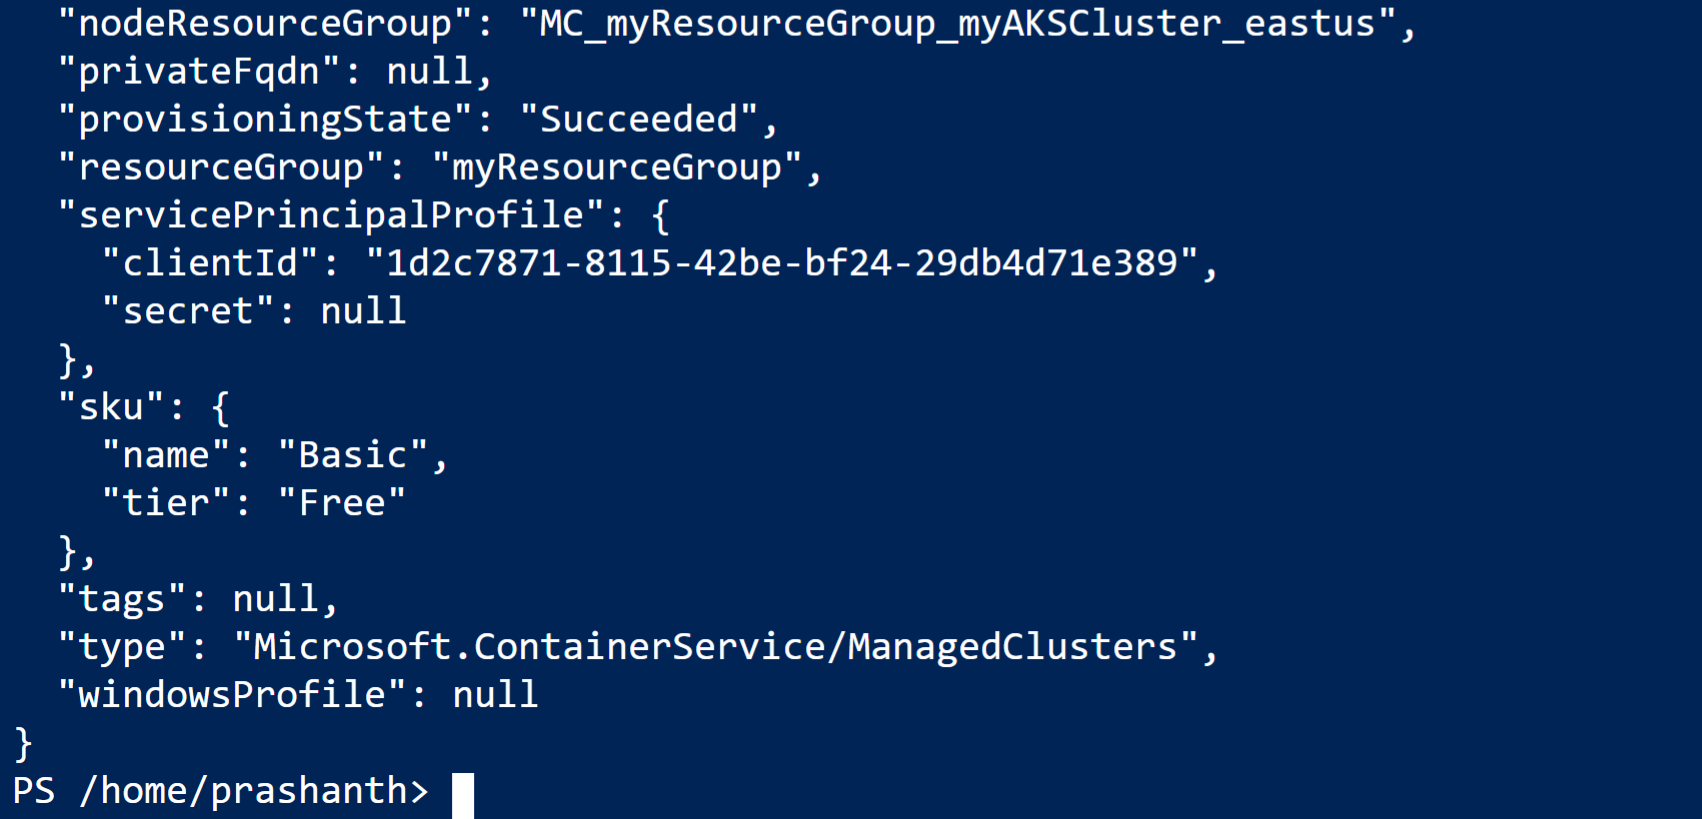
5. Connect to the cluster, you use kubectl, the Kubernetes command-line client.

Instead you can download using the curl command.
curl -LO https://storage.googleapis.com/kubernetes-release/release/v1.18.0/bin/windows/amd64/kubectl.exe

6. Now to configure kubectl to connect to your Kubernetes cluster

7. Now to view Kubernetes cluster configuration.
- kubectl config view

Please make sure make a note of Token as that will be used when we try to open Kubernetes Dashboard.
8. To view Installed Kubernetes Version
- kubectl version — client
![]()
9. To view Kubernetes Cluster details.
- kubectl cluster-info

10. To view kubernetes node details.

11. Now lets try to deploy our 1st application, (this yaml file i have uploaded onto my storage account. Ref: https://docs.microsoft.com/en-us/azure/aks/kubernetes-walkthrough)
- kubectl apply -f azure-vote.yaml

12. Lets test newly created application
- kubectl get service azure-vote-front — watch
It will give external IP address, please copy this and paste it in new browser.
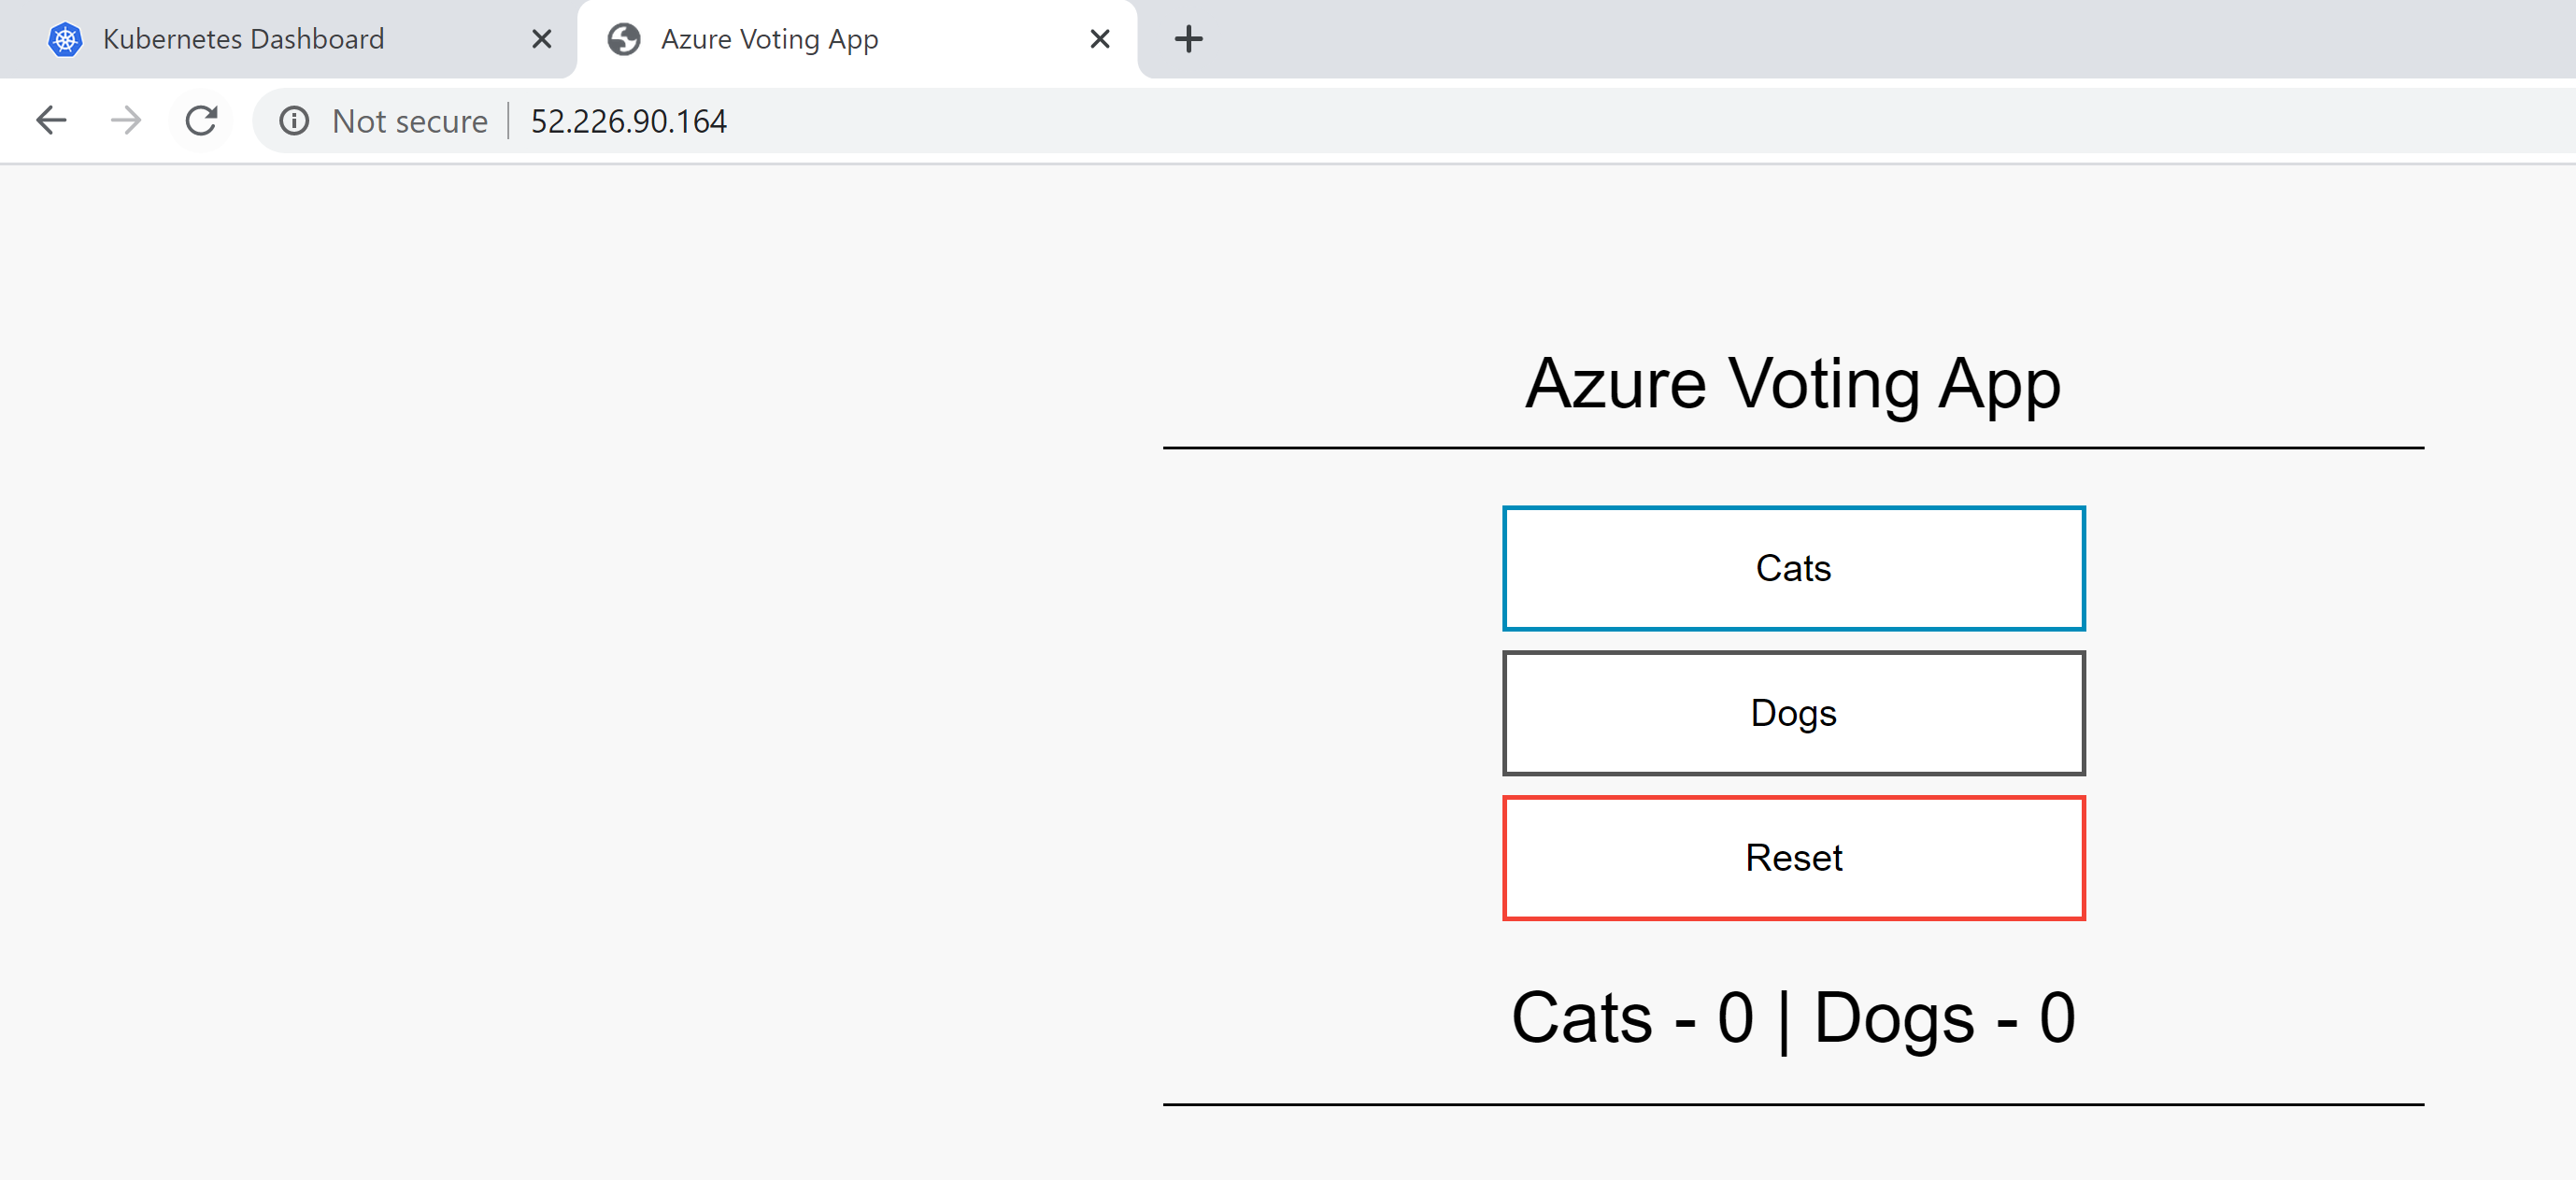
11. To view Kubernetes Dashboard.
- az aks browse — resource-group myResourceGroup — name myAKSCluster

It will open a new browser window asking for either Kubeconfig file or with Token. (So i am using token which is generated during Point #7)
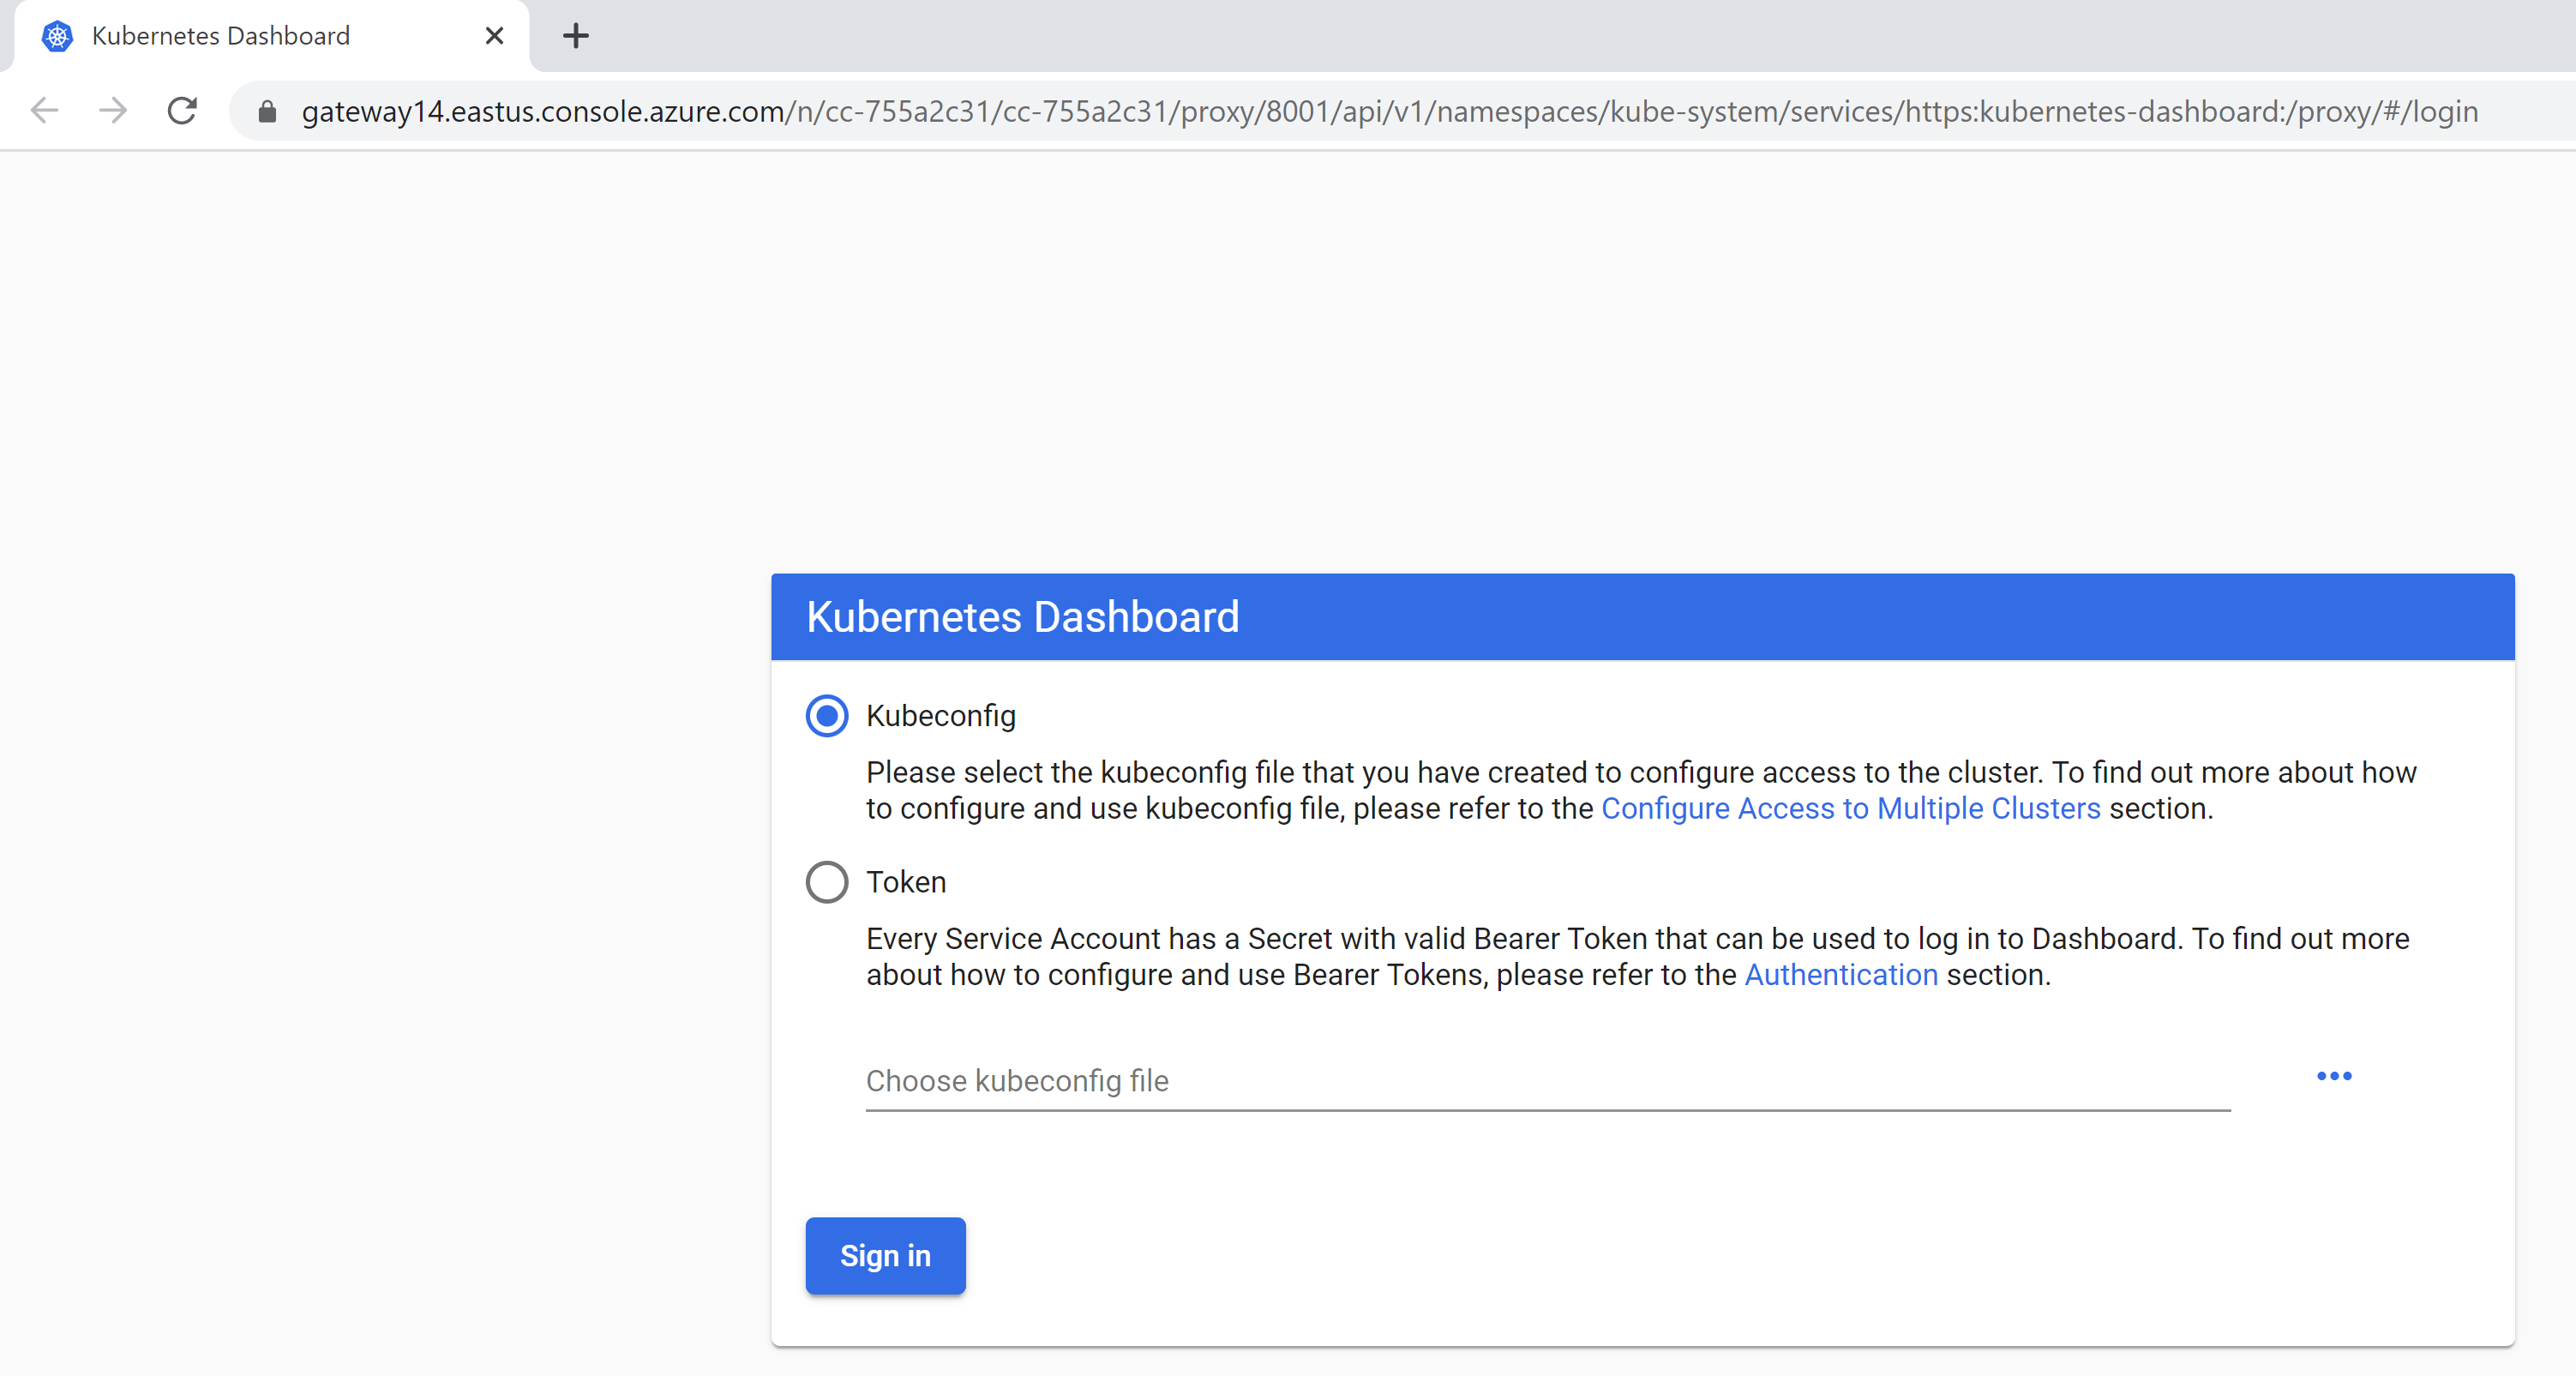
Once you open it for the first time it may not display, as its a known issue
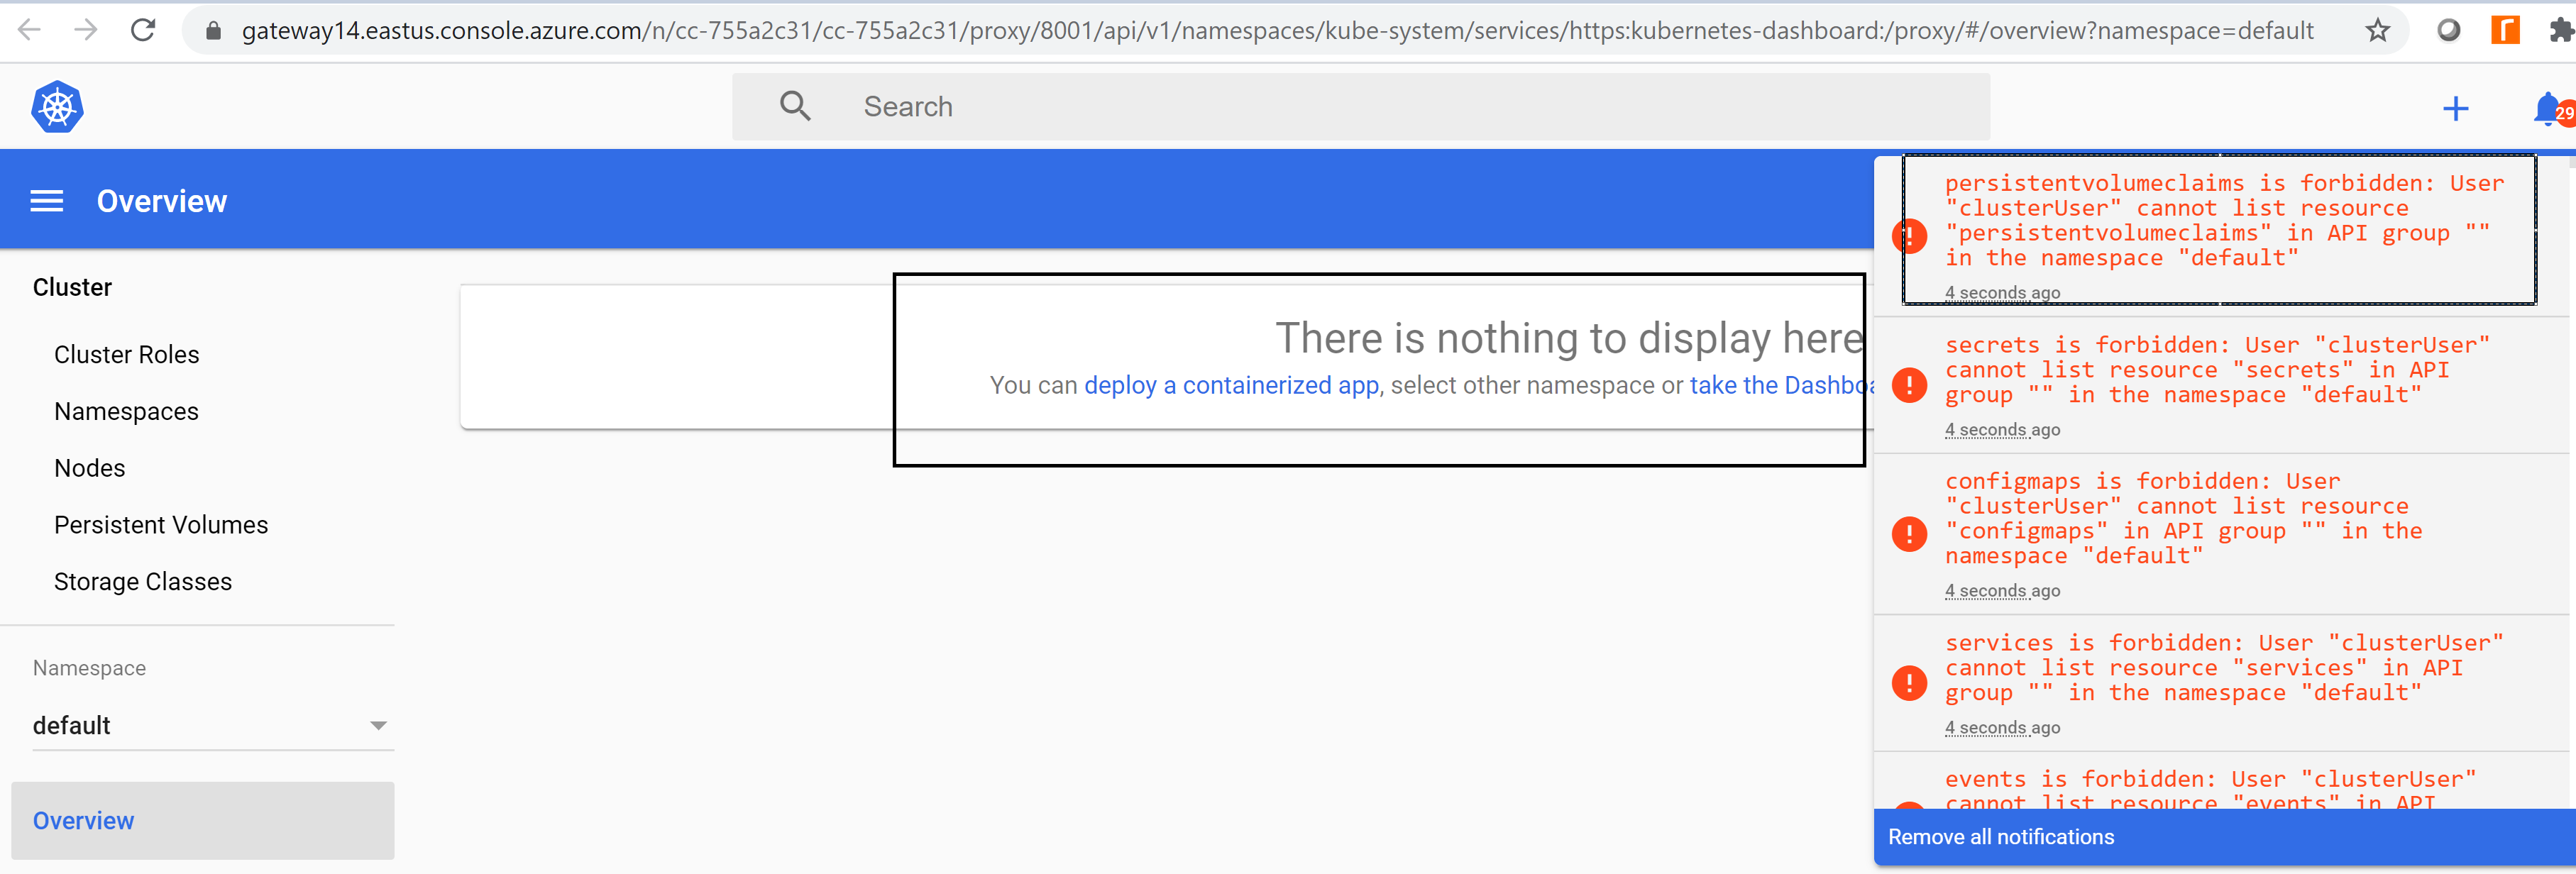
12. Run below commands to fix dashboard issues.
- kubectl delete clusterrolebinding kubernetes-dashboard
- kubectl create clusterrolebinding kubernetes-dashboard — clusterrole=cluster-admin — serviceaccount=kube-system:kubernetes-dashboard — user=clusterUser

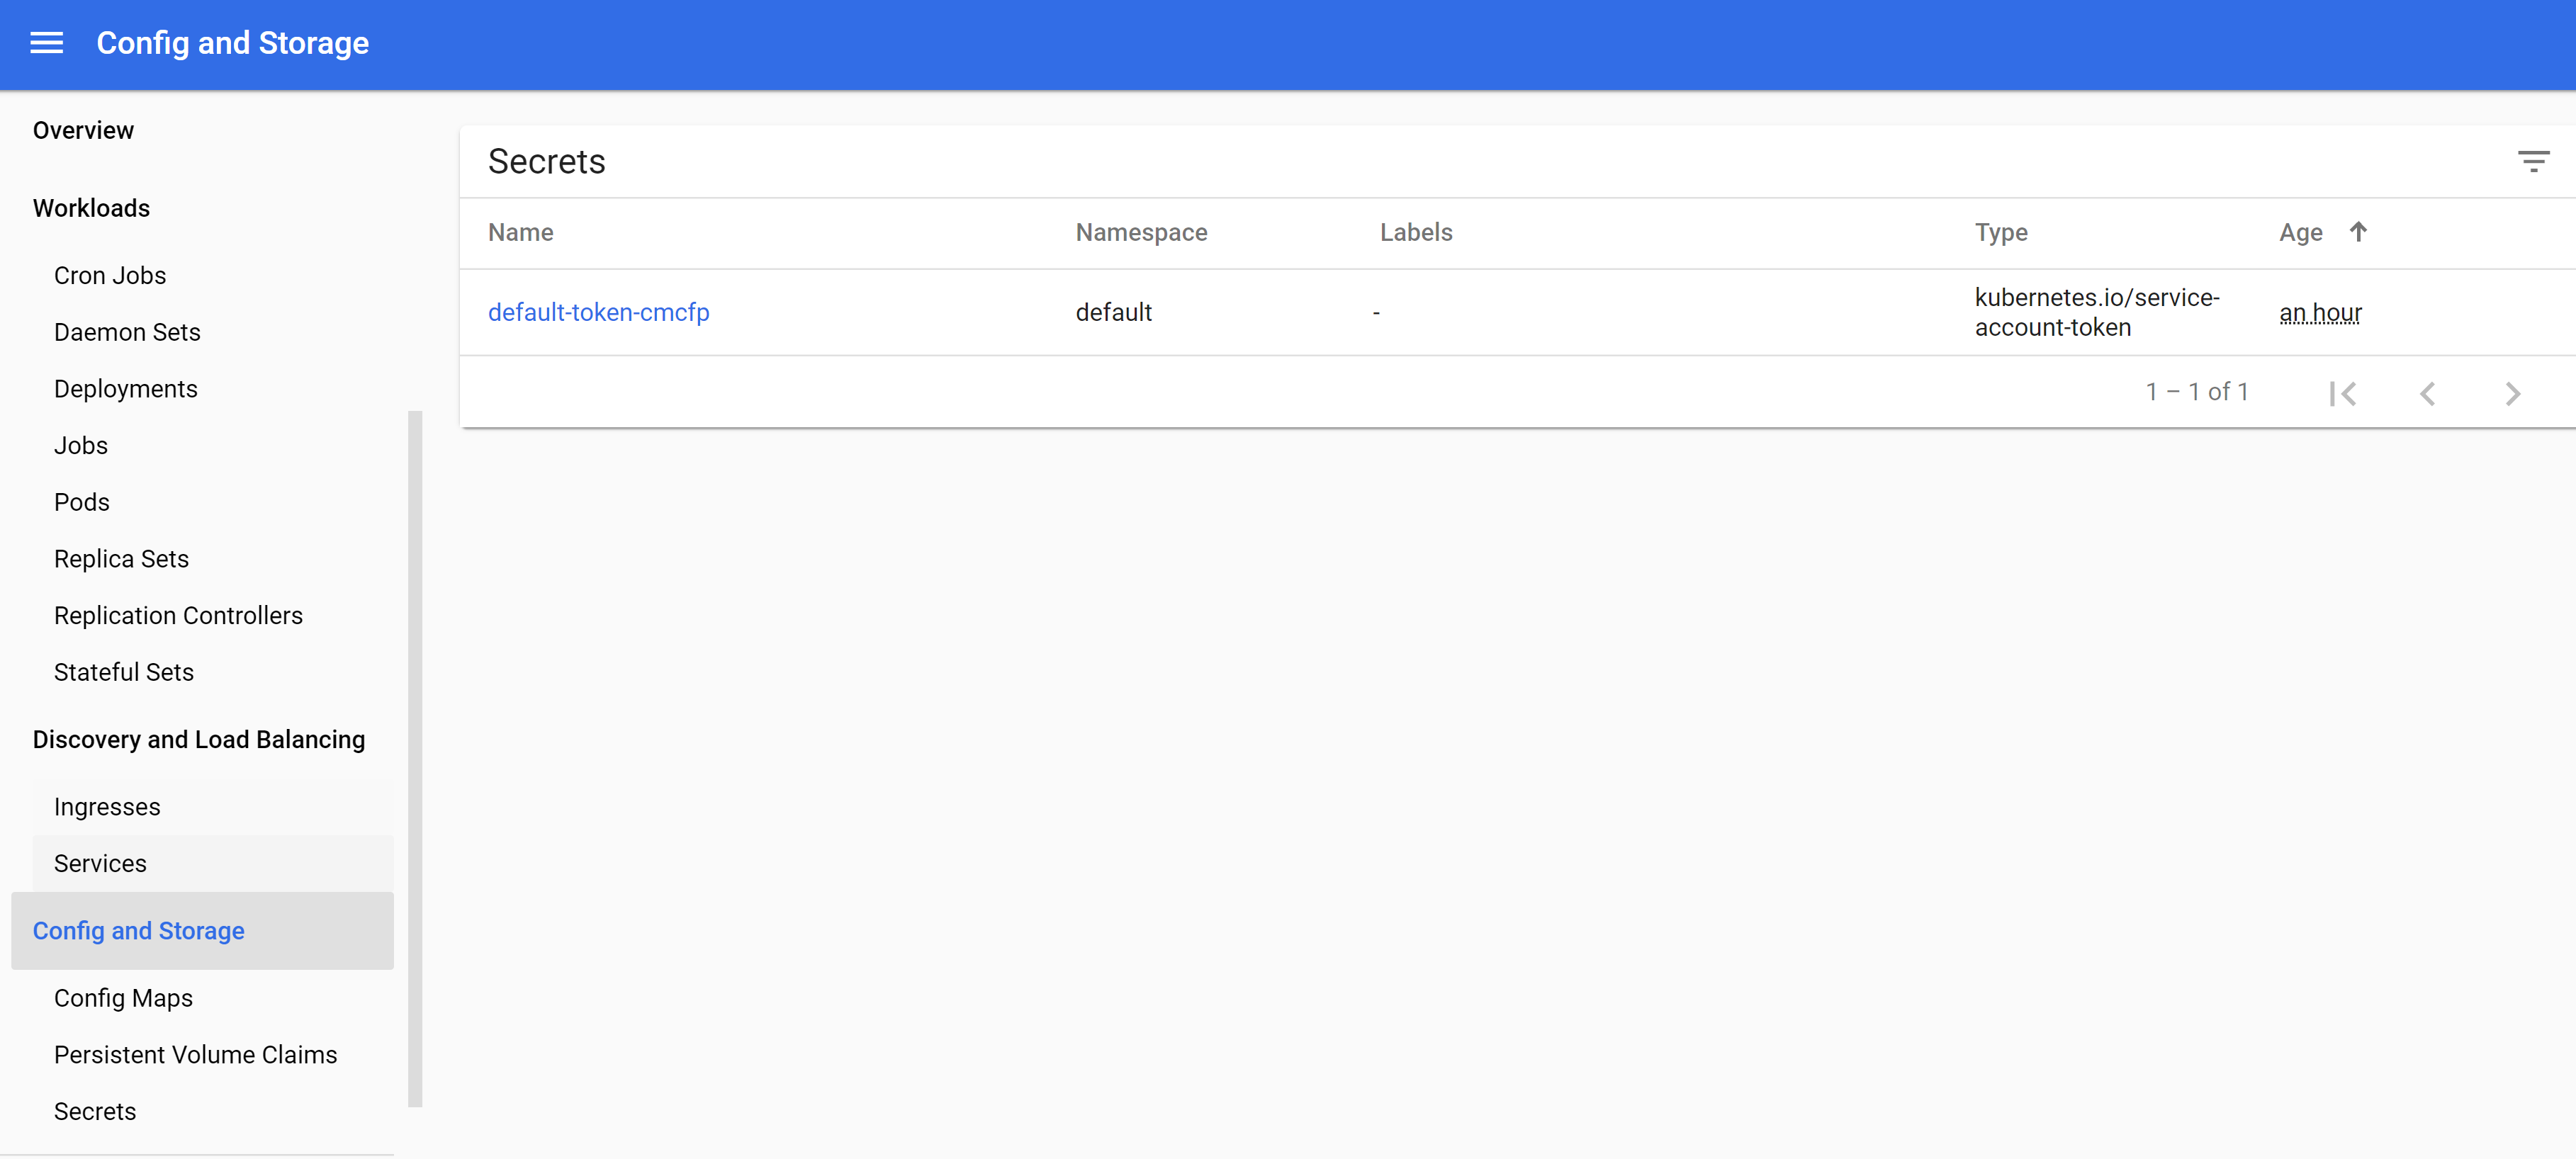
Now you should see entire details related to Kubernetes.
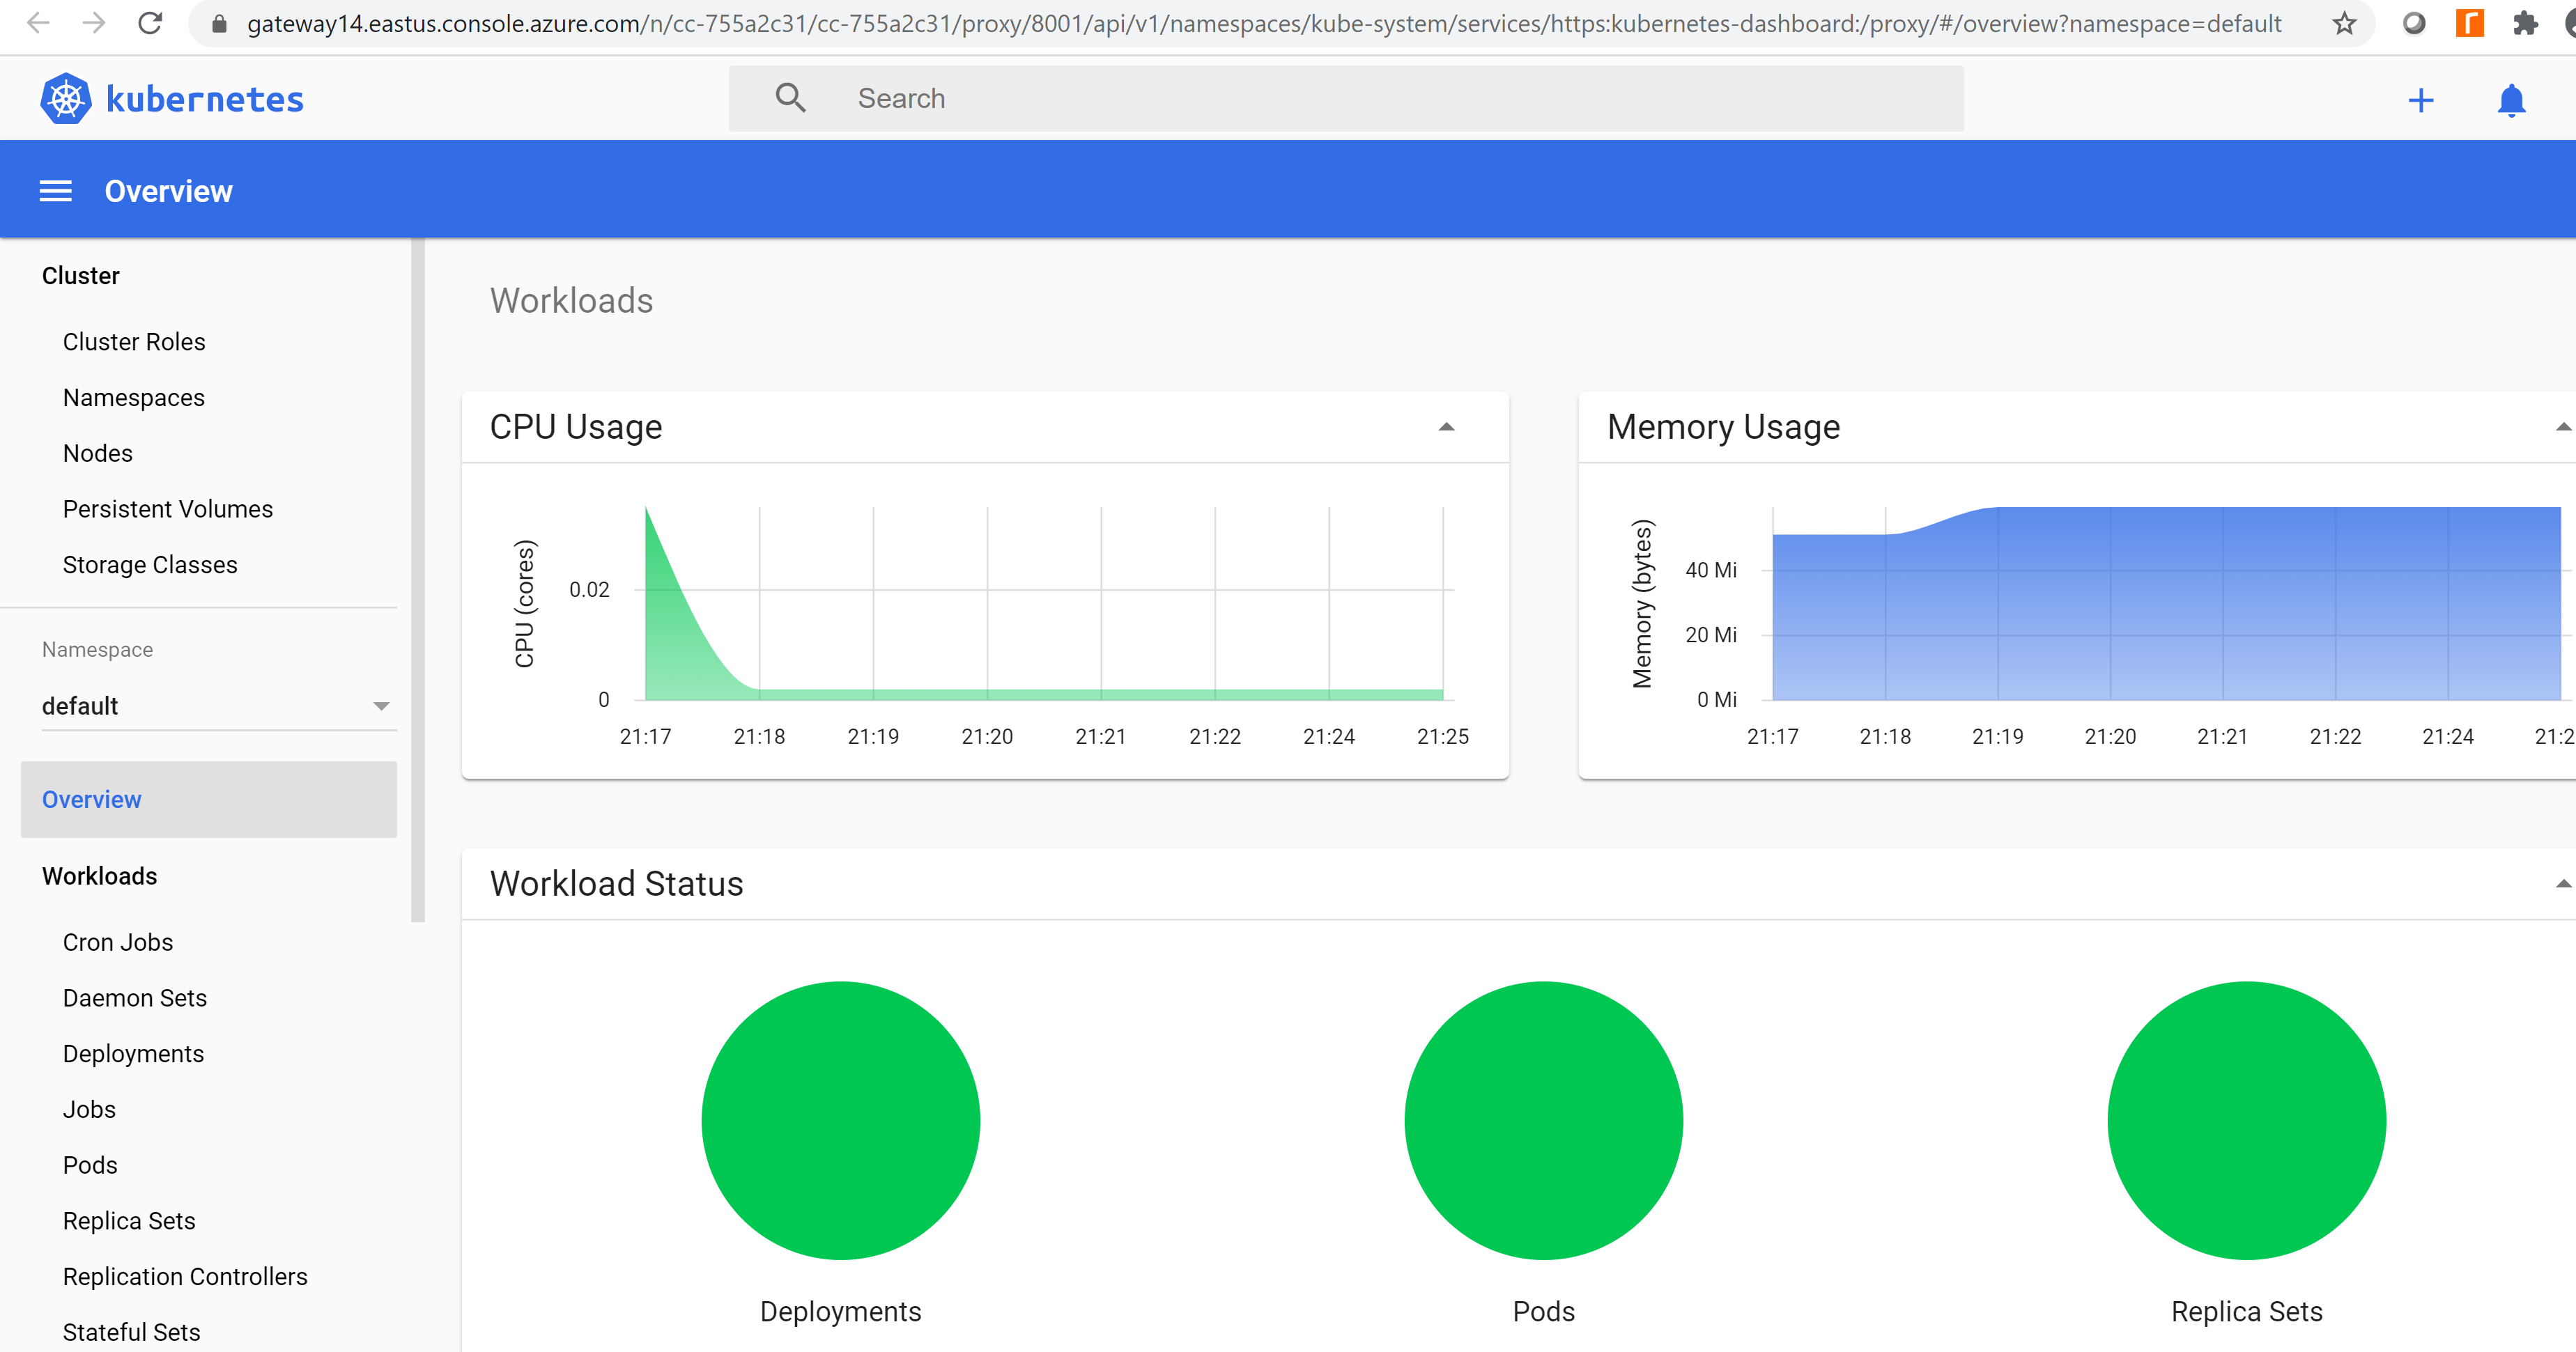
Cluster details
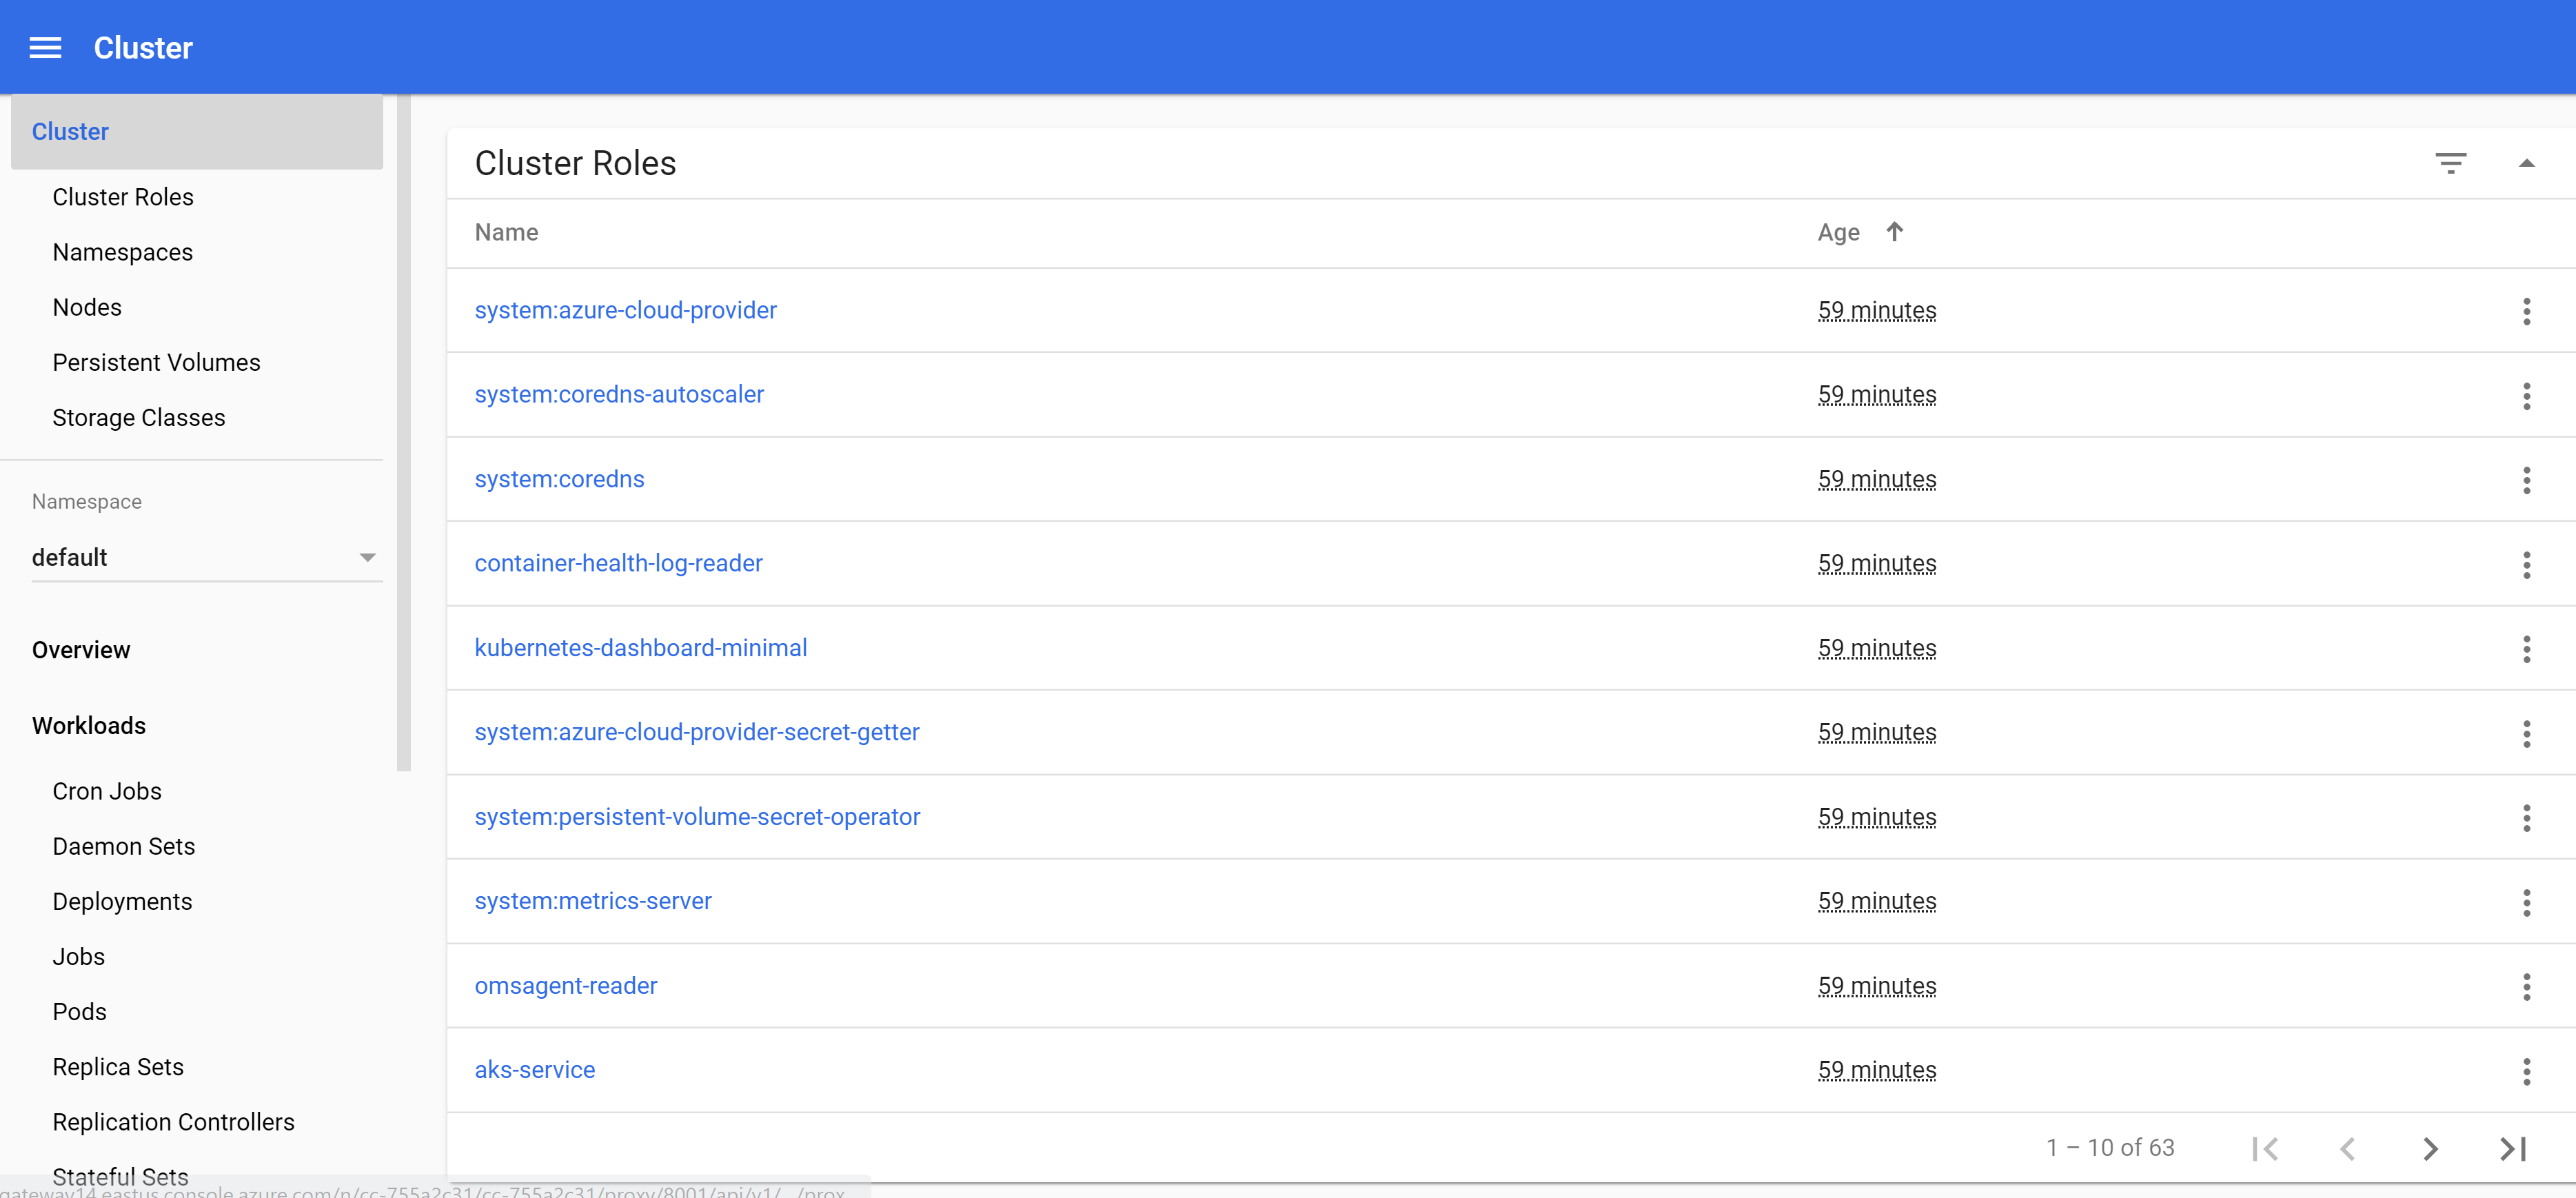
Workloads
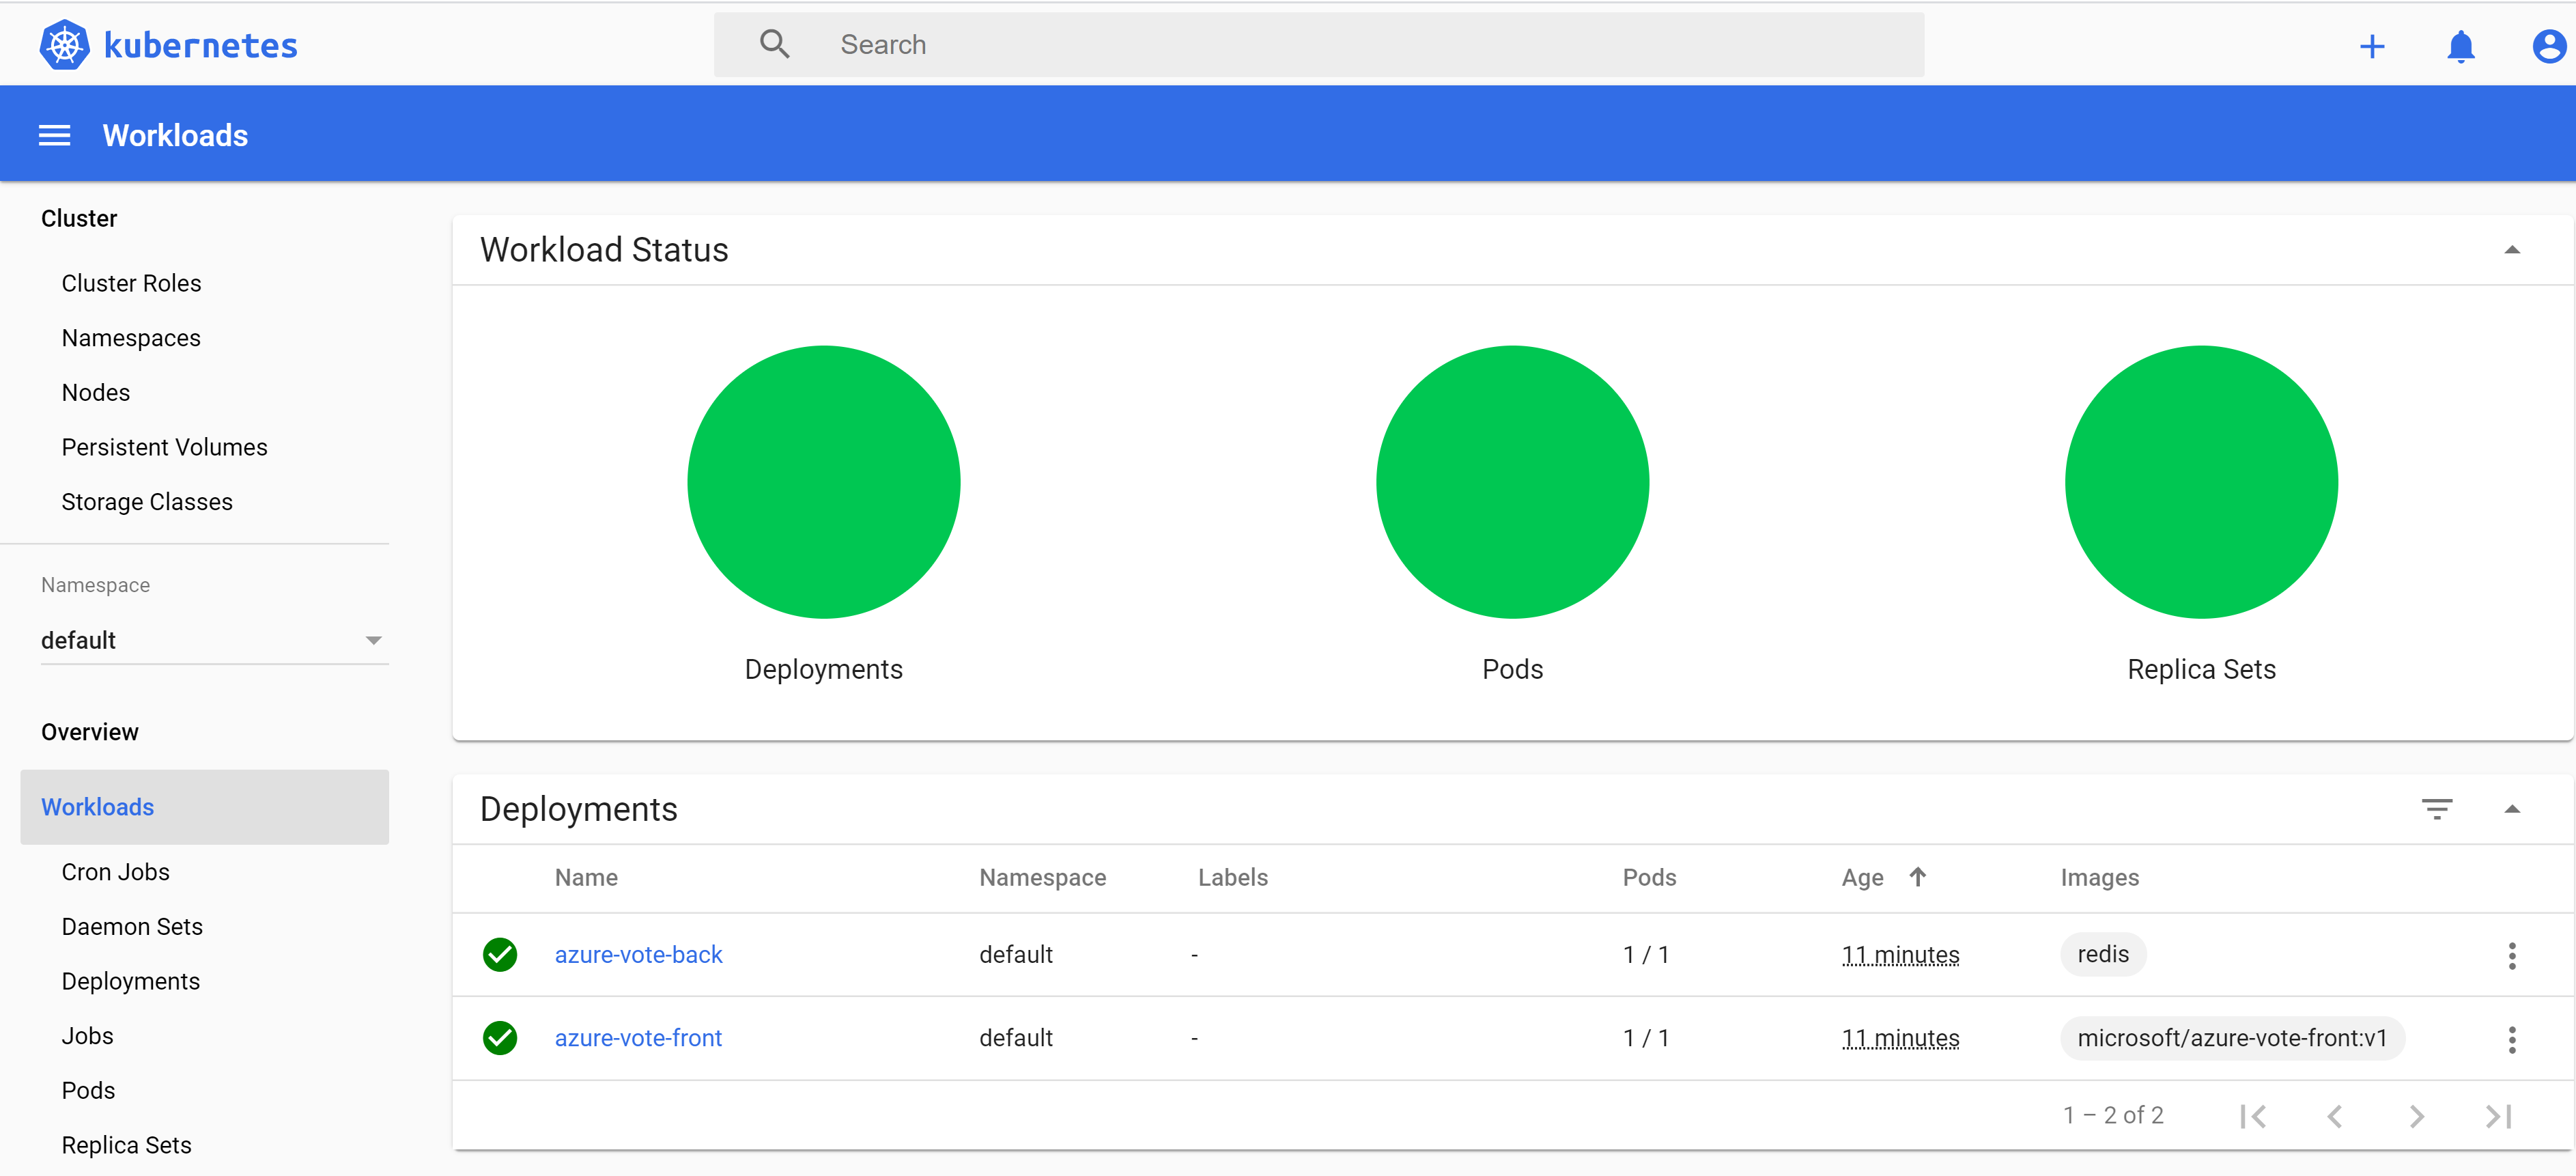
Discovery and Load Balancing
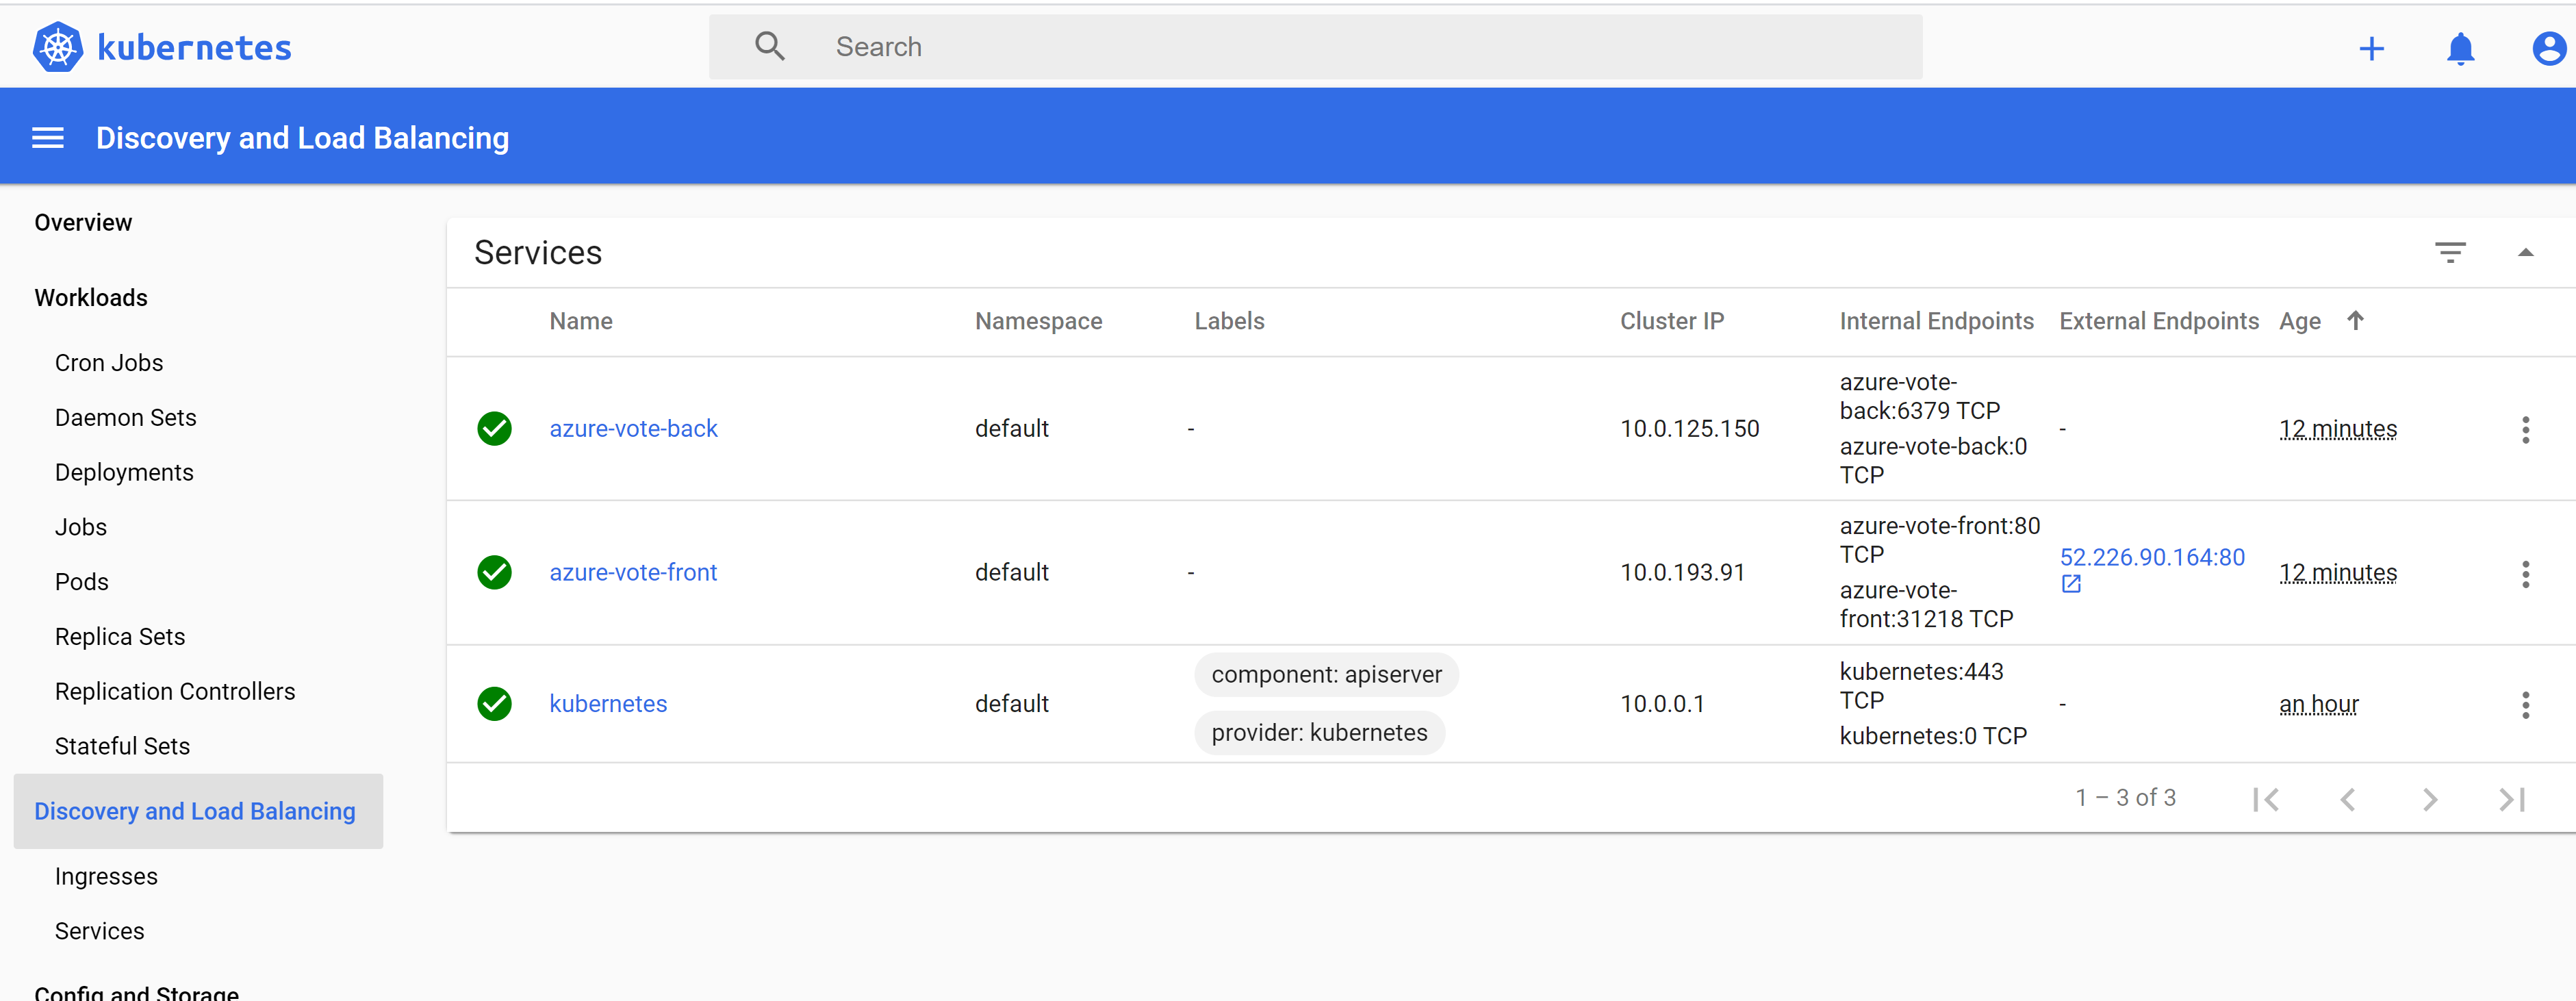
Config and Storage
Feel free to put your comments and any inputs at: prashanth.kumar.ms@outlook.com
