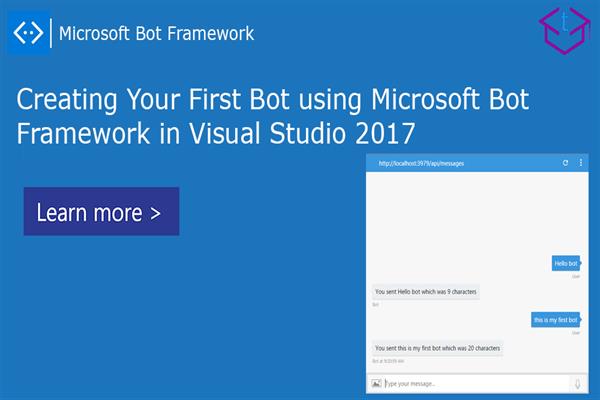
Creating Your First Bot using Microsoft Bot Framework in Visual Studio 2017
Bot Framework is a comprehensive suite of tools and offering to build and deploy the conversational chatbots for your app users. It enables you to build bots that support different types of interactions with users. Microsoft Bot framework is the enhancements to the Cortana Intelligence Suit powered with Microsoft Cognitive Services were made which exposes intelligence APIs that allow the system to see, hear, speak, understand and interpret our needs into human natural language communication.
The conversation can use simple text strings or more complex rich cards that contain buttons, images, files and you can add natural language interactions, which let your user interact with your bot in more natural and expressive way.
Follow these steps in order to implement for creating your first bot application in Visual Studio 2017
Download Bot framework template and Bot Framework Emulator
Download Bot framework template from Bot framework template and save the downloaded folder inside Visual Studio project templates folder (%USERPROFILE% \Documents\Visual Studio 2017\Templates\ProjectTemplates\Visual C#)
Now we need to download Bot Framework Emulator for testing Bot Application in localhost environment from Bot Framework Emulator and then install setup
Create New Project
Open Visual Studio and create new project by choosing Bot Application under the Visual C# section
Now the Bot Application was created with all required components and NugGet packages
Check Bot Builder Nuget Package
Verify that in your application Microsoft.Bot.Builder NuGet package is installed in reference. If it’s not installed then follow below steps.
- Right Click on your project (FirstBot) and select “Manage NuGet Packages”.
- Select Browse tab and then search for “Microsoft.Bot.Builder”
- Locate the “Microsoft.Bot.Builder” from search result and then click to ‘Install’ button for that package or ‘Update’ button for update package
The default application added a sample code that response by calculating the length of the message.
You can find the MessageReceivedAsync method from Dialogs/ RootDialogs.cs
In this method activity.Text contains the user input text so that you can reply message based on input text.
private async Task MessageReceivedAsync(IDialogContext context, IAwaitable<object> result)

        {

            var activity = await result as Activity;


            // calculate something for us to return

            int length = (activity.Text ?? string.Empty).Length;


            // return our reply to the user

            await context.PostAsync($"You sent {activity.Text} which was {length} characters");


            context.Wait(MessageReceivedAsync);

        }
Run Application
Now run the application from Visual Studio. This will launch the browser and then we can test it using Bot Emulator which we had just downloaded.
When your Bot is running, Lunch the Bot Framework channel Emulator.
Follow below steps to test your Bot application.
- Copy the above localhost URL and paste it into Bot Emulator e.g.- http://localhost:3979/
- You can append the /api/message to the above URL e.g.- http://localhost:3979/api/messages
- You would not need to specify Microsoft App id and Microsoft App Password for localhost testing, so click on Connect
This is it from now, we can explore and cover more details about this I other posts.
If you have any problem and face any difficulty then Share your experiences with us in the comments below!
Like this post? Don’t forget to share it!


