Configuring a Custom Domain Name for an Azure Website
A domain name is a URL which is responsible to access websites. The domain name identifies IP address. Domain name is an identification string which defines a scope of administrative autonomy, control within the Internet. Any domain name locates Internet address for an URL at points to the Internet and particular host server named.
For managing our custom domain name, you must have to log in with Azure.
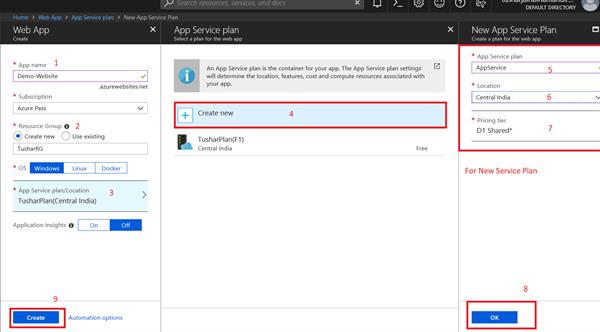
- Firstly, we need to create a Web App, so go to Create a Resource
- Click on ― Web then click on Web App.
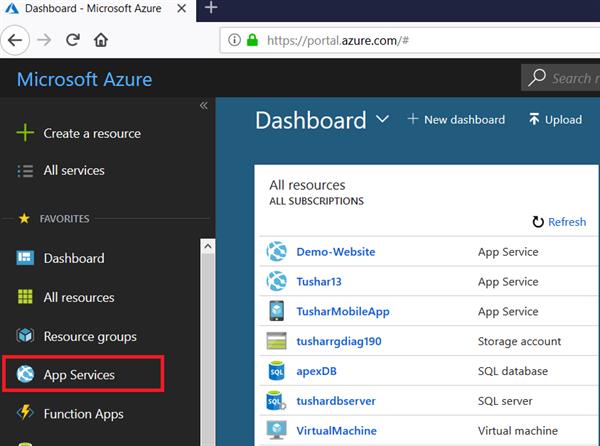
- After the creation of the Web App From the left menu, select App Services
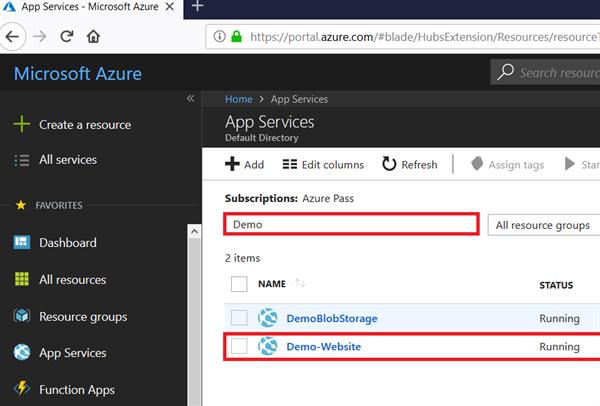
- Select the name of the app.
Now search the App Service name you want to select for the Domain.
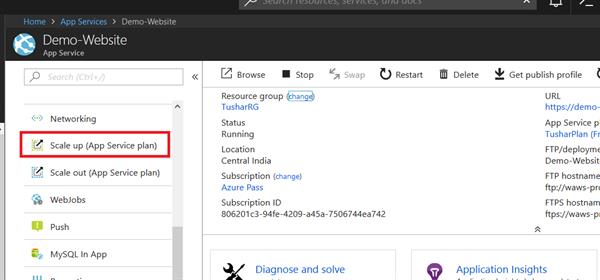
- In the left navigation of the app page, scroll to the Settings section and select Scale up (App Service plan).
- The app's current tier is highlighted by a blue border. Check to make sure that the app is not in the F1 tier. Custom DNS is not supported in the F1 tier.
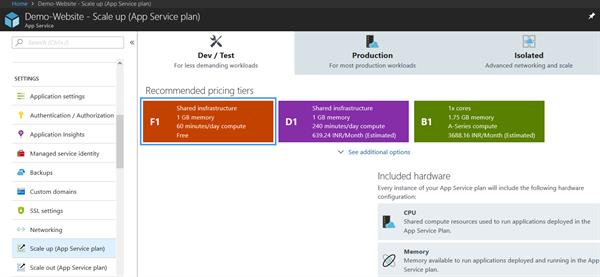
- Select any of the non-free tiers (D1, B1, B2, B3, or any tier in the Production category). For additional options, click See additional options.
- Click Apply.
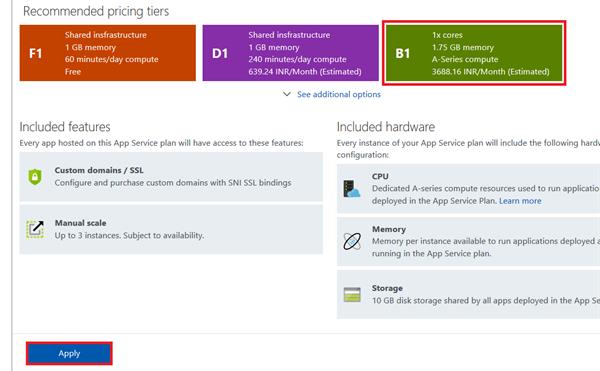
When you see the following notification, the scale operation is complete.

- Now, refresh the browser otherwise, sometimes it creates some problems.
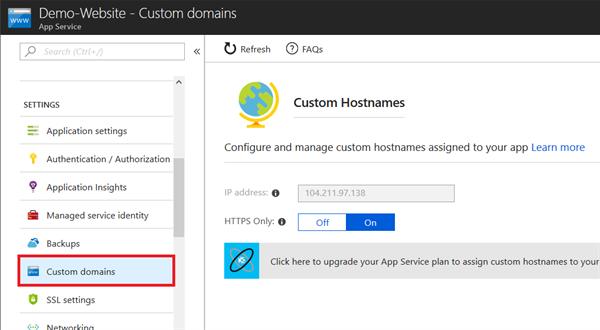
- In the Web Apps tab, click the name of your web app, select Settings, and then select Custom domains.
- In the Custom domains page, click Buy-Domain.
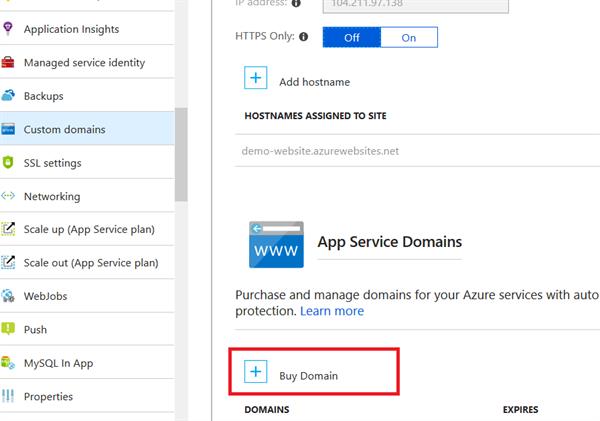
In the App Service Domain page, in the Search for domain box, type the domain name you want to buy and type Enter. The suggested available domains are shown just below the text box. Select one or more domains you want to buy.
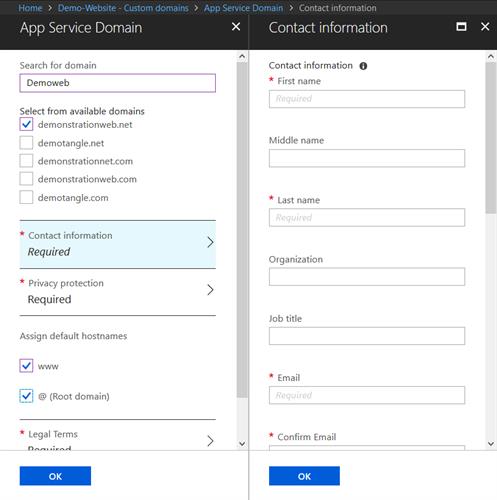
- Click Legal Terms to review the terms and the charges, then click Buy.
